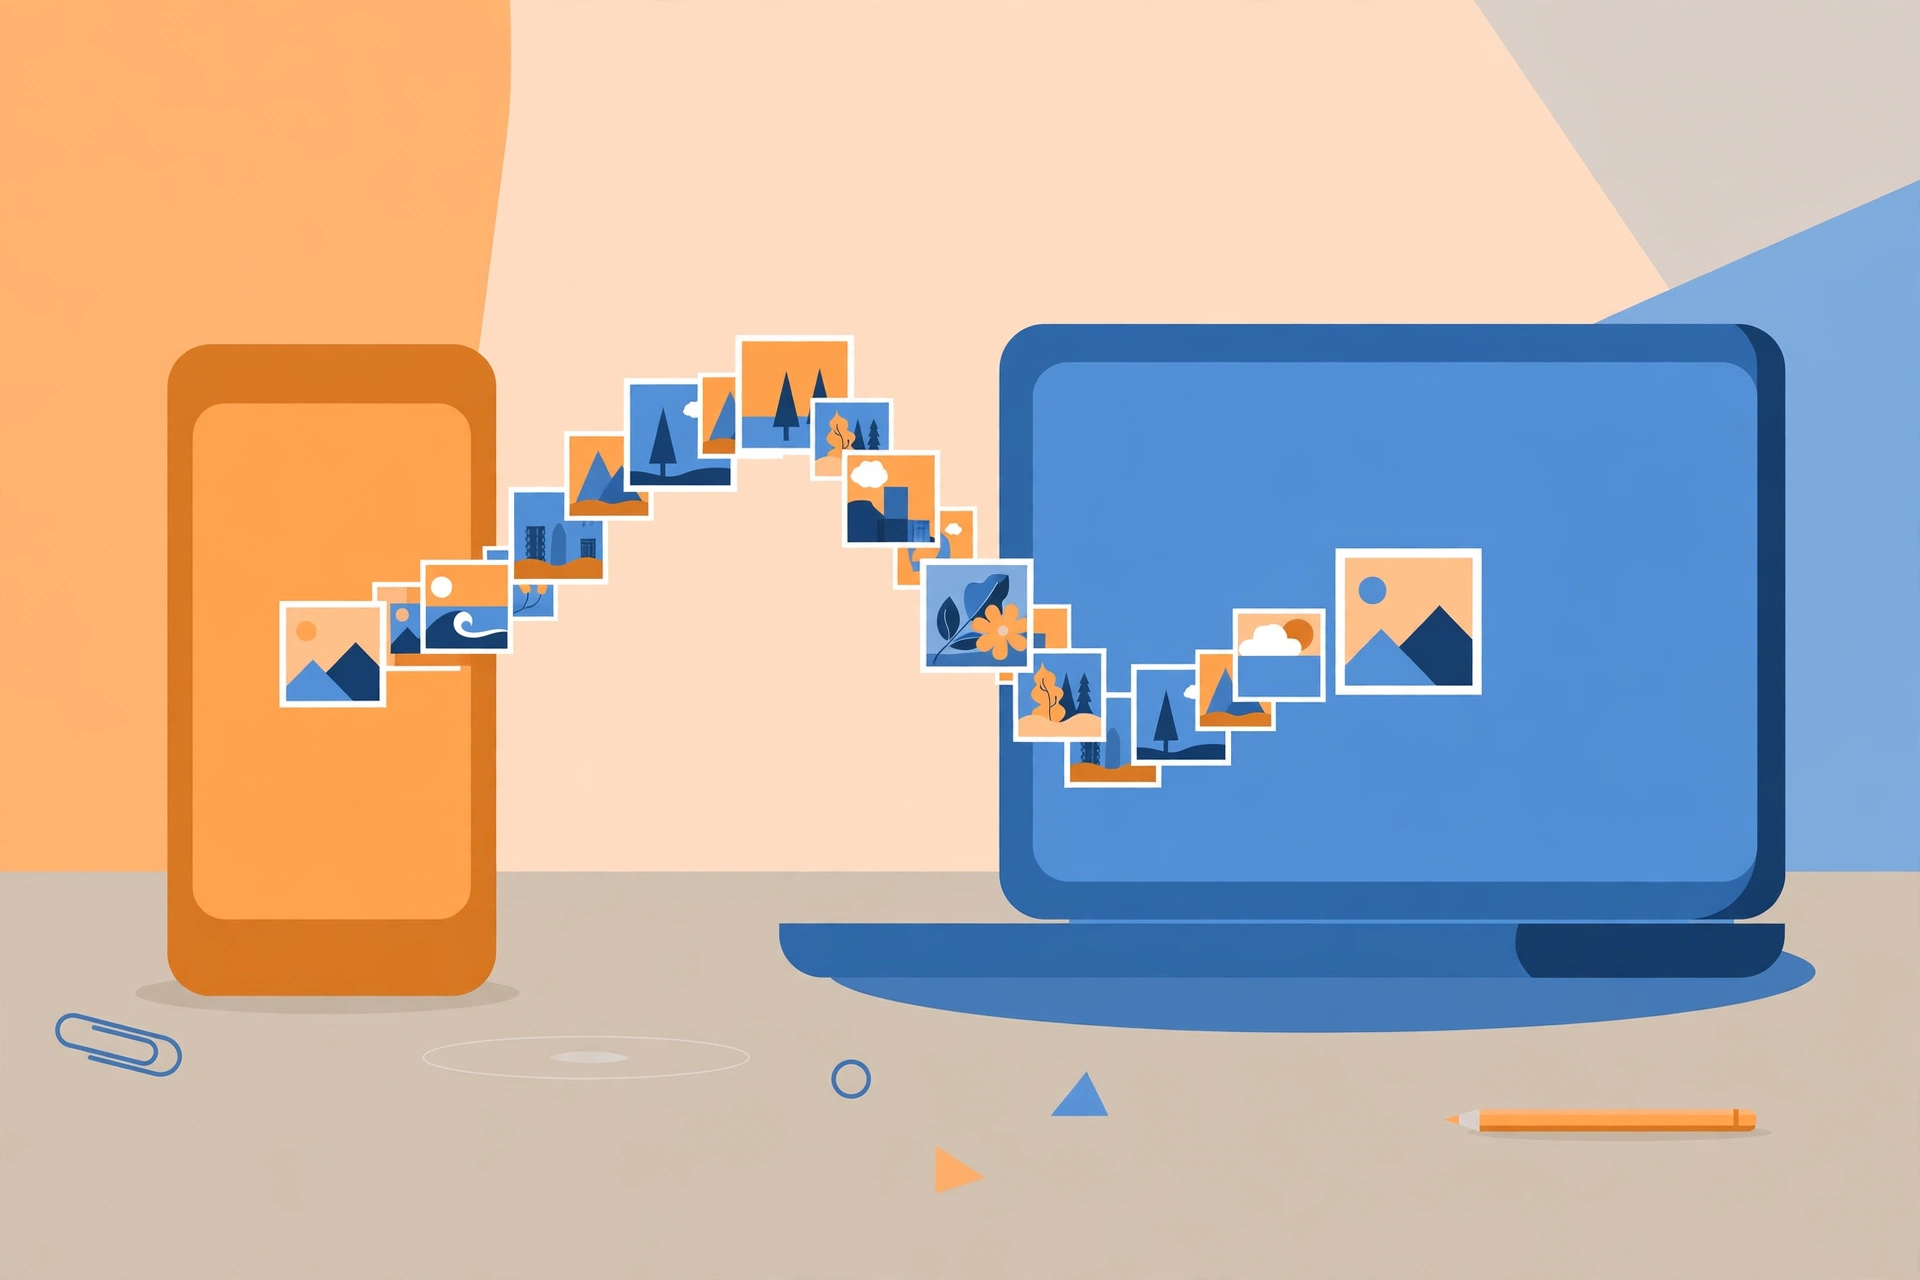
You take a great photo on your iPhone, transfer it to your Windows PC, and instead of a picture you get an error, a blank icon, or a file your software refuses to open. The culprit is almost always the HEIC format, which iPhones have used as the default photo format since iOS 11. Converting HEIC to JPG solves the problem instantly, and the good news is that you can do it for free on iPhone, Mac, Windows, or right in your web browser.
Quick answer: The fastest free way to convert HEIC to JPG is on iPhone: open the Photos app, select the photos, tap Share, then Copy Photos, and paste them into the Files app, where they arrive as JPGs. On a Mac, open the file in Preview and choose File, Export, JPEG. On Windows, install the free HEIF Image Extensions from the Microsoft Store and save from Paint as JPEG, or use a free in-browser converter that processes the file locally on your device.
| Method | Best for | Batch conversion | Cost |
|---|---|---|---|
| iPhone Files app copy trick | iPhone owners | Yes | Free |
| iPhone Settings, Most Compatible | Future photos | Applies to new photos | Free |
| Mac Preview export | Mac owners | Yes, via Quick Actions | Free |
| Windows HEIF extensions plus Paint | Windows owners | One file at a time | Free extension, HEVC may cost a small fee |
| Free online converter | Any device, no install | Yes, depends on the tool | Free |
What Is HEIC and Why Does It Cause Problems
HEIC stands for High Efficiency Image Container. Apple switched the iPhone camera to it with iOS 11 because it stores photos at roughly half the file size of a JPG with similar visual quality, thanks to the HEVC (H.265) compression standard. On a 128 GB phone full of photos, that difference is real.
The problem is compatibility. HEIC works beautifully inside the Apple ecosystem, but support outside it is patchy. Windows 10 and 11 do not open HEIC files out of the box because they lack the HEVC decoder. Many web upload forms, government portals, job application sites, and insurance claim forms accept only JPG or PNG and reject HEIC silently or with a confusing error. Older Android phones and many desktop photo editors have the same issue. The photo is not broken; the device receiving it simply does not speak HEIC.
One common mistake is worth naming clearly: renaming a file from .heic to .jpg does not convert it. The data inside the file is still HEIC-encoded, so you end up with a JPG-labeled file that nothing can open. A real conversion decodes the HEIC data and re-encodes it as JPEG.
Method 1: Convert HEIC to JPG on iPhone
If the HEIC files come from your own iPhone, the phone itself is the easiest converter you own. These tricks use built-in iOS features, so nothing needs to be installed.
Copy and paste through the Files app
- Open the Photos app and select one or more HEIC photos.
- Tap Share, then tap Copy Photos (on older iOS versions it may read Copy Photo).
- Open the Files app and navigate to On My iPhone, or iCloud Drive if you prefer.
- Long-press inside the folder and tap Paste.
- The photos appear in the folder as JPG files, automatically converted.
This works for batches as well as single photos, and it is the trick most iPhone owners should learn first. Once you have the JPGs in Files, you can AirDrop them, email them, or upload them to a PC.
Stop HEIC at the source
If you would rather never deal with HEIC again, change what your camera shoots:
- Open Settings, then Camera, then Formats.
- Select Most Compatible instead of High Efficiency.
New photos will save as JPG. The trade-off is larger files and the loss of a few HEIC-only features, but your photos will land on any device ready to open. Note that this only affects photos taken after the change; photos already in your library stay HEIC until you convert them.
Auto-convert when transferring to a PC
If you regularly plug your iPhone into a Windows computer, this setting saves you from converting later:
- Open Settings, then Photos.
- Scroll to Transfer to Mac or PC.
- Select Automatic instead of Keep Originals.
With Automatic selected, the iPhone converts HEIC photos to JPEG during the transfer itself. This is the cleanest fix for people who sync photos to a PC over USB, and it pairs well with the guides here on DigitalGeekSpot for managing large photo libraries.
Method 2: Convert HEIC to JPG on a Mac
Mac owners have it easy, since macOS reads HEIC natively and ships with several conversion paths.
Preview export, the simplest way
- Double-click the HEIC file to open it in Preview.
- Choose File, then Export.
- In the Format dropdown, choose JPEG.
- Drag the quality slider to taste (high quality means a larger file), rename the file, choose where to save it, and click Save.
Preview is already installed on every Mac, so this costs nothing and takes seconds per photo.
Export from the Photos app
If your photos live in the Photos app rather than as loose files:
- Select the photos you want to convert in Photos.
- Choose File, then Export, then Export Photos.
- Set Photo Kind to JPEG and click Export.
This is the natural choice for converting straight from your photo library, including Live Photos, which export as a JPG still plus a separate video clip.
Batch convert in Finder with Quick Actions
For folders full of HEIC files, the fastest route is in Finder:
- Select all the HEIC files you want to convert.
- Right-click and choose Quick Actions, then Convert Image.
- Choose JPEG as the format and click Convert.
The converted JPGs appear next to the originals. This is the best Mac option when you need to process dozens of files at once.
Method 3: Convert HEIC to JPG on Windows
Windows does not open HEIC out of the box, but a free codec from the Microsoft Store fixes that, after which conversion is a two-click job.
Install the HEIF and HEVC extensions
- Open the Microsoft Store and search for HEIF Image Extensions.
- Install it; it is free and published by Microsoft.
- Also install the HEVC Video Extensions from the same store. Microsoft lists a free version of the HEVC extension (search the store for the free listing, since a paid one also exists) and both together give Windows full HEIC support.
Once installed, HEIC files open in Photos, get thumbnails in File Explorer, and can be edited in Paint. This is the one-time setup worth doing if you receive iPhone photos regularly.
Convert with Paint
- Open the HEIC file in Paint (right-click the file, Open With, Paint).
- Choose File, then Save As.
- Select JPEG picture, pick a location and name, and click Save.
Paint handles one file at a time, so this suits the occasional conversion. If you find yourself doing it constantly, an online converter or a third-party batch tool such as IrfanView with its HEIC plugins will be faster.
Method 4: Use a Free Online Converter
When you cannot install anything, perhaps you are on a work computer, a Chromebook, or someone else’s machine, an online HEIC to JPG converter is the zero-install answer. The basic flow is the same everywhere:
- Open the converter in your browser.
- Drag your HEIC files into the page or click to browse and select them.
- Choose JPG as the output format and adjust the quality slider if one is offered.
- Click convert and download the JPG files.
For privacy, prefer converters that process files inside your browser (client-side or in-browser conversion), so your photos are never uploaded to a server. This matters for personal photos, IDs, and anything sensitive.
One limitation: browser converters handle the still-image part of Live Photos, not the companion video clip. If you need the full Live Photo, export it from the Photos app on a Mac or from iCloud Photos on the web. To convert those files quickly before editing them further, for example to remove the background from an image for free, the in-browser route keeps everything on one machine.
HEIC vs JPG: What Changes When You Convert
| Feature | HEIC | JPG |
|---|---|---|
| File size | About 40 to 50 percent smaller at similar quality | Larger, but universally accepted |
| Quality model | 16-bit color support, less banding | 8-bit color, JPEG compression artifacts at low quality |
| Compatibility | Apple devices and newer Android | Opens on virtually everything |
| Web support | Limited | Full, the standard for web uploads |
| Metadata | Stores EXIF plus depth and Live Photo data | Stores EXIF; some Apple-specific fields may be dropped |
| Transparency | Supports it | Does not support transparency |
Practically, converting a HEIC photo to JPG at high quality (around 90 percent or more) produces a file that looks identical to the original to the human eye. The difference only becomes visible at very low quality settings or after many repeated re-encodings. The larger JPG file size is the real cost, and it is usually worth paying for universal compatibility.
Common Conversion Problems and How to Fix Them
The converted file will not open
This almost always traces back to renaming instead of converting. Make sure the output really is a JPG by opening it in a fresh app or checking the file size. A renamed HEIC keeps its original size; a true JPG will usually be larger.
Quality looks worse than expected
JPG compression is lossy, so setting the quality too low produces blocky artifacts, especially in skies and gradients. Convert at the highest quality the tool allows unless you have a specific reason to shrink the file. If you need pixel-perfect fidelity, convert to PNG instead, but expect files several times larger.
Windows still cannot open HEIC after conversion
That suggests the codec install did not finish or the wrong extension version is installed. Double-check that both the HEIF Image Extensions and the HEVC extensions show as installed in the Microsoft Store library, then restart the Photos app.
FAQs
Why does my iPhone save photos as HEIC instead of JPG?
Apple made HEIC the default with iOS 11 because it produces noticeably smaller files than JPG at comparable quality, which saves storage on the phone and speeds up iCloud syncs. You can switch back to JPG any time in Settings, Camera, Formats, Most Compatible. Photos taken before the switch remain HEIC until converted.
Will I lose quality converting HEIC to JPG?
Technically yes, because JPG uses lossy compression, but at a high quality setting (around 90 percent or above) the difference is invisible in normal viewing. The loss only matters if you plan to edit and re-export the image many times, in which case keep a copy of the original HEIC as your master file.
Can I convert HEIC to JPG without installing software?
Yes. On iPhone, the Files app copy trick converts without any app install. On the web, free in-browser converters convert without installing anything and, when they process locally in your browser, without uploading your photos either.
Is there a way to batch convert many HEIC files at once?
Yes. On Mac, select multiple files in Finder and use Quick Actions, Convert Image. On iPhone, select many photos in the Photos app and use the Share, Copy Photos trick. Online converters usually accept multiple files at once. Windows batch conversion typically needs a third-party tool like IrfanView.
Does converting HEIC to JPG keep the photo’s date and location?
Most converters carry over the basic EXIF information like date, orientation, and camera settings. Some Apple-specific metadata may not survive. If preserving every metadata field is critical, use a desktop workflow designed for that, such as exporting from the Mac Photos app or using a metadata copy utility.
Why do some websites reject my HEIC uploads?
Upload forms, especially for government services, job portals, and insurance claims, are usually built to accept only JPG, PNG, or PDF. Their servers do not decode HEIC. Converting to JPG before uploading is the fix, and it is the reason this conversion remains one of the most common photo chores for iPhone owners.
Conclusion
HEIC is a genuinely good format, just not a universal one. For everyday sharing, uploading, and printing, JPG remains the safest choice because everything opens it. If you own an iPhone, learn the Files app copy trick and the Settings changes above. On a Mac, Preview does the job in seconds. On Windows, the free Microsoft Store codecs turn HEIC into a first-class citizen, and Paint handles the rest.
Pick the method that matches your device, keep your originals until the JPGs are safely saved, and your iPhone photos will open anywhere. Bulk conversions often leave you with duplicate copies in different folders, so it is worth learning how to find duplicate PNG images and other files once the batch is done.
For more practical how-to guides on everyday file chores, explore the collection at DigitalGeekSpot.