PNG and JPG are the two most common image formats on the web, and converting between them is one of the most frequent file chores around. People usually convert PNG to JPG to shrink file size: a PNG screenshot can be several megabytes, while the same image as a high-quality JPG often drops to a fraction of that. The conversion itself takes seconds on Windows, Mac, or in a browser, but there are quality trade-offs worth understanding first.
Quick answer: On Windows, open the PNG in Paint, choose File, Save As, and select JPEG. On a Mac, open the PNG in Preview, choose File, Export, and select JPEG with the quality slider. For batch conversion or devices without desktop software, use a free online PNG to JPG converter: upload the files, pick JPG output, and download the results. Always keep a copy of the original PNG before converting.
| Method | Best for | Batch conversion | Cost |
|---|---|---|---|
| Windows Paint | Windows users, single files | No | Free |
| Mac Preview | Mac users, single or few files | Partially | Free |
| Mac Finder Quick Actions | Mac users, many files | Yes | Free |
| GIMP | Advanced users, all platforms | Yes, with plugins | Free |
| Online converter | Any device, no install | Yes, depends on tool | Free |
PNG vs JPG: Why Convert at All
PNG uses lossless compression: every pixel survives exactly as captured. That makes it the right format for screenshots, logos, diagrams, and anything with sharp text or flat colors, where JPG compression artifacts would show. The price is file size. A full-screen PNG screenshot can be 3 to 8 MB, and a large PNG photo far more.
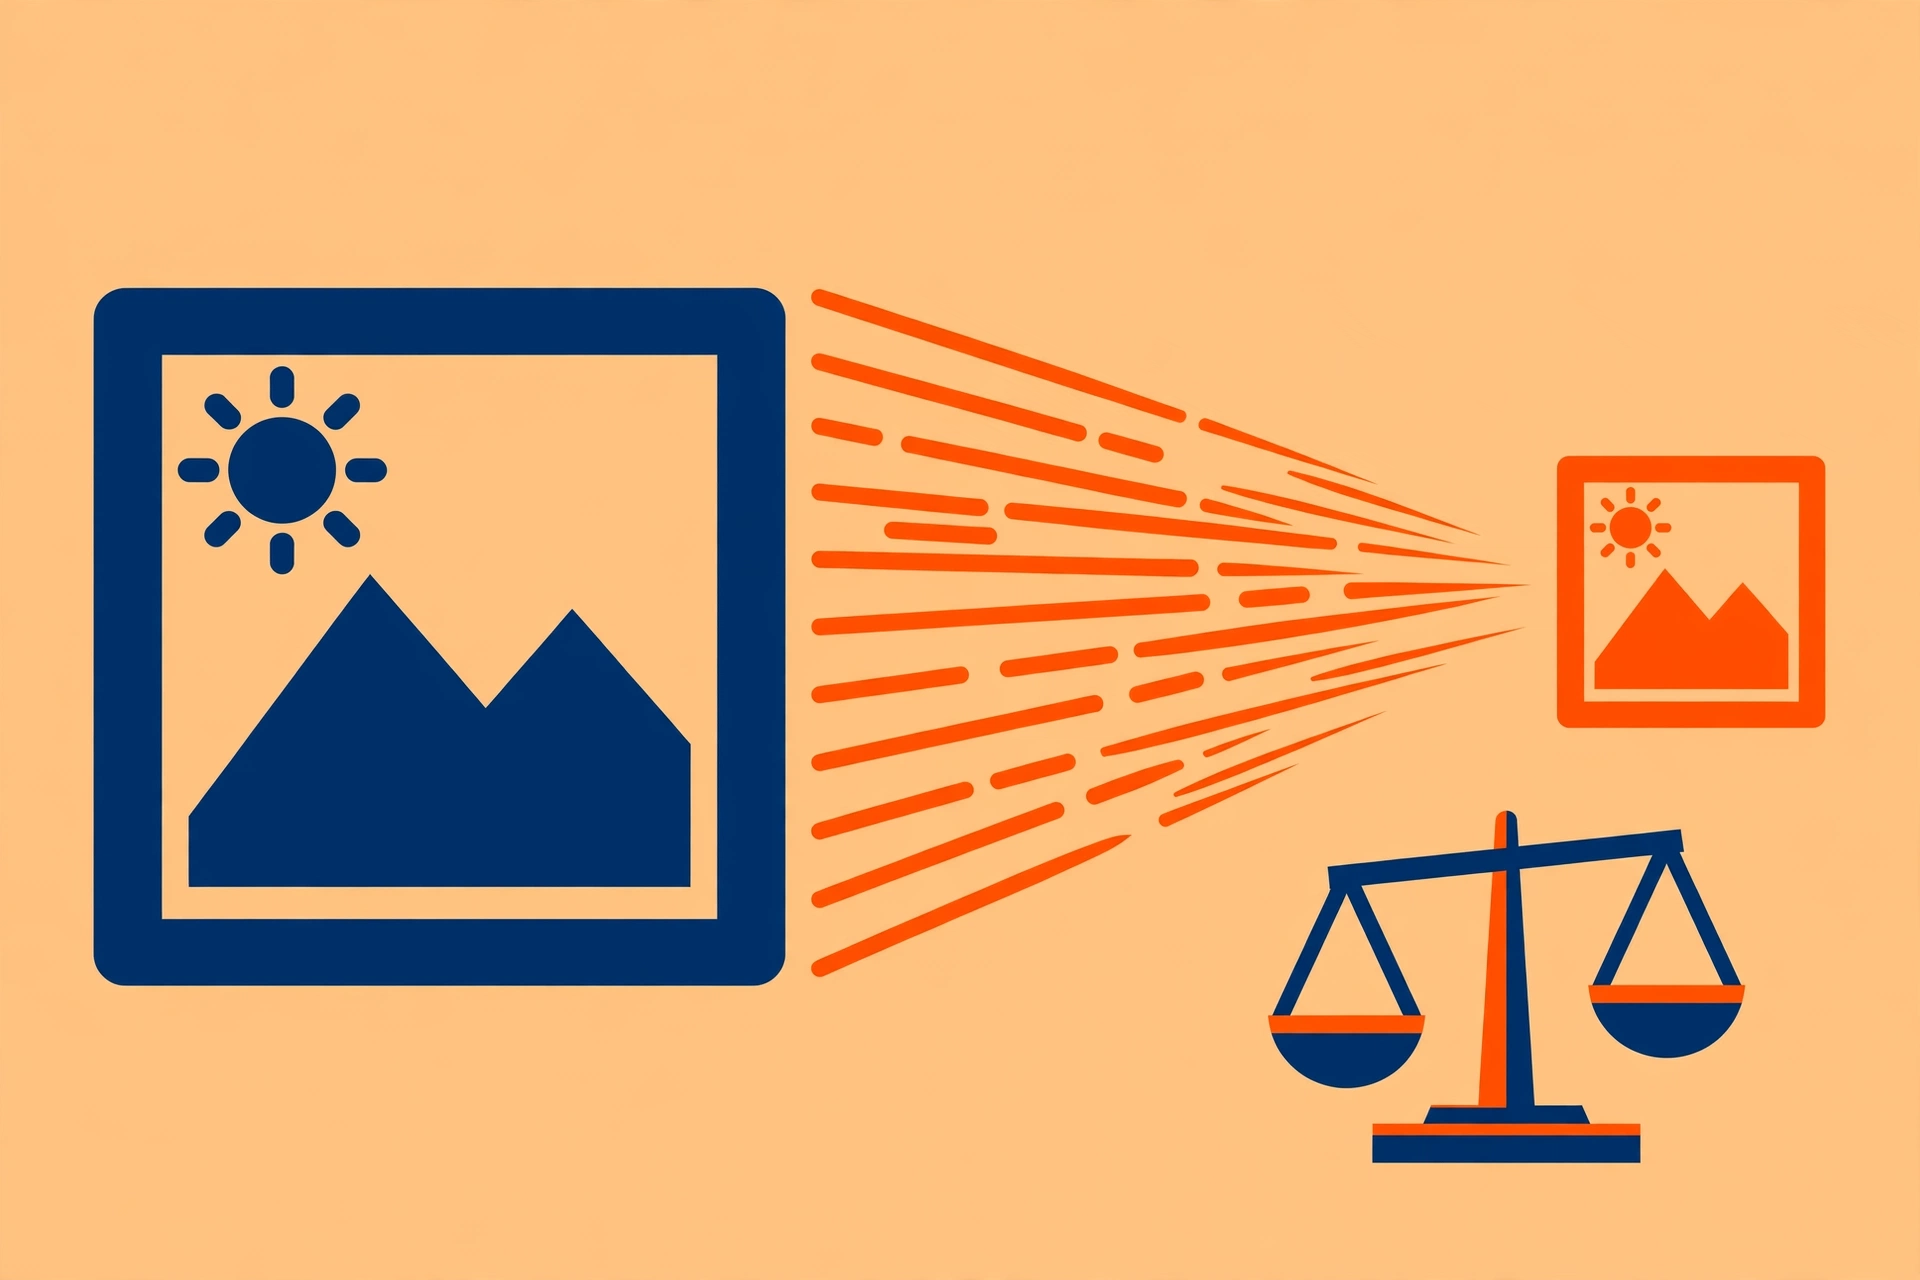
JPG uses lossy compression: it discards image data the human eye is unlikely to notice, which produces dramatically smaller files. A JPG at high quality is typically 5 to 10 times smaller than the equivalent PNG. That is why websites, email attachments, upload forms, and social platforms prefer JPG. Smaller files upload faster, load faster on web pages, and stay under attachment and form size limits.
The catch is that JPG compression is one-way. Once data is discarded, it cannot be recovered, which is why you should always convert from the original PNG rather than from an already-converted JPG, and keep the original PNG archived.
The one thing JPG cannot do: transparency. PNG supports transparent backgrounds; JPG does not. When you convert a PNG with transparent areas to JPG, those areas become a solid color, usually white or black depending on the tool. If you need to keep transparency, do not convert, and if you need transparency removed cleanly first, see the free guide to remove the background from an image for free before converting. For more everyday file and media workflows, the guides at DigitalGeekSpot cover the common tasks step by step.
Method 1: Convert PNG to JPG on Windows with Paint
Paint is installed on every Windows PC and converts one file at a time with no fuss.
- Right-click the PNG file, choose Open With, then Paint.
- Click File in the top menu, then Save As.
- In the Save as type dropdown, select JPEG picture.
- Choose a location and filename, then click Save.
Paint does not offer a quality slider, so the output uses its default JPEG compression. For screenshots and casual sharing this is fine. If you need precise quality control, use the GIMP method or an online converter with a quality setting instead. Paint also cannot batch convert, so for dozens of files use a different method.
Method 2: Convert PNG to JPG on a Mac with Preview
Preview is the Mac equivalent of Paint for this job, with one useful advantage: a quality slider.
- Double-click the PNG to open it in Preview.
- Choose File, then Export.
- In the Format dropdown, select JPEG.
- Drag the quality slider: higher quality means a larger file. For most uses, a setting around 80 to 90 percent is the sweet spot.
- Rename the file, choose where to save it, and click Save.
The quality slider is the reason many Mac users prefer Preview over simpler converters. You can watch the estimated file size change as you drag it and pick the smallest size that still looks clean.
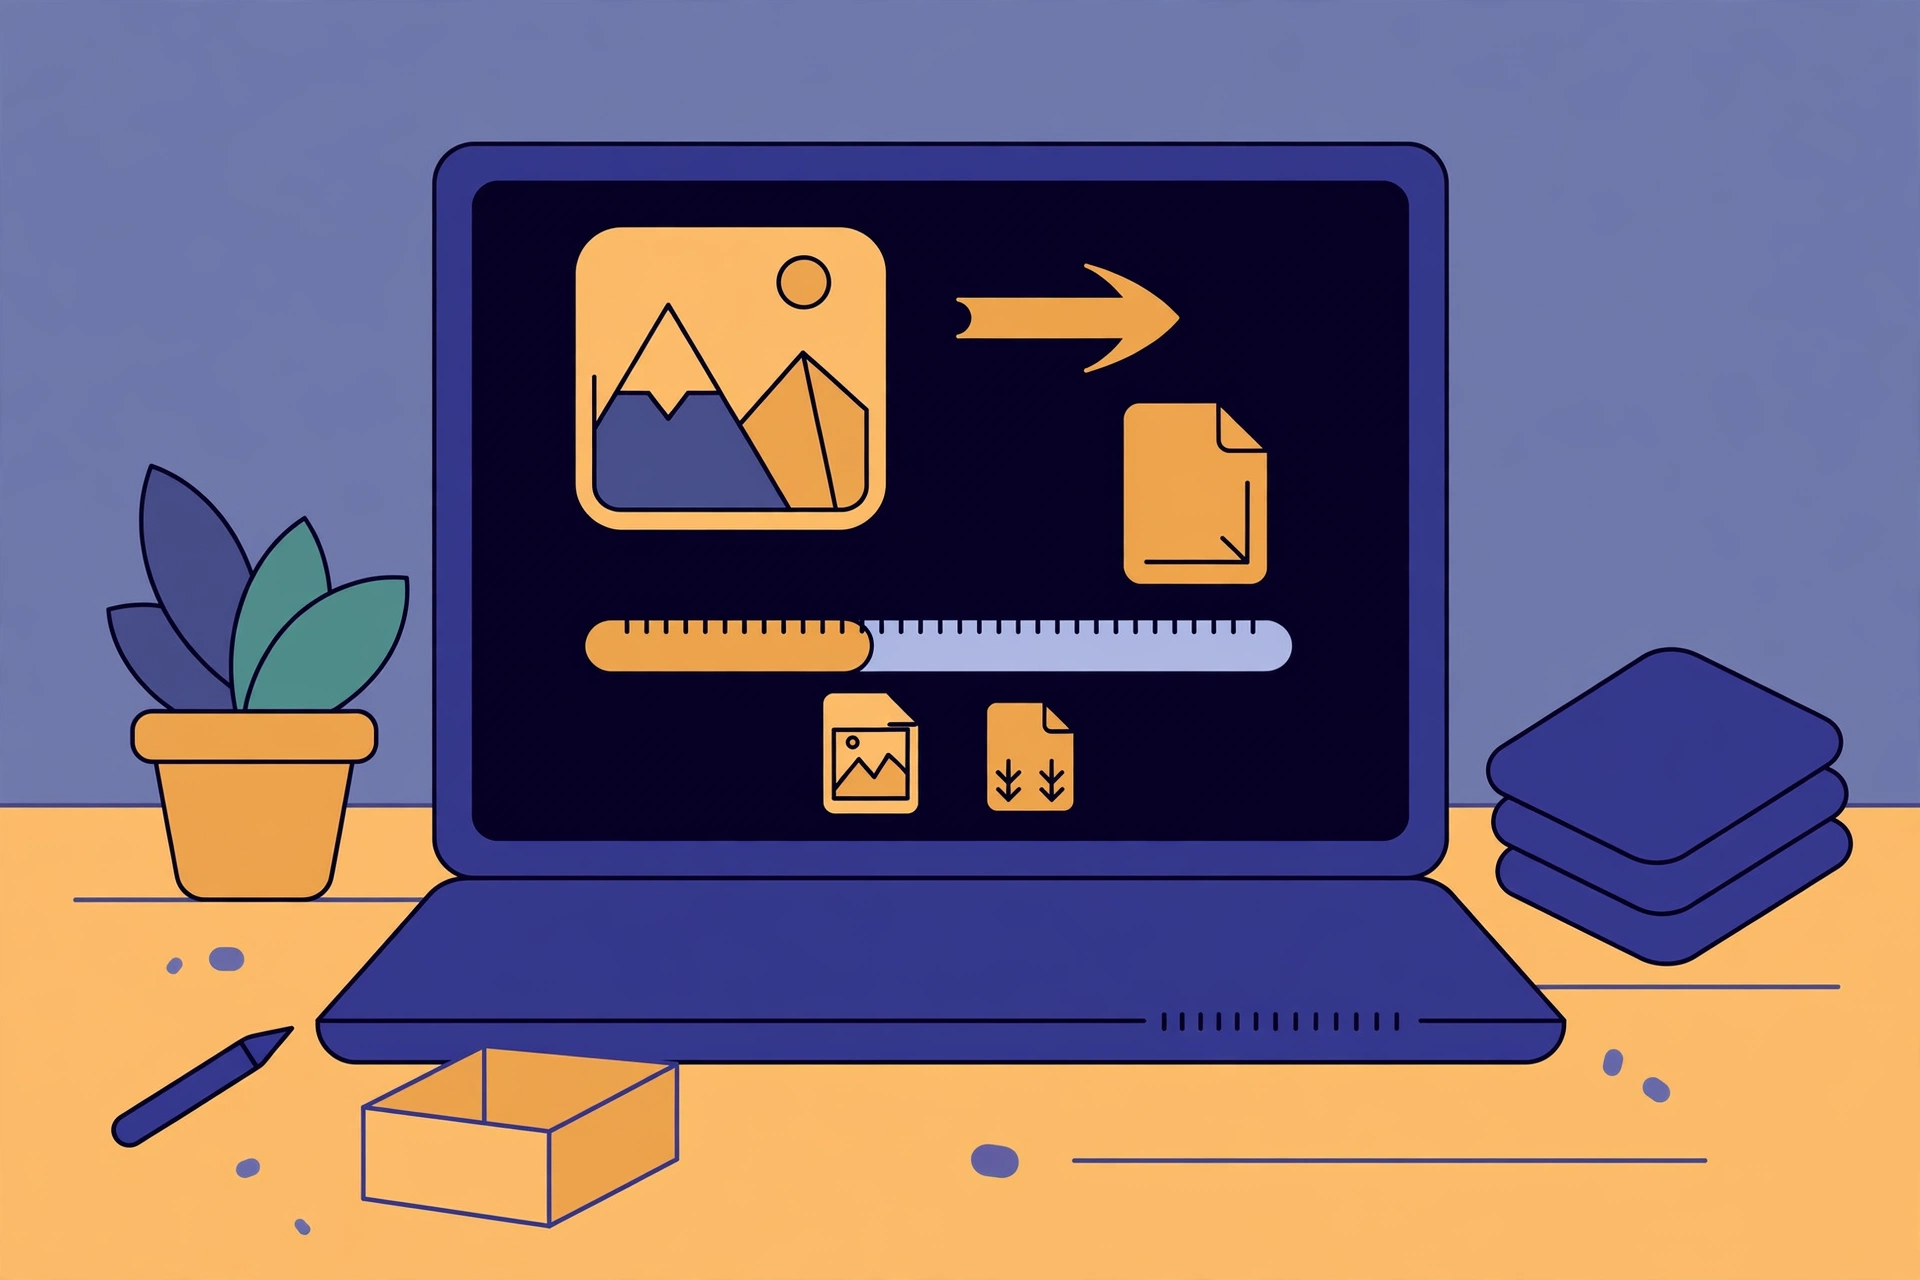
Batch convert on a Mac with Quick Actions
For folders of PNGs, skip the one-by-one routine:
- Select all the PNG files in Finder.
- Right-click and choose Quick Actions, then Convert Image.
- Select JPEG and click Convert.
The JPGs appear alongside the originals. This is the fastest native Mac route for bulk conversion.
Batch convert on a Mac with Terminal
If you are comfortable with the command line, the built-in sips tool converts entire folders:
- Open Terminal and move into the folder with the PNGs using the cd command.
- Create an output folder, then run a conversion command such as sips -s format jpeg *.png –out jpegs.
- Check the output folder for your JPGs.
This is the power-user option: fast, scriptable, and already on your Mac.
Method 3: Convert PNG to JPG with GIMP
GIMP is a free, open-source image editor for Windows, Mac, and Linux. It is overkill if you only need one conversion, but it is the best free choice when you want full control over quality, metadata, and batch processing.
- Open the PNG in GIMP with File, Open.
- Choose File, then Export As.
- In the name field, change the extension from .png to .jpg and click Export.
- In the export dialog, adjust the Quality slider. GIMP shows a live file-size estimate, so you can balance quality and size precisely. Options for subsampling and progressive rendering are also available.
- Click Export to save the JPG.
GIMP also handles the transparency problem gracefully: it warns you before exporting that JPG has no alpha channel and lets you choose the background color the transparent areas will become. For batch jobs, GIMP’s batch mode and plugins convert whole folders with identical settings.
Method 4: Convert PNG to JPG Online
Online converters are the zero-install answer and the only practical option on Chromebooks, tablets, and locked-down computers. The workflow is the same on nearly every tool:
- Open the converter in your browser.
- Drag your PNG files into the page or click to browse and select them.
- Choose JPG as the output format and set the quality if the tool offers a slider.
- Click convert and download the JPG files.
What separates good converters from bad ones: no watermarks, no forced sign-up for basic use, batch support, and quality settings rather than a single fixed output. For privacy, prefer converters that process files inside your browser (client-side conversion) so your images are never uploaded to a server, especially for screenshots containing personal information. Large PNG files take longer to upload on server-side tools, so local processing is faster there too.
Choosing the Right JPG Quality
| Quality setting | File size | Best for |
|---|---|---|
| 95 to 100 | Large | Archival copies, print work, images you will edit again |
| 80 to 90 | Medium | Web uploads, social media, email attachments, the everyday sweet spot |
| 60 to 75 | Small | Thumbnails, previews, bandwidth-limited pages |
| Below 60 | Tiny | Rarely worth it; artifacts become visible |
The practical rule: convert once at the highest quality you can afford, and derive smaller versions from that master if needed. Never convert a JPG to another JPG repeatedly; each generation discards more data. And remember the master rule: the PNG original is your negative. Archive it before you convert.
Common Problems When Converting PNG to JPG
Transparent areas turned white or black
This is expected behavior, not a bug. JPG has no transparency channel. If the result looks wrong, composite the PNG onto your intended background color first (in any image editor), then convert.
The JPG looks blurry or blocky
The quality setting was too low, or the image was already a low-quality JPG that got converted again. Re-convert from the original PNG at a higher quality. Text and line art suffer most from aggressive JPG compression, so screenshots of documents deserve high settings.
Colors look slightly different
PNG and JPG handle color profiles differently, and some converters strip the embedded color profile. The shift is usually subtle. If exact color matters, for example for a logo, consider whether you need the conversion at all, or use a tool that preserves color profiles.
The file is still too large
Lower the quality setting in steps, resize the image dimensions if the pixel size is bigger than needed, or check whether the source PNG had an enormous resolution. A 4K screenshot converted at quality 100 is still a big file. For web use, resizing to the display size before converting usually saves more than any quality tweak.
When Not to Convert PNG to JPG
Conversion is not always the right call. Keep the PNG when you need transparency, when the image has sharp text or line art that JPG artifacts would damage, when you plan to edit the image further, or when the file is already small enough that conversion saves nothing meaningful. PNG is also the better choice for images you will upload to platforms that recompress uploads, since starting from a lossless source preserves quality through their processing.
Conversion also multiplies files, and multiplied files multiply clutter. After a batch conversion it is easy to end up with two copies of everything. Learning how to find duplicate PNG images keeps the duplicates from eating your disk space.
FAQs
Will converting PNG to JPG reduce quality?
Yes, JPG compression discards some image data, so the conversion is technically lossy. At quality settings of 80 or above, the difference is invisible in normal viewing for photos. For images with sharp text, logos, or flat colors, the loss is more noticeable, so keep the PNG original and convert at high quality.
Why did my transparent background turn white?
JPG does not support transparency, so every converter fills transparent pixels with a solid color, most commonly white. To control the result, place the image on your chosen background color in an editor before converting, or keep the PNG if transparency is required.
Can I convert PNG to JPG without losing quality?
Not perfectly, because JPG is always lossy. You can get visually lossless results by converting at quality 95 to 100, which most viewers cannot distinguish from the PNG. For a truly lossless smaller file, consider formats like WebP, but note that WebP is less universally supported than JPG.
How do I convert multiple PNG files to JPG at once?
On a Mac, select the files in Finder and use Quick Actions, Convert Image. On Windows, free tools like IrfanView or XnConvert batch convert folders. Online converters usually accept multiple files at once. GIMP’s batch mode handles advanced batch jobs on any platform.
Is it safe to use online PNG to JPG converters?
Reputable converters are generally safe for ordinary images, but anything you upload leaves your device. For screenshots containing passwords, personal data, or client work, use a converter that processes files locally in your browser or a desktop tool like Paint, Preview, or GIMP. This is general information, not legal advice.
Should I delete the PNG after converting?
Keep it, at least until you are sure the JPG meets your needs. The PNG is your lossless master: you can re-convert it at any quality later, while the JPG can never give back the data its compression discarded. Archive originals in a clearly labeled folder.
Conclusion
Converting PNG to JPG is simple, but doing it well means respecting the trade-offs. Use Paint on Windows or Preview on Mac for quick one-off conversions, Quick Actions or a batch tool for folders, GIMP when you want precise quality control, and a reputable online converter when you cannot install software. Set quality around 80 to 90 for everyday use, watch out for transparency turning solid, and always keep the original PNG as your master copy. Do that, and you get the smaller files you wanted without surprises.