A loud, constantly spinning laptop fan usually means one thing: dust is choking the cooling system. The quick answer on how to clean laptop fan without opening your machine: shut the laptop down, unplug it, and blow short bursts of compressed air into the exhaust vents while holding the can upright. Follow with a soft brush on the exterior grilles, and repeat every three to six months.
This no disassembly method clears enough dust to lower temperatures and quiet the fan on most laptops, and it carries none of the risks of opening the chassis, such as stripped screws or voided warranties. In this guide we cover the warning signs, the exact technique, the safety rules, and what to do when a surface clean is not enough. For more practical upkeep advice, DigitalGeekSpot publishes hands on maintenance guides for Windows PCs every day.
Methods Compared: What You Can Do Without Opening the Laptop
Not every cleaning trick is safe from the outside. This table shows what works and what to avoid.
| Method | What It Cleans | Risk Level |
|---|---|---|
| Compressed air into vents | Fan blades, heatsink fins, dust in vents | Low, if the can stays upright |
| Soft brush on grilles | Dust caked on exterior vent slats | Very low |
| Vacuum near vents, not touching | Loose dust around the intake and exhaust | Low, keep the nozzle off components |
| Microfiber wipe of surfaces | Keyboard, lid, and vent surrounds | Very low |
| Blowing with your mouth | Almost nothing | High, moisture damages electronics |
| Sticking pins or brushes into vents | Almost nothing | High, bent fan blades and damage |
Signs Your Laptop Fan Needs Cleaning
Dust builds up slowly, so the symptoms creep in. Watch for these:
- The fan runs loud or constantly, even during light tasks like browsing. The fan is working harder to push air through blocked fins.
- The laptop runs hot, especially on the underside or near the vents. You can confirm this by learning how to check CPU temperature in Windows 11, since sustained high temps point straight at airflow problems.
- Performance drops during long sessions. When the CPU overheats it slows itself down to protect the chip, a behavior called thermal throttling. Games stutter, renders slow down, and the whole system feels sluggish.
- Visible dust in the vents. Shine a flashlight into the exhaust slots on the side or back. If you see grey fuzz packed between the slats, cleaning is overdue.
- Unexpected shutdowns. In extreme cases the CPU hits its thermal limit and the laptop powers off without warning.
What You Need Before You Start
You only need a few inexpensive items:
- A can of compressed air, also called an air duster. A small electronics blower works too and cannot spray liquid.
- A soft bristle brush, such as a clean paintbrush or makeup brush, for the exterior grilles.
- A microfiber cloth for wiping surfaces.
- A well ventilated workspace. You will be blowing dust into the air, so avoid doing this over a bed or near food.

Safety Rules: Read This First
Cleaning without opening the laptop is safe, but only if you respect these rules:
- Power the laptop fully off and unplug it. Not sleep, not hibernate, a full shutdown. Remove the charger and any dock.
- Let it cool down for at least 10 minutes if it was running hot. Spraying cold air on hot components is not ideal.
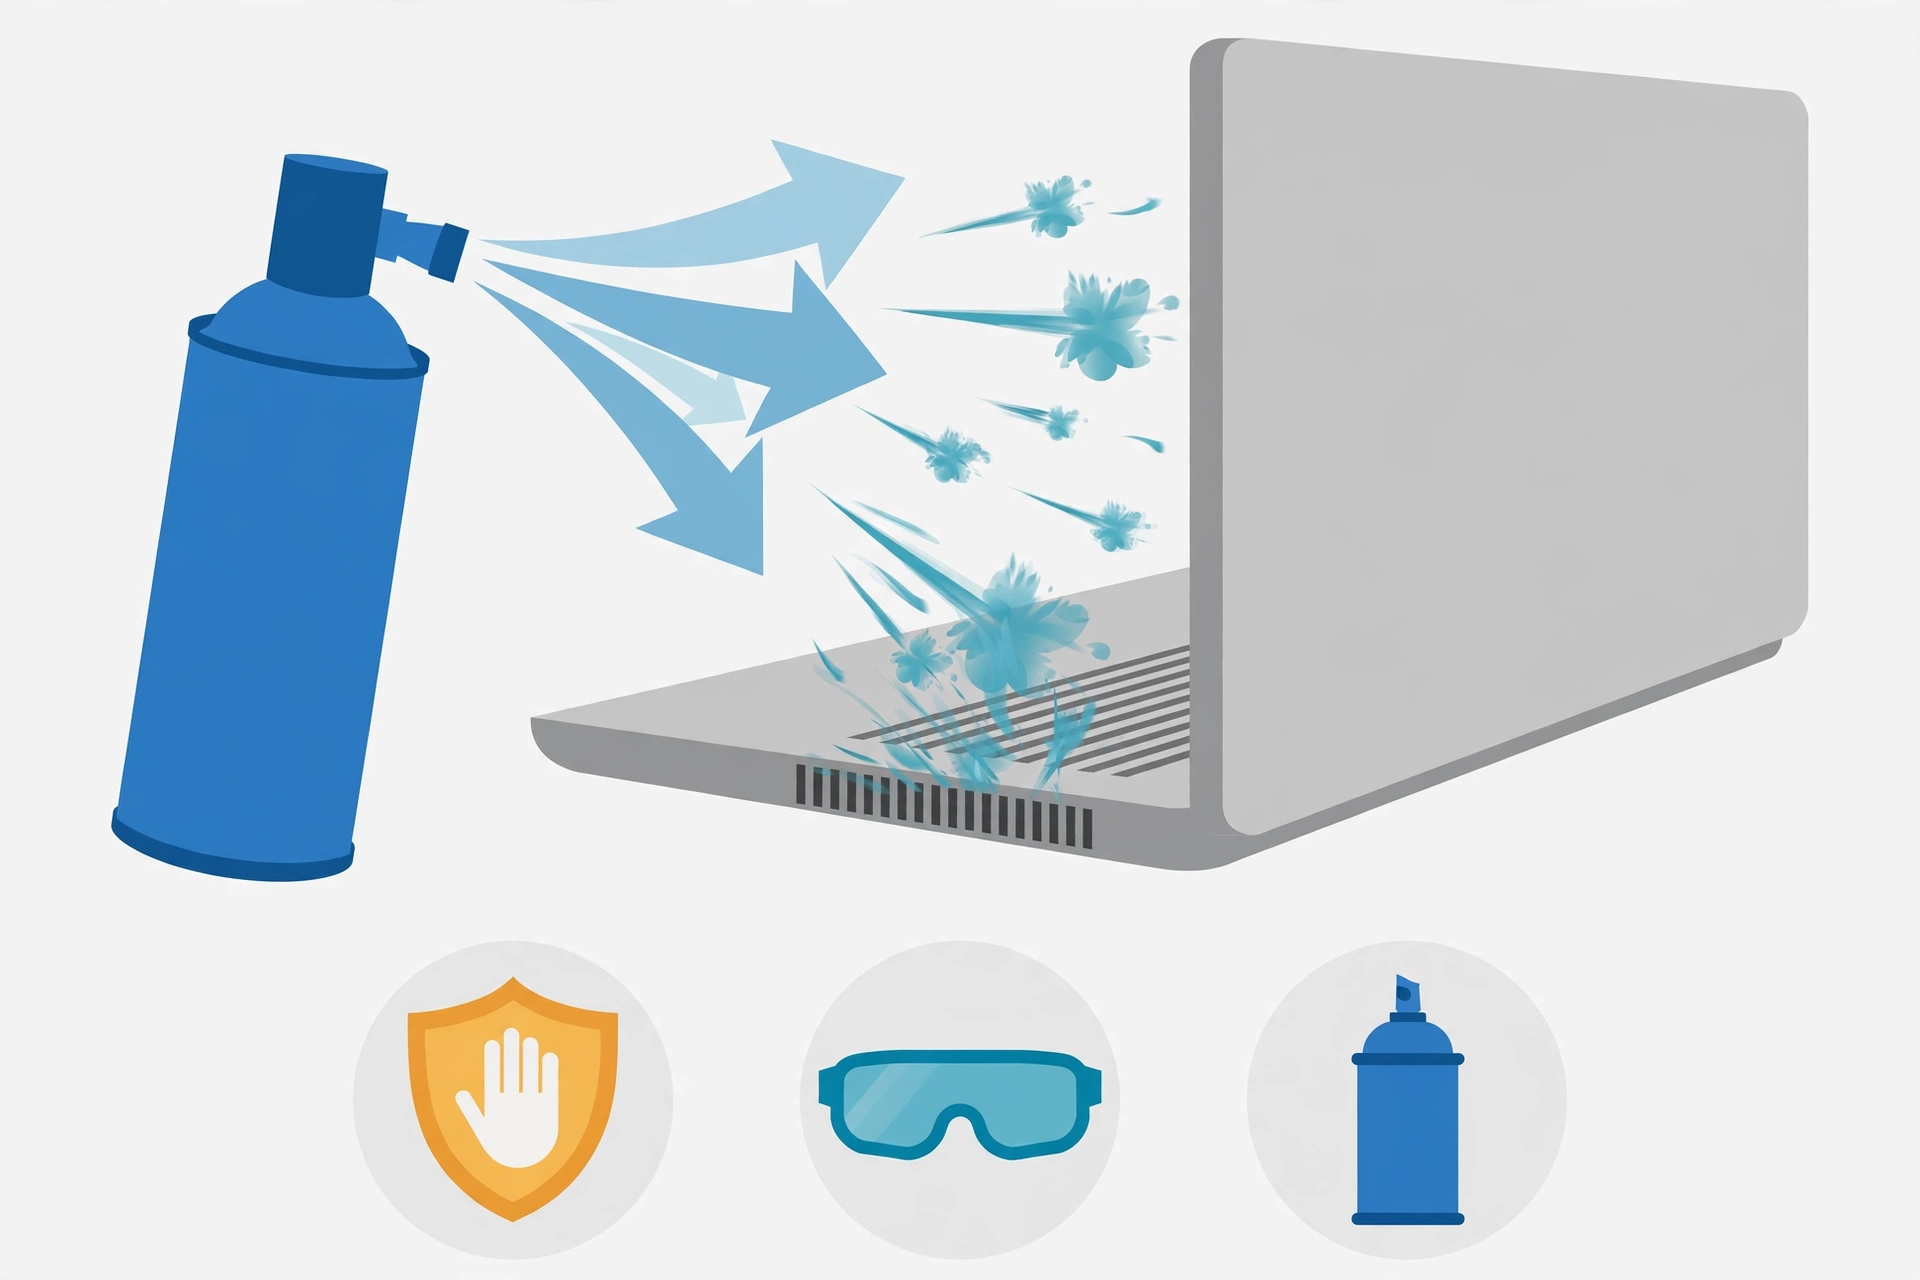
- Hold the compressed air can upright at all times. Tilting or shaking it can spray freezing liquid propellant, which can damage circuits or cause frostbite on skin.
- Use short bursts, not a continuous spray. Two to three second bursts let the can pressure recover and avoid pushing dust deeper inside.
- Keep the nozzle a few inches away from the vents, roughly 10 to 15 cm, so the pressure does not overspin the fan.
- Never insert anything into the vents. Pins, needles, cotton swabs, and brush handles can bend or snap fan blades, and a damaged blade means a noisy fan forever.
- Never blow with your mouth. Breath carries moisture that can corrode electronics.
Step by Step: Clean the Fan Without Opening the Laptop
Step 1: Find the Intake and Exhaust Vents
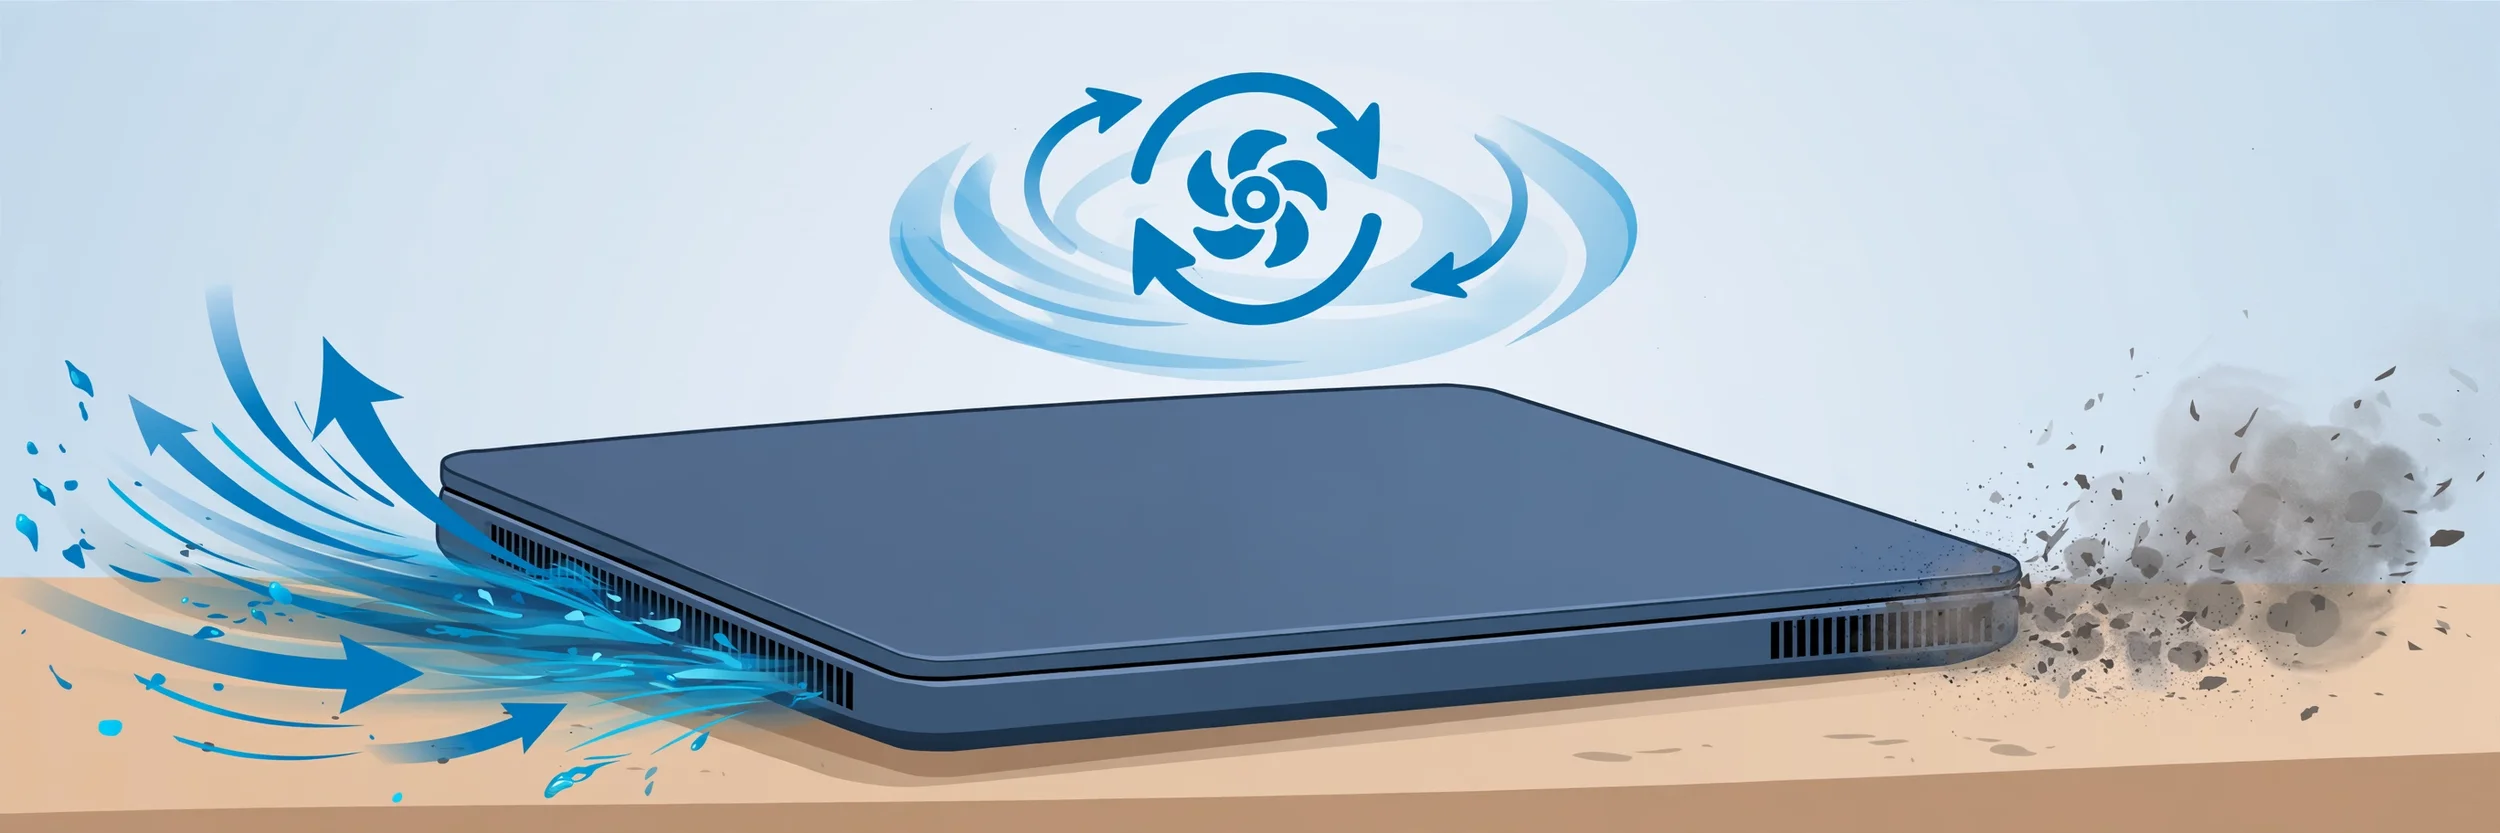
Flip the laptop over, with the screen closed, and look for vent grilles. Intake vents are usually on the bottom, sometimes hidden behind a mesh. Exhaust vents sit on the sides or the back near the hinge. Dust enters through the intake and collects on the fan and heatsink fins, and exits through the exhaust. Knowing which is which matters: you want to blow dust out through the exhaust, not push it deeper through the intake.
Step 2: Blow Short Bursts Into the Exhaust Vents
Hold the can upright, position the nozzle about 10 to 15 cm from an exhaust vent, and fire two to three second bursts at an angle that pushes dust outward. Work vent by vent, moving around all the exhaust slots. You will often see a small puff of dust on the first burst, which is a good sign. Pause between bursts so the can does not get too cold.
Step 3: Blow Gently Across the Intake Vents
Give the bottom intake grilles a few light bursts from a slightly greater distance to dislodge surface dust. Keep the bursts gentle here, because blasting hard into the intake can wedge dust further into the heatsink fins.
Step 4: Brush the Exterior Grilles
Use the soft brush to sweep dust off the vent slats themselves. Brush outward, away from the slots, so you are not packing dust back in. This step clears the caked layer that air alone cannot move.
Step 5: Vacuum Around the Vents at a Safe Distance
Hold a small vacuum nozzle a few centimeters away from the vents to catch the loose dust you just dislodged. Never press the nozzle against the laptop or into the slots, and avoid full size household vacuums near electronics because of static discharge risk. This step is optional but keeps the dust from resettling on the machine.
Step 6: Wipe Down and Elevate the Laptop
Wipe the keyboard deck, lid, and the area around the vents with the microfiber cloth, since surface dust gets pulled straight back into the intakes. Then improve airflow going forward: use a laptop stand or cooling pad, or place two small objects like erasers under the rear feet to lift the back slightly. Better intake clearance means the fan works less and collects less dust. If the whole system still feels slow after the cleanup, our guide on how to speed up Windows 11 covers the software side of performance, from startup programs to background services.
Software Maintenance That Helps the Fan
Dust is only half the story. A fan that spins up constantly can also be driven by software.
- Update drivers and BIOS. Manufacturers release fan curve and thermal fixes in BIOS updates, and outdated chipset or GPU drivers can cause unnecessary load.
- Check power plans. In Settings, System, Power and battery, the Best power efficiency mode keeps the CPU cooler during light work, which keeps the fan quieter.
- Trim background programs. Crypto miners, runaway updaters, and dozens of startup apps generate heat for no benefit. A quick malware scan and startup cleanup often quiets a busy fan.
- Monitor temperatures after cleaning. Recheck temps a day after cleaning. If they dropped noticeably, dust was the problem. If nothing changed, the issue may be dried thermal paste or a failing fan bearing, both of which need a technician.
What NOT to Do
- Do not use a hair dryer. Even on cool setting the airflow is unfocused, and on heat it can melt plastics and damage the battery.
- Do not spray any liquid cleaner into the vents. No water, no alcohol sprays, no cleaning foam. Liquids and motherboards do not mix.
- Do not shake the compressed air can or spray it upside down. The liquid propellant that comes out can freeze and crack solder joints.
- Do not force the fan to spin fast with air. Overspinning can wear out the bearings or, in theory, generate back current. Short gentle bursts are the rule.
- Do not open the laptop if it is under warranty unless the manufacturer allows it. Many thin and light models have warranty seals, and this guide exists precisely to avoid that risk.
When Cleaning Without Opening Is Not Enough
A surface clean handles loose dust, but some problems need deeper access. Consider a professional service or a careful disassembly, following your manufacturer manual, when the fan still roars after cleaning, temperatures stay high, you hear grinding or clicking from the fan, or the laptop is more than three years old and has never had its thermal paste replaced. Dried thermal paste between the CPU and heatsink is a common cause of persistent overheating in older laptops, and replacing it requires opening the machine. If you are not comfortable with that, a local repair shop can do a full fan and heatsink service for a modest fee.
Frequently Asked Questions
Can I clean my laptop fan without opening it?
Yes. Shutting the laptop down and blowing short bursts of compressed air into the exhaust vents, then brushing the grilles, removes a large share of accumulated dust. It will not match a full disassembly clean, but it is effective maintenance and carries no warranty risk.
Can I use a vacuum cleaner on my laptop fan?
You can vacuum around the vents from a short distance to catch loose dust, but never press the nozzle into the slots or against components. Full size vacuums can generate static electricity, so a small handheld vacuum used carefully is the safer choice.
Can I blow into the vents with my mouth?
No. Breath contains moisture that can corrode internal electronics, and the airflow is too weak to move packed dust anyway. Use a can of compressed air or an electronics blower instead.
How often should I clean my laptop fan?
Every three to six months for most users. Clean more often if you have pets, live in a dusty area, or use the laptop on soft surfaces. If the fan gets loud between cleanings, that is your reminder.
Does cleaning the fan void the warranty?
Cleaning from the outside without opening the chassis does not void the warranty, which is the main advantage of this method. Opening the laptop may void it depending on the manufacturer, so check your warranty terms first.
My fan is still loud after cleaning. What now?
Check for software causes first: high CPU usage, outdated drivers, or aggressive power settings. If temps stay high and the fan roars at idle, the thermal paste may be dried out or the fan bearing may be worn, and both need professional service.
Related Articles
- How to Check CPU Temperature in Windows 11
- How to Speed Up Windows 11: 15 Proven Performance Tweaks
- How to Disable Startup Programs in Windows 11
- How to Free Up Disk Space in Windows 11 (2026 Guide)
The Bottom Line
Cleaning a laptop fan without opening it is simple, safe, and surprisingly effective. Power down, unplug, blow short upright bursts of compressed air through the exhaust vents, brush the grilles, and vacuum the loose dust around them. Do this every few months, keep the laptop elevated for airflow, and the fan will run quieter and the machine will run cooler. When a surface clean stops being enough, that is the signal to let a professional handle the deeper work.