Your SSD is installed, the cables are in, but Windows 11 refuses to show it in File Explorer. The good news is that in most cases the drive is not dead. open Disk Management (press Win + X and choose Disk Management), look for a disk marked “Not Initialized” or “Unallocated,” initialize it with GPT, create a new simple volume, and assign a drive letter. If the drive does not appear in Disk Management at all, the cause is usually BIOS settings or a missing storage controller driver, especially Intel RST/VMD on 11th-gen and newer Intel laptops.
If you are setting up a brand-new NVMe drive from scratch, our walkthrough on installing Windows 11 on an NVMe SSD covers the clean-install path in more detail.
Quick Diagnosis: Match Your Symptom to the Fix
Use this table to jump straight to the fix that matches what you are seeing.
| Symptom | Likely cause | Fix |
|---|---|---|
| SSD shows in Disk Management as “Not Initialized” or “Unallocated” | Brand-new drive with no partition table | Initialize as GPT, create a new simple volume (Fix 1) |
| SSD shows in Disk Management but has no drive letter | Partition exists but is not mounted | Assign a drive letter with “Change Drive Letter and Paths” (Fix 1) |
| SSD not in Disk Management but visible in BIOS | Missing storage controller driver (Intel RST/VMD) or wrong SATA mode | Update or install the storage driver, check AHCI mode (Fixes 3 and 4) |
| SSD not in BIOS either | Hardware problem: loose cable, bad slot, dead drive | Reseat cables and NVMe stick, try another slot (Fix 6) |
| SSD invisible during Windows 11 setup (“We couldn’t find any drives”) | Intel VMD enabled with no IRST driver loaded | Load the IRST driver or disable VMD in BIOS (Fix 5) |
| Drive disappeared after a Windows update | Driver update conflict, commonly Intel RST driver updates | Roll back the driver in Device Manager (Fix 4) |
Fix 1: Initialize, Partition, and Assign a Drive Letter in Disk Management
This is the number one reason a new SSD does not show up in Windows 11. A fresh drive has no partition table, so Windows sees the hardware but has nothing to mount. Disk Management fixes that.
Step 1: Open Disk Management and find the drive
- Press
Win + Xand select Disk Management. You can also pressWin + R, typediskmgmt.msc, and press Enter. - Look at the lower pane for a disk marked Unknown / Not Initialized or showing a black bar labeled Unallocated.
- Confirm the disk size matches your SSD so you do not touch the wrong drive.
Step 2: Initialize the disk (choose GPT)
- Right-click the disk label (for example “Disk 1”) and choose Initialize Disk.
- Select GPT (GUID Partition Table). Use GPT for drives over 2TB and all NVMe drives; MBR is only for older small drives.
- Click OK. The disk will now show as unallocated space.
Warning: initializing a disk wipes its partition table. Only initialize a drive that is new or whose data you are willing to lose. See the data-safety section before continuing if the drive held files.

Step 3: Create a new simple volume and assign a drive letter
- Right-click the unallocated space and choose New Simple Volume.
- Follow the wizard. Keep the default size to use the whole drive, or set a smaller size for multiple partitions.
- When asked, assign a drive letter such as D or E. This step is what finally makes the drive appear in File Explorer.
- Format the volume as NTFS (exFAT if you will move the drive between Windows and macOS), label it, and finish the wizard.
- Wait for formatting to complete. The drive should now appear in File Explorer within seconds.
If the drive is already partitioned but still invisible
Sometimes Disk Management shows a healthy partition with no drive letter. Right-click it, choose Change Drive Letter and Paths, click Add, pick a letter, and the drive will appear in File Explorer immediately.
Fix 2: Check Whether BIOS/UEFI Detects the Drive
If the SSD does not appear in Disk Management at all, the next question is whether your motherboard sees it. Restart the PC and enter BIOS/UEFI (usually by pressing Del, F2, or F12 during boot). Look under the storage information section, not just the boot priority list, because a blank drive will not show up as a boot option.
Fix 3: Fix the Intel RST / VMD Storage Controller Problem
On most Intel laptops and desktops with 11th-gen Core processors or newer, the NVMe SSD sits behind Intel VMD (Volume Management Device). Windows does not include the driver for this controller by default, so the SSD can be perfectly healthy in BIOS yet completely invisible to Windows. This is the most common cause of “SSD not detected” on modern Intel systems.
Option A: Switch the SATA/storage mode to AHCI
- Enter BIOS/UEFI and find the storage settings (often under Advanced, then SATA Configuration or VMD setup menu).
- Change the controller mode from RAID, Intel RST, or Intel RST Premium with Intel Optane to AHCI.
- If you see a separate VMD Controller or Enable VMD option, set it to Disabled.
- Save and exit. Windows should now detect the SSD on the next boot.
Caution: changing the storage mode on a PC where Windows is already installed on another drive can stop that installation from booting. If your main Windows drive works fine, prefer Option B, or make sure you know how to reset the driver in safe mode first.
Option B: Install the Intel RST driver in Windows
- Go to your laptop or motherboard manufacturer’s support page and download the Intel Rapid Storage Technology (RST) driver for your exact model.
- Install the driver package in Windows and restart.
- Open Device Manager and confirm the controller under Storage Controllers no longer shows a warning icon.
If a recent Windows update broke a previously working SSD, suspect the storage driver. There are documented cases of Intel RST driver updates making NVMe drives disappear from Windows until the correct manufacturer driver was reinstalled. Rolling back the driver in Device Manager or reinstalling the manufacturer’s RST package usually restores the drives.
Fix 4: Rescan and Update Drivers in Device Manager
Even when BIOS settings are correct, Windows sometimes needs a push to recognize the hardware.
- Press
Win + Xand open Device Manager. - Click Action in the menu bar, then Scan for hardware changes. This forces Windows to re-detect attached drives.
- Expand Storage controllers and IDE ATA/ATAPI controllers. Look for any device with a yellow warning icon or an entry labeled “Unknown device.”
- Right-click the storage controller and choose Update driver, then Search automatically for drivers. If Windows finds nothing, download the latest chipset and storage drivers from your manufacturer’s support page and install them manually.
- If the drive stopped appearing right after an update, right-click the controller, choose Properties, go to the Driver tab, and use Roll Back Driver if the option is available.
Fix 5: New NVMe SSD Not Detected During Windows 11 Setup
If you are doing a clean install and the Windows 11 setup screen says “We couldn’t find any drives,” this is the Intel VMD driver gap described in Fix 3. The installer has no driver for the controller, so it cannot see the SSD. You have two routes.
Route 1: Load the IRST driver during setup
- On a working PC, download the SetupRST.exe installer from Intel or your PC manufacturer’s support page, choosing the version for your CPU generation.
- Extract the drivers by running
SetupRST.exe -extractdrivers SetupRST_extractedfrom a Command Prompt in the download folder. Copying the .exe itself to the USB does not work; setup needs the extracted files. - Copy the extracted folder, including the VMD subfolder containing
iaStorVD.inf, onto a USB drive (FAT32 is the safest format). - Boot the Windows 11 installer. On the drive-selection screen, click Load driver, browse to the USB folder, and select the Intel RST VMD Controller driver.
- Your SSD should appear in the list. Continue the installation normally.
Route 2: Disable VMD in BIOS, then install
Enter BIOS, find the VMD or Intel RST setting under the storage configuration, set it to Disabled or switch the mode to AHCI, save, and restart the installer. The SSD will be visible without any extra driver. For the full step-by-step, see our guide to installing Windows 11 on an NVMe SSD.
Fix 6: Hardware Checks for SATA and NVMe Drives
If the drive is invisible even in BIOS, work through the physical layer before buying a replacement.
- SATA SSDs: power down, open the case, and check both ends of the SATA data cable. Confirm the SATA power connector from the power supply is fully seated, then try a different SATA port and, if possible, a different cable.
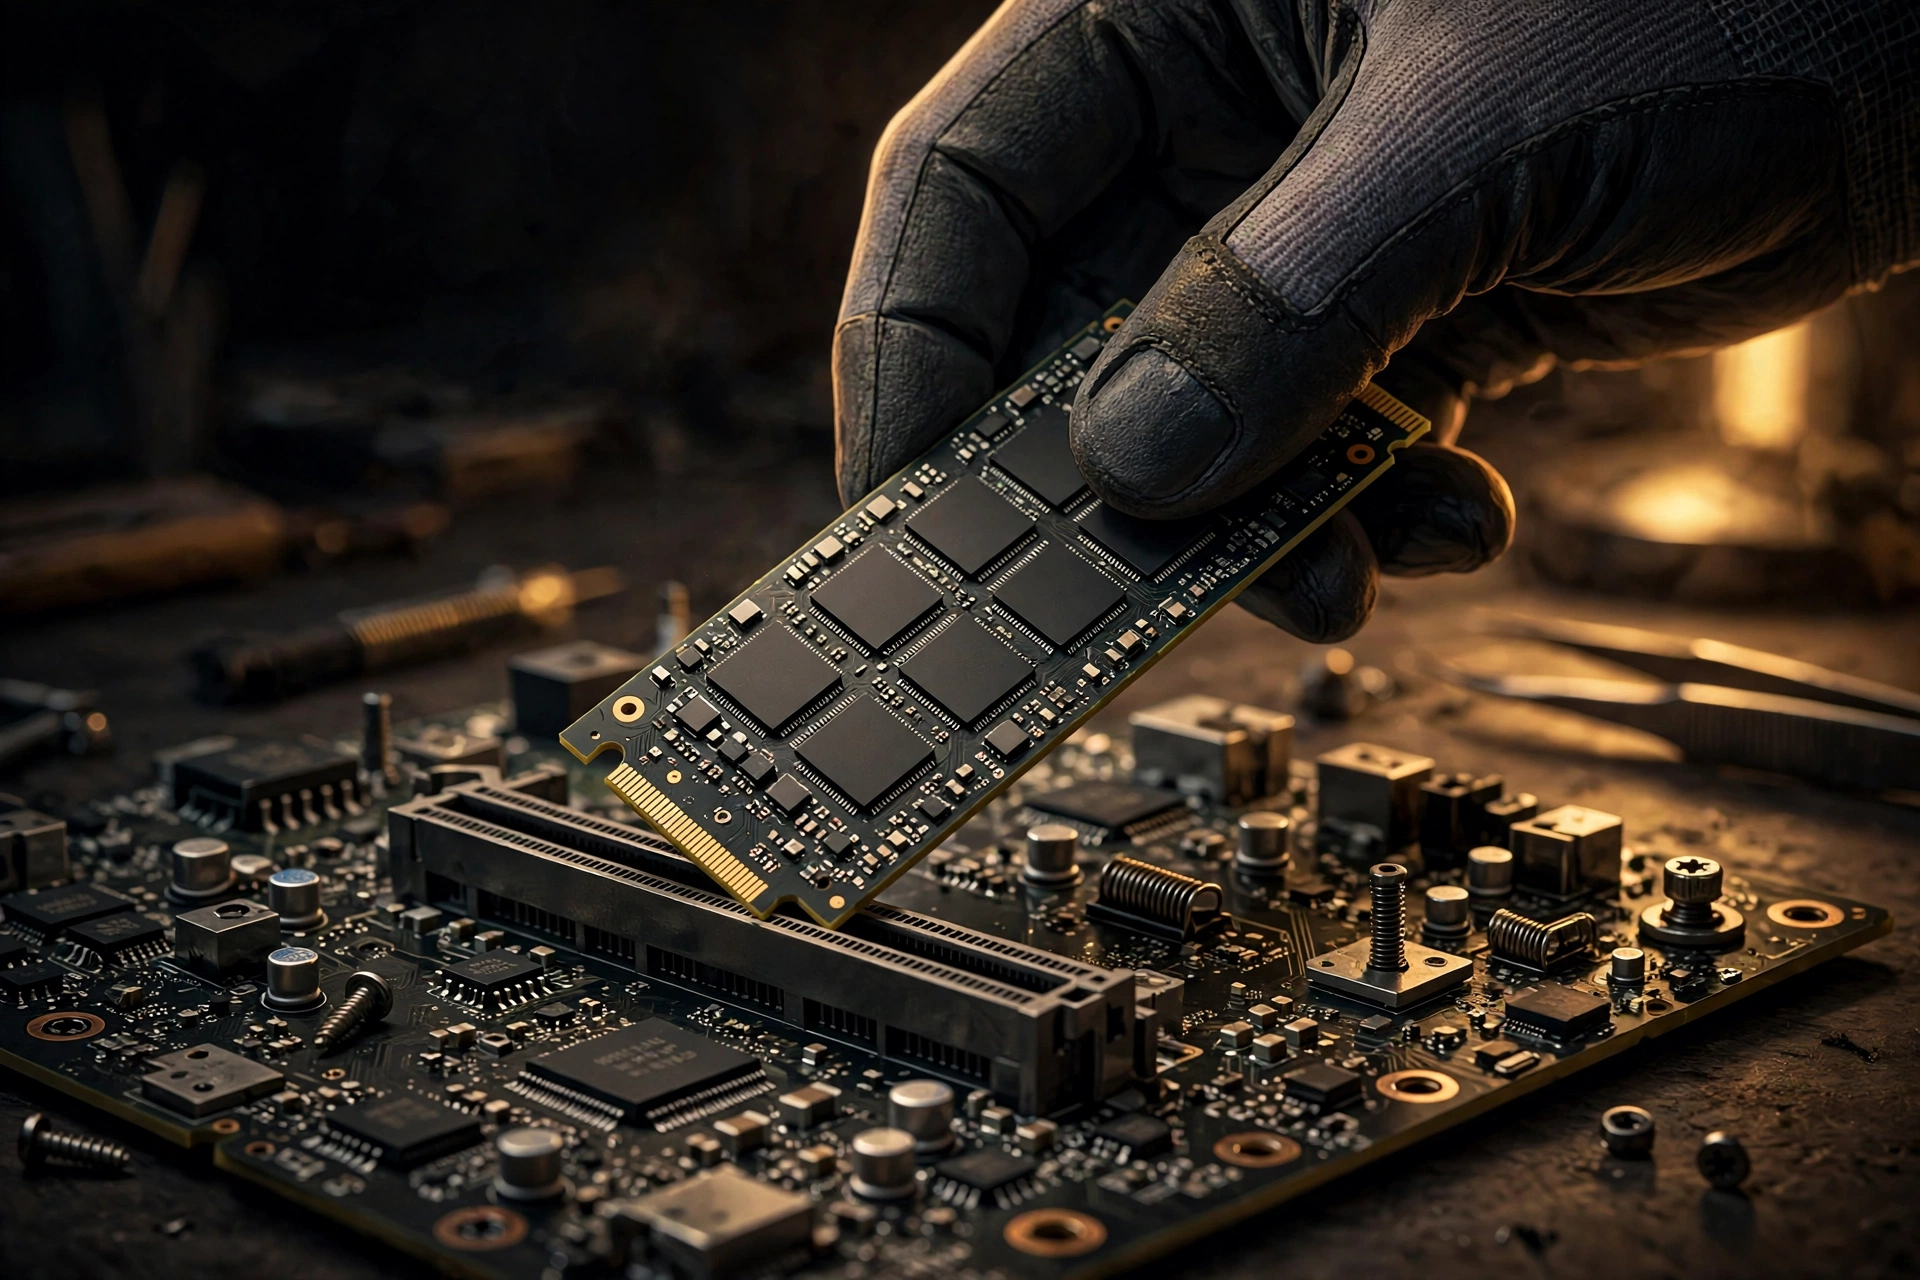
- NVMe SSDs: remove the mounting screw, take the stick out, and reseat it in the M.2 slot until it clicks in, then screw it down firmly. A surprising number of “dead” NVMe drives are simply half-inserted. If your motherboard has a second M.2 slot, try that one to rule out a bad slot.
- Check the BIOS for disabled slots: some motherboards disable certain SATA ports or M.2 slots when others are populated, or have NVMe slots disabled by default. Check the manual’s slot-population rules.
- Test on another machine: if possible, try the SSD in a different PC or a USB enclosure. If it appears there, your original PC has a configuration or slot problem, not a dead drive.
Data Safety: Read This Before You Initialize or Format
Every fix that changes the disk’s structure carries a data-loss risk. Keep these rules in mind:
- Initializing a disk erases its partition table. Only initialize a drive that is new or already backed up. If the missing drive held important files, stop and consider data-recovery software or a professional service before writing anything to it.
- Formatting erases all data on the volume. There is no undo. Double-check the disk number and capacity in Disk Management before you format.
- Switching SATA mode or disabling VMD on a PC that already has Windows installed on another drive can make that installation unbootable. Back up first if that drive matters to you.
- If the drive contains data you cannot lose, try the non-destructive fixes first: reseating cables, rescanning in Device Manager, updating drivers, and assigning a drive letter. None of those touch your data.
Frequently Asked Questions
Why is my new SSD not showing up in Windows 11 File Explorer?
The most common reason is that the drive has never been initialized. Windows sees the hardware in Disk Management but has no partition to mount. Initialize as GPT, create a new simple volume, assign a drive letter, and it will appear in File Explorer.
Should I initialize my SSD as MBR or GPT?
Use GPT for drives over 2TB and all NVMe drives; it is required for UEFI booting. Choose MBR only for older drives under 2TB on legacy systems.
My SSD shows in BIOS but not in Windows. Is it dead?
Almost certainly not. When BIOS sees the drive but Windows does not, the problem is software: a missing storage controller driver, the wrong SATA mode, or an uninitialized disk. Work through Fixes 1, 3, and 4.
Why does Windows 11 setup say “We couldn’t find any drives”?
On Intel systems with 11th-gen CPUs or newer, the NVMe SSD sits behind the Intel VMD controller, and the Windows installer has no built-in driver for it. Load the Intel RST driver from a USB during setup, or disable VMD in BIOS before installing.
Can initializing or formatting the SSD be undone?
No. Initializing rewrites the partition table and formatting erases the volume’s data. If the drive held files you need, try data-recovery options before performing either step. Rescanning hardware or assigning a drive letter are always safe to try first.
Does an SSD need drivers to be detected in Windows 11?
The SSD itself needs no special driver, but the storage controller on your motherboard does. If that controller driver is missing, outdated, or broken by an update, Windows cannot talk to any drive behind it. Updating the chipset and Intel RST drivers from the manufacturer’s support page resolves this.
Verdict
An SSD that does not show up in Windows 11 is rarely a hardware failure. The fix is usually one of three things: initializing the disk and assigning a drive letter in Disk Management, correcting the Intel RST/VMD setup in BIOS or with the right driver, or reseating a loose cable or NVMe stick.
Once your drive is visible, make sure you are getting the performance you paid for. If you are deciding between drive types for your next build, read our comparison of SSD vs HDD for gaming, and keep the new drive healthy with our Windows 11 speed-up guide. More Windows help is published regularly on DigitalGeekSpot.