How to Prime a Vape Coil: The Quick Answer
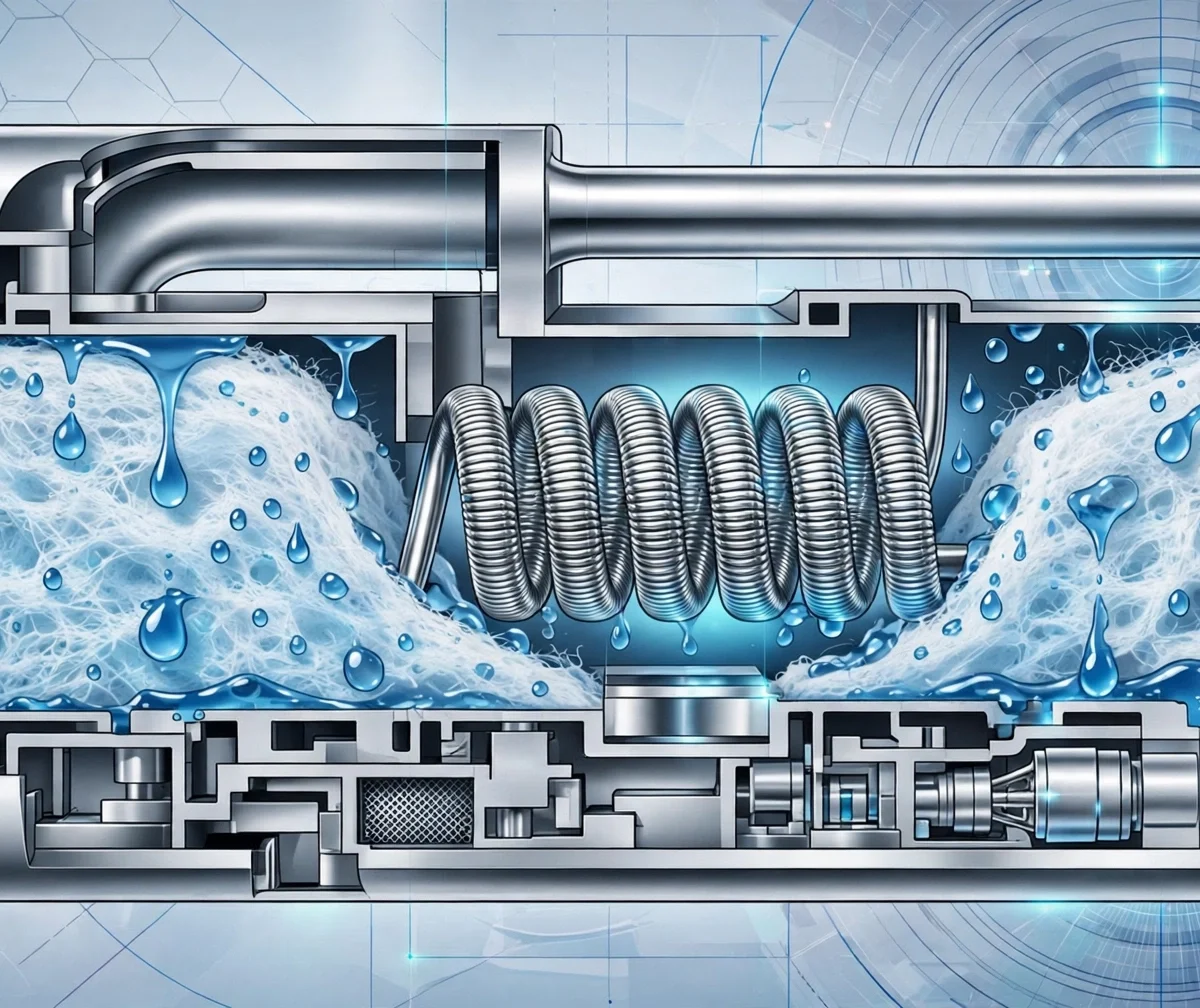
Priming a vape coil means saturating its cotton wick with e-liquid before you fire the device for the first time. The quick method: drip a few drops of e-liquid directly onto the coil’s wicking ports and top opening, install the coil, fill the tank, wait 10 to 15 minutes, take a few gentle puffs without pressing the fire button, then start vaping at a low wattage and work upward. The whole process takes a few minutes of active work plus the waiting time, and it is the single most effective way to avoid dry hits, burnt taste, and prematurely ruined coils.
This is a strictly informational guide published on DigitalGeekSpot. It describes the standard priming process used with replaceable coils in refillable tanks and pod systems. Vaping products are intended for adults of legal smoking age only.
Priming Steps at a Glance
| Step | What to Do | Why It Matters |
|---|---|---|
| 1 | Drip e-liquid onto the coil’s wicking ports and center opening | Starts saturating the dry cotton immediately |
| 2 | Install the coil and fill the tank | Surrounds the wick with liquid so it can keep absorbing |
| 3 | Wait 10 to 15 minutes | Gives the cotton time to soak through completely |
| 4 | Take primer puffs without firing | Pulls liquid deeper into the wick by suction |
| 5 | Start at low wattage and increase gradually | Eases the new coil in instead of shocking it with full power |
What Coil Priming Actually Means
A vape coil contains a heating element, usually a wire or mesh strip, wrapped in or surrounded by cotton. When you press the fire button, the element heats up and vaporizes the e-liquid held in that cotton. A brand-new coil ships with dry cotton. If you fire it dry, the cotton itself heats and scorches instead of vaporizing liquid, which produces the harsh, acrid taste known as a dry hit and can permanently ruin the coil in a single puff. Priming is simply the process of getting that cotton fully wet with e-liquid before any heat is applied.
Think of it like a sponge. A dry sponge dropped into water needs a moment to absorb. The cotton in a coil works the same way: it needs direct contact with e-liquid plus a little time before it is ready.
Why Priming Matters
Skipping the priming step is the most common reason new coils taste burnt within the first day. The consequences of firing a dry coil include:
- Burnt taste: scorched cotton produces a harsh, unpleasant flavor that usually does not go away.
- Wasted coils: a coil fired dry is often ruined immediately, even if it was brand new.
- Shorter coil life: even partial dry hits stress the wick and can reduce how long a coil lasts.
- Poor flavor: a properly saturated coil delivers the cleanest version of your e-liquid’s flavor.
- What Is a Disposable Vape? A Beginner’s Guide
- Vape vs Cigarettes: Key Differences Explained
- How to Clean a Vape Tank: Step-by-Step
Priming costs nothing and takes minutes. There is no reason to skip it.
What You Need
You do not need any special tools. Gather the new coil, the e-liquid you plan to use, and a paper towel or tissue for wiping drips. If you are priming a sub-ohm tank coil, you may want to do it over the paper towel, since a few drops often run down the sides.
How to Prime a Vape Coil, Step by Step
Step 1: Inspect the New Coil
Take the coil out of its packaging and check the recommended wattage range, which is usually printed on the side of the coil itself, for example “40 to 60W.” Note the wicking ports, the small openings around the sides of the coil where the cotton is visible. These are the spots you will target with e-liquid.
Step 2: Drip E-Liquid onto the Wick
Hold the coil over your paper towel and drip e-liquid directly onto each visible wicking port until the cotton looks damp and slightly darkened. Then add a few drops into the top center opening of the coil so liquid reaches the inner cotton around the heating element. You are aiming for thoroughly damp, not drowning: the cotton should look saturated but not be dripping streams of liquid.
Step 3: Install the Coil and Fill the Tank
Screw or push the coil into the tank base following your device’s design, then reassemble the tank and fill it with e-liquid. Filling the tank now surrounds the coil’s wicking ports with liquid, which lets the cotton continue absorbing from the outside in.
Step 4: Wait 10 to 15 Minutes
Set the filled tank aside and wait. Ten minutes is the minimum for most coils; fifteen is safer for larger sub-ohm coils with dense cotton. During this time the liquid soaks through the full thickness of the wick. Patience here is what separates a coil that lasts two weeks from one that burns on day one.
Step 5: Take Primer Puffs Without Firing
With the device assembled but not pressing the fire button, take three or four gentle draws through the mouthpiece. This suction pulls e-liquid deeper into the wick. Some people cover the airflow holes partially with a finger to increase the suction, which works well but should be done gently to avoid flooding the coil.
Step 6: Start Low and Work Up
If your device has adjustable wattage, set it to the bottom of the coil’s recommended range, or even a few watts below it. Take a few short puffs, then raise the power in small steps until you reach your preferred level. This gradual ramp lets the coil settle in. If your device has fixed wattage, such as most pod systems, simply take gentle first puffs after the waiting period.
The Two Main Priming Methods
Everything above is the drip method, which is the standard approach. There is also the soak method, where you install the dry coil, fill the tank, and simply wait longer, usually 20 to 30 minutes, without pre-dripping. The soak method works, but it is slower and less reliable for dense coils, because liquid has to travel through the wicking ports on its own. The drip method is faster and gives you visual confirmation that the cotton is wet. Many experienced users combine both: drip first, then still wait the full time.
Priming Different Coil Types
Sub-Ohm Tank Coils
These are the large screw-in coils used in powerful tanks. They have big wicking ports and dense cotton, so they benefit most from thorough pre-dripping and the full 15-minute wait. Because they run at higher wattages, firing one dry does the most damage.
Pod Coils and Replacement Pods
Pods with replaceable coils have smaller wicks and lower power, so they saturate faster. Drip a drop or two onto the visible cotton, fill the pod, and wait 5 to 10 minutes. Many modern pods have generous wicking and are forgiving, but priming still improves flavor from the first puff. For sealed disposable-style pods that cannot be opened, priming does not apply, since they arrive pre-saturated from the factory.
Mouth-to-Lung (MTL) Coils
MTL coils are small, high-resistance coils for lower-power vaping. Their wicks are thin and saturate quickly, so 5 to 10 minutes of waiting after a light pre-drip is usually enough. They are also the most sensitive to flooding, so go easy on the dripping: one drop per wicking port is plenty.
Rebuildable Coils
If you build your own coils, priming happens naturally during wicking: you saturate the cotton as you install it. The same principle applies, which is to never fire the device until the cotton is visibly wet with e-liquid.
How Long Should You Wait?
As a rule of thumb: 5 to 10 minutes for small pod and MTL coils, 10 to 15 minutes for standard sub-ohm coils, and up to 20 minutes for very large, dense coils. Thicker high-VG e-liquids soak in more slowly than thin 50/50 liquids, so add a few extra minutes when using high-VG juice. When in doubt, wait longer. Extra waiting time never hurts a coil.
Signs Your Coil Is Properly Primed
You will know the priming worked when the first puffs taste clean and match the e-liquid’s flavor, vapor production looks normal for the device, and there is no harsh or burnt edge to the inhale. If the first puff tastes slightly muted, that is normal; flavor often opens up over the first few puffs as the coil reaches its working temperature.
What Happens If You Skip Priming
Firing a dry coil usually produces an immediate burnt hit, and the scorched cotton rarely recovers. The coil will keep tasting burnt no matter how long you wait afterward, because the damage is done to the wick itself. The only fix is to replace the coil and prime the new one properly. This is also why a coil that tastes burnt from the very first puff is almost never a defective coil; it is almost always an unprimed one.
Common Priming Mistakes
- Not waiting long enough: dripping alone is not enough; the soak time lets liquid reach the inner layers of cotton.
- Starting at full wattage: hitting a fresh coil with maximum power can scorch partially saturated spots. Ramp up gradually.
- Over-dripping small coils: flooding a tiny MTL coil causes gurgling and spitback. A little liquid goes a long way.
- Primer puffs while firing: the whole point of primer puffs is suction without heat. Pressing the fire button defeats the purpose.
- Re-priming a burnt coil: once cotton is scorched, no amount of soaking fixes it. Replace the coil.
When to Replace the Coil Instead
Priming applies to new coils. If an old coil starts tasting muted, burnt, or off despite being wet, that is the sign it has reached the end of its life. Typical coil life ranges from about one to three weeks depending on the e-liquid, wattage, and how often you vape. Sweetened e-liquids tend to wear coils out faster because sweeteners caramelize on the heating element.
FAQs
Do I need to prime pre-built pod coils?
Yes. Any coil with dry cotton needs priming, including pod coils. The only exception is sealed disposable devices and pre-filled pods, which arrive saturated from the factory and are ready to use immediately.
Can I prime a coil with a different e-liquid than I plan to vape?
You can, since the goal is just to saturate the cotton, but the first puffs will carry a mix of flavors. It is cleaner to prime with the same liquid you will be vaping.
How do I know if I flooded the coil while priming?
Gurgling sounds, e-liquid spitting into the mouthpiece, and weak vapor are the classic signs of a flooded coil. A few firm draws without firing, or gently blowing through the tank into a tissue, usually clears it.
Is it okay to leave a primed coil sitting overnight?
Yes. A primed coil sitting in a filled tank stays saturated and is ready to use. Long storage of many weeks can eventually degrade flavor, but overnight or a few days is fine.
Do I need to re-prime a coil every time I refill the tank?
No. Priming is a one-time process for a new coil. Once saturated, the wick stays wet as long as the tank has liquid in it. Just avoid letting the tank run completely dry during normal use.
Why does my new coil taste burnt even though I primed it?
The most common causes are not waiting long enough, starting at too high a wattage, or using a very thick e-liquid in a small coil. In rare cases the coil itself is defective. Try a longer soak and a lower starting wattage with the next one.
Conclusion
Priming a vape coil is a small habit with an outsized payoff: drip e-liquid onto the wicking ports, install and fill, wait 10 to 15 minutes, take a few unfired primer puffs, and start at low power. Do that every time you install a fresh coil and you will avoid the burnt hits and wasted coils that frustrate so many beginners. It pairs naturally with understanding how to travel with spare coils and with choosing the right wattage for the coil you just primed.