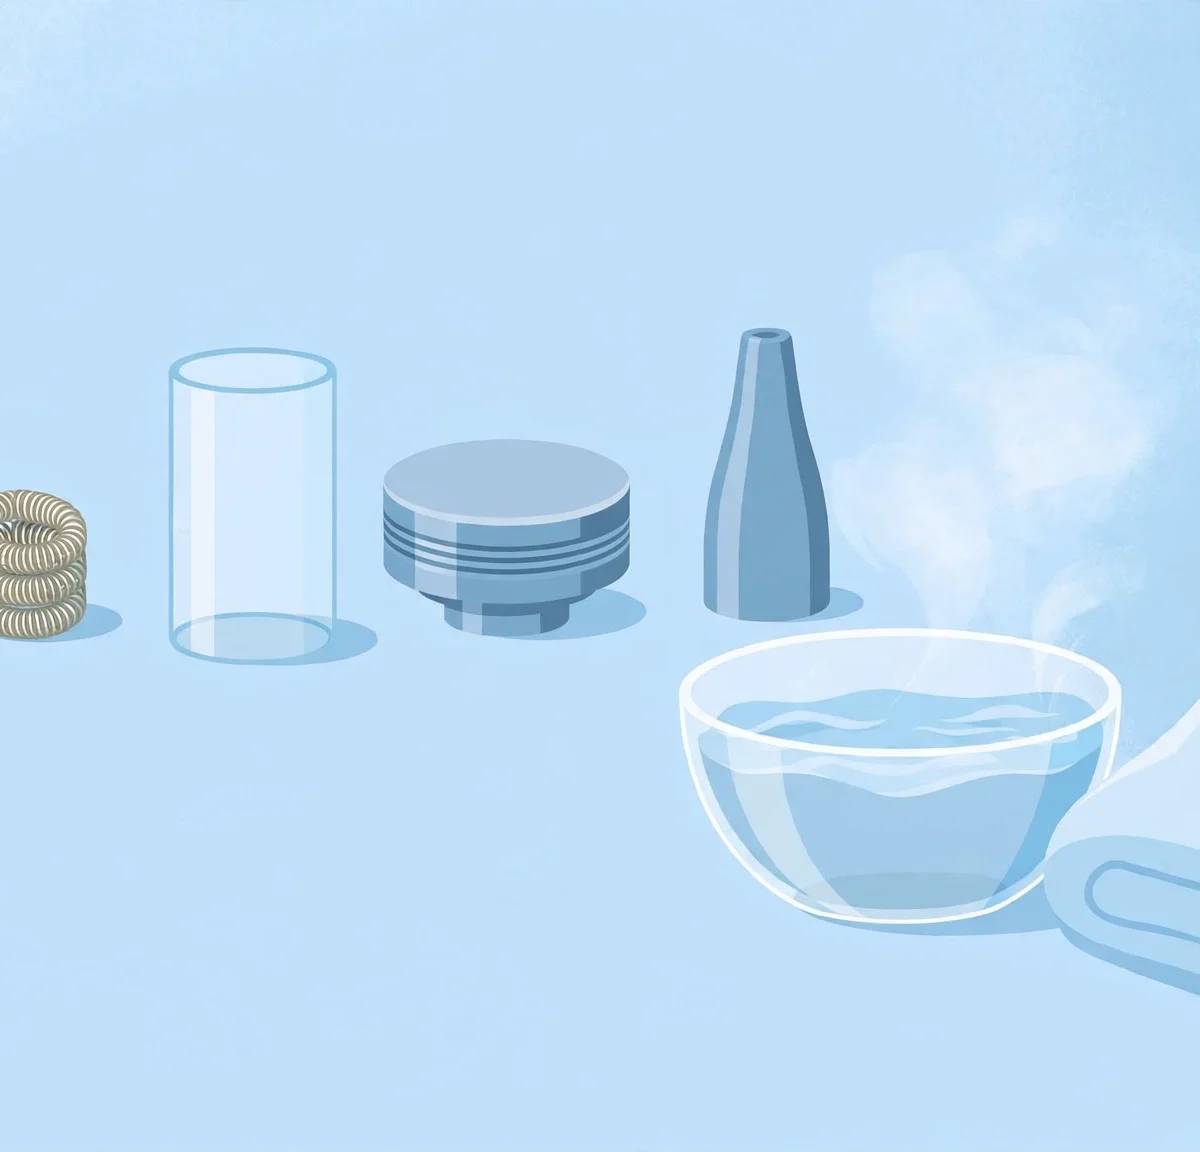
A dirty vape tank is the most common reason for muted flavor, gurgling, and weak vapor. Over time, e-liquid residue builds up on the glass, the base, the chimney, and the seals, and old flavors mix with new ones until nothing tastes quite right. The good news is that cleaning a vape tank is simple, takes only a few minutes of actual work, and can make an old setup taste fresh again. You do not need special equipment for a basic clean, although a couple of household items can help with stubborn buildup.
How do you clean a vape tank? Disassemble the tank, remove the coil, rinse every part in warm water, and let everything air dry completely before reassembling. For stubborn residue, soak the disassembled parts for 15 to 30 minutes in warm water mixed with a small amount of plain white vinegar, unflavored vodka, or propylene glycol, then rinse thoroughly and dry. Never submerge the coil or the battery, and never use boiling water or scented soap.
Key Takeaways
- Clean your tank every one to two weeks, or every time you change the coil, to keep flavor crisp.
- Warm water alone handles routine cleaning; vinegar, unflavored vodka, or propylene glycol help with deep cleans.
- Always remove the coil and the battery before cleaning, and never soak the coil.
- Let every part dry completely before reassembling, because leftover water dilutes e-liquid and causes gurgling.
- Never use boiling water, scented soap, or harsh chemicals, since heat damages seals and residue ruins flavor.
Vape Tank Cleaning Methods Compared
| Method | Time Needed | Effort | Best For |
|---|---|---|---|
| Warm water rinse | 5 minutes plus drying | Very low | Routine cleaning and flavor changes |
| Warm water soak | 15 to 30 minutes plus drying | Low | Weekly maintenance and light residue |
| Vinegar, vodka, or PG soak | 30 minutes to a few hours plus drying | Low | Deep cleaning stubborn or sticky buildup |
| Ultrasonic cleaner | 10 to 15 minutes plus drying | Very low | Hands-free deep cleaning of hard-to-reach parts |
How Often Should You Clean a Vape Tank?
For most vapers, cleaning the tank every one to two weeks keeps flavor fresh and performance consistent. If you switch e-liquid flavors often, a quick rinse between refills prevents the old flavor from bleeding into the new one. Pair your cleaning routine with coil changes, since you already have the tank apart at that point, and you will rarely need a separate cleaning session.
There are signs that tell you a clean is overdue. If your vapor tastes muted, burnt, or like a flavor you stopped using days ago, residue is the likely cause. Gurgling sounds, small leaks around the base, or sticky residue on the outside of the tank are also signals. Heavy sweeteners and dark dessert e-liquids leave residue faster, so dessert lovers should clean closer to the weekly end of the range, while light menthol or fruit liquids allow longer intervals.
What Do You Need to Clean a Vape Tank?
You need very little for a basic clean. Gather these supplies before you start:
- A small bowl of warm water (not hot and never boiling)
- Clean paper towels or a lint-free cloth
- A soft brush, such as a clean toothbrush, for threads and crevices
- Optional for deep cleaning: plain white vinegar, unflavored vodka, or propylene glycol
- A clean towel or drying rack where parts can air dry
Keep small parts away from the sink drain, or work over the bowl instead of the open sink. Screws, O-rings, and drip tips are easy to lose, and fishing them out of a drain is no fun.
How Do You Clean a Vape Tank Step by Step?
Follow these steps for a standard warm water clean, which handles most routine maintenance:
- Detach the tank from the battery or mod. This is a safety habit worth building, since it guarantees the device cannot fire while you work.
- Empty any remaining e-liquid. Pour leftover liquid out. You can keep it in a small container if you want to reuse it, but most vapers discard what is left.
- Disassemble the tank. Unscrew the base, remove the glass tube, take out the drip tip, and separate the chimney and top cap if your tank allows it. Lay the parts out in order so reassembly is easy.
- Remove the coil. Set the coil aside and do not wash it. Cleaning rarely revives a used coil, and soaking one usually makes its flavor worse.
- Rinse every part in warm water. Hold each piece under warm running water or swish the parts in your bowl of warm water. Use the soft brush on the threads, the base, and any crevices where residue collects.
- Dry with a paper towel. Shake off excess water and pat each part dry, then set everything on the towel.
- Air dry completely. Leave the parts out until no moisture remains, which can take a few hours or overnight. Do not reassemble while parts are still damp.
- Check the seals, then reassemble. Look at each O-ring and gasket to make sure it is seated correctly and not cracked or stretched, then put the tank back together and install a fresh coil if needed.
What Is the Best Way to Deep Clean a Vape Tank?
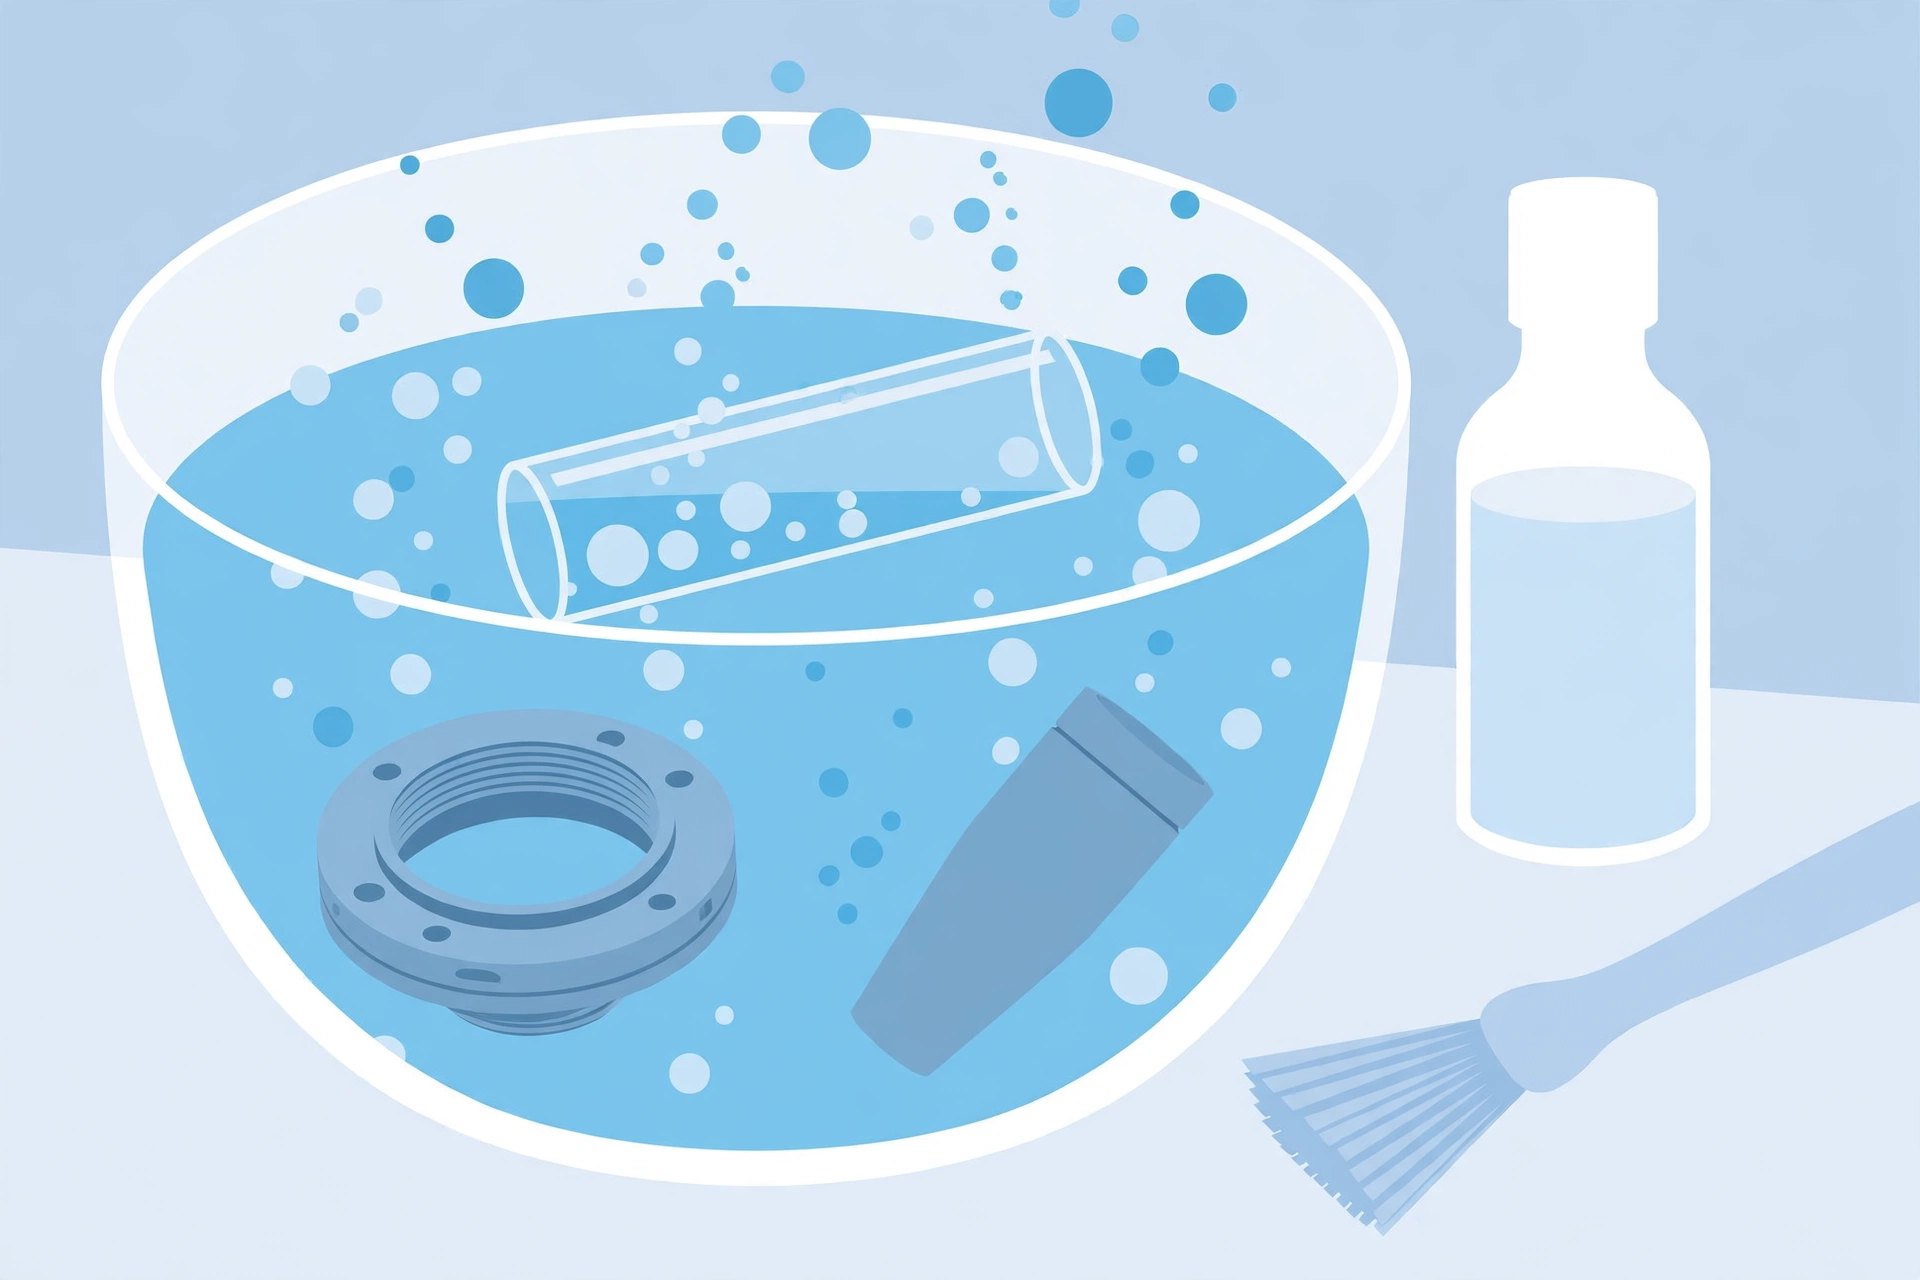
When warm water alone does not cut it, a soaking solution breaks down the stubborn stuff. Three household options work well: a small splash of plain white vinegar in warm water, unflavored vodka, or raw propylene glycol. Soak the disassembled parts for 15 to 30 minutes, or up to a few hours for heavy buildup. Vinegar is acidic and cuts through residue effectively, but it must be rinsed very thoroughly afterward or its smell will linger in your vapor. Unflavored vodka evaporates cleanly and leaves little odor, which is why many vapers prefer it.
After the soak, rinse every part under warm running water, longer than you think necessary, then dry and air dry as usual. Whichever agent you use, keep the coil out of the soak. A coil that tastes burnt or harsh is not dirty, it is worn out, and no amount of cleaning will bring it back. That is simply how replaceable coils work, and it is one reason many beginners ask about the lifespan of their device. If you use single-use devices, note that this guide does not apply to them, since you cannot open or service a sealed unit, as explained in our guide on what a disposable vape is.
Can You Use an Ultrasonic Cleaner on a Vape Tank?
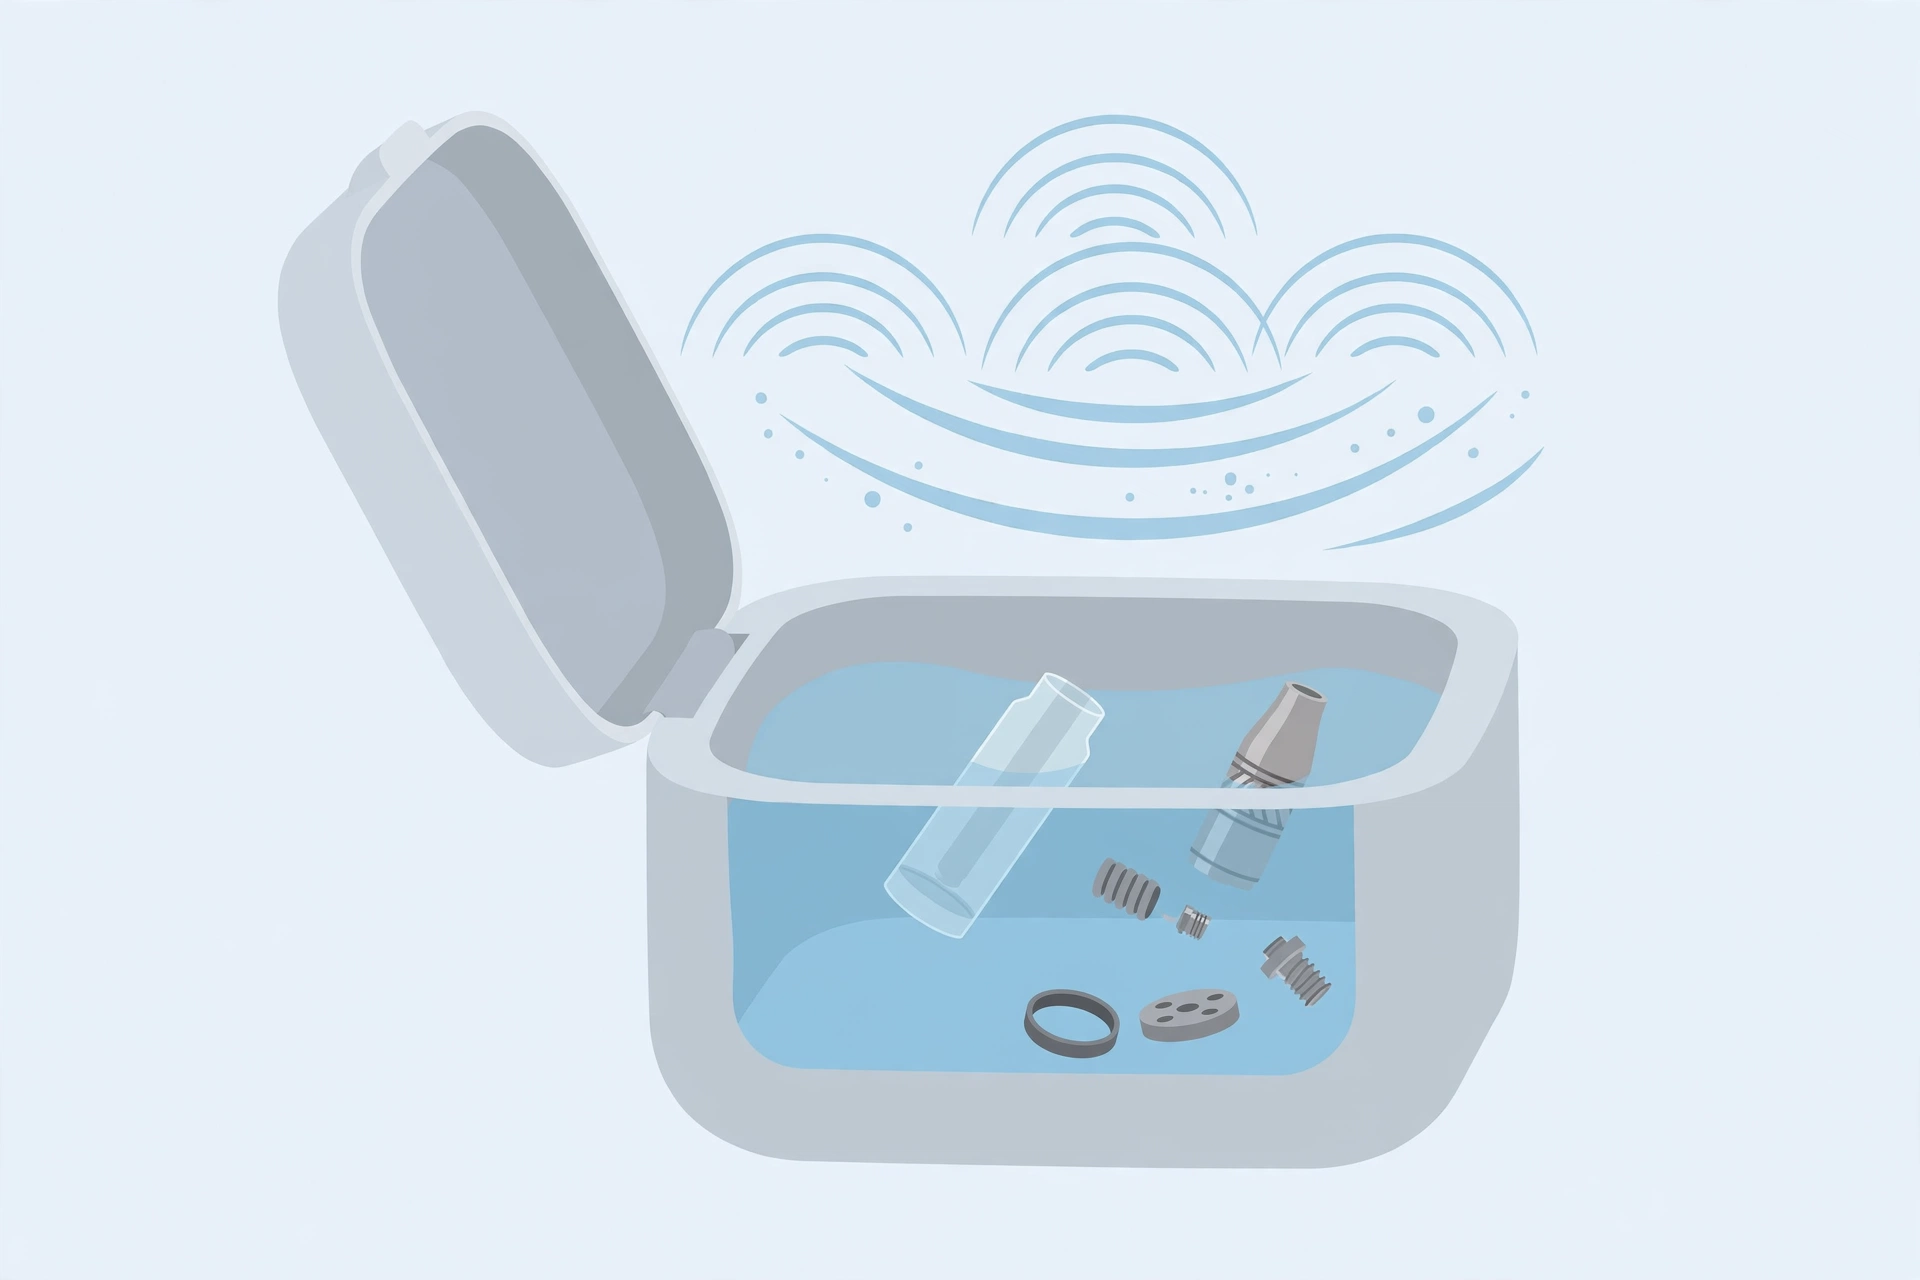
Yes, an ultrasonic cleaner is one of the most thorough ways to clean a vape tank. Fill it with warm water, place the disassembled tank parts inside, and run a cycle of about 10 to 15 minutes. The tiny vibrations shake residue out of threads, airflow channels, and other spots that a brush cannot reach. Jewelry-sized ultrasonic cleaners are inexpensive and work perfectly for tank parts.
Use plain warm water in the ultrasonic cleaner. There is no need for special solutions, and harsh detergents can damage plastic or rubber parts. Remove the coil, the battery, and any electronic components first, and only clean metal, glass, and silicone parts this way. After the cycle, rinse the parts under warm water, dry them, and let them air dry fully before reassembling.
What Should You Never Do When Cleaning a Vape Tank?
A few common mistakes can ruin a tank or make your vapor taste terrible. Avoid all of these:
- Never use boiling water. Extreme heat can warp plastic parts, crack glass under thermal shock, and damage O-rings and seals. Warm water is all you need.
- Never wash or soak the coil. The wicking material inside a coil holds water and cleaning agents, which ruins its flavor and can cause dry hits. Replace a spent coil instead of trying to clean it.
- Never submerge the battery or mod. Only the detachable tank parts should ever touch water. Wipe the battery connection with a dry cloth if it has e-liquid on it.
- Never use scented soap or detergent. Soap residue clings to tank parts and ends up in your vapor. If you feel you need soap, use only a tiny amount of plain, unscented soap and rinse far more than feels necessary.
- Never use isopropyl or rubbing alcohol inside the tank. It is harsher than food-grade options and leaves a chemical taste. Stick to plain white vinegar, unflavored vodka, or propylene glycol for deep cleans.
- Never reassemble while parts are wet. Leftover water dilutes your e-liquid, causes gurgling and spitback, and can seep into the coil. Wait until every part is fully dry.
How Do You Switch Flavors Without a Full Clean?
If you just want to try a new e-liquid, you usually do not need the full deep-clean routine. Empty the tank, do a quick warm water rinse of the glass and base, dry the parts, and refill. Some flavor ghosting is normal for the first few puffs, especially when switching from strong flavors like menthol or cinnamon to something light.
For a faster change with minimal fuss, you can simply vape the tank nearly empty and refill with the new flavor. The transition takes a few puffs, which many vapers accept for convenience. This trick works best between similar flavor families, such as one fruit to another. Going from a dessert to a menthol, or any switch where purity matters, deserves the rinse.
Frequently Asked Questions
Can I clean my vape tank with just water?
Yes. Warm water is enough for routine cleaning and flavor changes. Disassemble the tank, remove the coil, rinse every part in warm water, and let everything air dry completely. Use a soaking agent only when residue will not come off with water alone.
How long should I soak a vape tank in vinegar?
Soak disassembled tank parts in warm water with a small splash of plain white vinegar for 15 to 30 minutes. For heavy buildup, you can extend the soak to a few hours. Rinse every part thoroughly under warm running water afterward so no vinegar smell or taste remains.
Can you clean a vape coil instead of replacing it?
Not really. Rinsing a coil rarely restores its flavor because the internal wicking holds onto residue and water. A coil that tastes burnt or muted is worn out and should be replaced. Cleaning the tank around a fresh coil gives you the best flavor.
Is it safe to put vape tank parts in the dishwasher?
No. Dishwashers use very hot water and strong detergents that can warp plastic parts, damage seals, and leave chemical residue. Hand washing in warm water gives you full control and is safer for every component.
Why does my vape taste bad after cleaning the tank?
The most common cause is leftover moisture or cleaning agent. Make sure every part is fully dry before reassembling, and rinse longer than feels necessary after using vinegar or vodka. If the bad taste is burnt or harsh rather than chemical, the coil itself is probably spent and needs replacing.
Can I clean a disposable vape?
No. Disposable vapes are sealed units that cannot be disassembled or refilled, so there is nothing to clean. When the flavor fades or the device stops producing vapor, it has reached the end of its life. Our guide on how long a disposable vape lasts explains what to expect from these devices.
How do I clean vape tank threads and small crevices?
A soft brush, such as a clean toothbrush, works well on threads, airflow slots, and the base where residue collects. For very tight spots, a cotton swab reaches where a brush cannot. An ultrasonic cleaner also handles these areas without any scrubbing.
Final Verdict: Is Cleaning Your Vape Tank Worth It?
Yes, cleaning your vape tank is one of the simplest ways to get better flavor and longer coil life from your setup. A quick warm water rinse every week or two takes minutes and prevents the stale, muted taste that creeps in with residue. Reserve vinegar or vodka soaks for occasional deep cleans, and consider an ultrasonic cleaner if you want the most thorough result with the least effort.
The rules are easy to remember: warm water, no soap, no boiling water, keep the coil and battery dry, and let everything dry fully before you put it back together. Follow that, and your tank will stay in great shape. For more practical vaping guides, DigitalGeekSpot covers everything from how vaping compares to smoking to choosing your first kit.