
To install Windows 11 on NVMe SSD, create a bootable USB drive from the official Windows 11 ISO, set your BIOS to UEFI mode with Secure Boot and TPM enabled, boot from the USB, select Custom install, choose your NVMe drive, and let Windows create its partitions automatically. After setup, run Windows Update, install chipset and graphics drivers, and verify that TRIM is enabled. The whole process usually takes under an hour. A clean install from USB is the recommended method because it avoids old drivers and leftover files. Cloning an existing drive works too, but clean installs give the fastest and most stable result.
Clean Install vs. Cloning: Which Method Should You Choose?
There are two practical ways to get Windows 11 running on an NVMe SSD. The clean install method wipes the drive and sets up a fresh copy of Windows 11 from a bootable USB. The cloning method copies your current Windows installation, programs, and files from an old drive to the new NVMe SSD. Both reach the same destination, but they suit different situations. For maximum speed and stability, choose the clean install. If reinstalling everything is not an option, cloning saves time.
Clean Install From USB (Recommended)
A clean install gives Windows 11 a fresh start on your NVMe SSD. The installer creates the correct EFI, MSR, and Windows partitions in GPT format, sets up the boot files properly, and you avoid broken drivers or registry clutter from an old system. It takes longer because you must reinstall your programs, but the result boots fast and behaves predictably. This guide covers the clean install in detail because it is the most reliable path.
Cloning Your Existing Drive
Cloning copies everything from your old drive to the NVMe SSD, so your programs, settings, and files stay exactly as they are. You need cloning software and usually a USB to NVMe adapter so both drives are connected at once. The catch is that cloning can carry over driver conflicts and partition problems, especially if the old drive used MBR partitioning. If you clone, confirm the destination uses GPT with UEFI boot afterward.
Requirements Checklist
Gather everything below before you start. Having it all ready means you will not get stuck halfway through with a missing file or an unbacked up folder.
| Requirement | What You Need |
|---|---|
| NVMe M.2 SSD | A PCIe NVMe drive with enough capacity for Windows and your programs. Microsoft lists 64 GB as the minimum, but 256 GB or more is far more comfortable. |
| Compatible PC or laptop | An M.2 slot that supports NVMe, not SATA only. Check your motherboard or laptop manual to confirm. |
| USB flash drive | 8 GB or larger. Everything on it will be erased during the process. |
| Windows 11 ISO | Download the official ISO file from Microsoft. |
| Bootable USB tool | Microsoft Media Creation Tool or Rufus. In Rufus, choose GPT partition scheme with a UEFI target. |
| Backup of your data | Copy important files to an external drive or cloud storage before you begin. |
| Internet connection | Needed for downloading the ISO, drivers, and Windows updates. |
| Product key (optional) | You can skip entering a key during setup and activate Windows later. |
Step 1: Create a Bootable Windows 11 USB Drive
Start by downloading the Windows 11 ISO from the official Microsoft download page. Then make the installer USB with the Microsoft Media Creation Tool, which handles everything automatically, or with Rufus if you want more control. In Rufus, select your USB drive, load the ISO, and set the partition scheme to GPT with the target system set to UEFI (non-CSM). This matches the UEFI boot mode your NVMe install needs.
The USB drive must use the FAT32 file system for UEFI booting to work. The built in Windows formatting tool refuses to format large drives to FAT32, so if you hit that wall, a free FAT32 formatting tool can format drives of any size without trouble. Once the tool finishes writing the ISO, leave the USB plugged in and move on to the hardware step.
Step 2: Physically Install the NVMe SSD
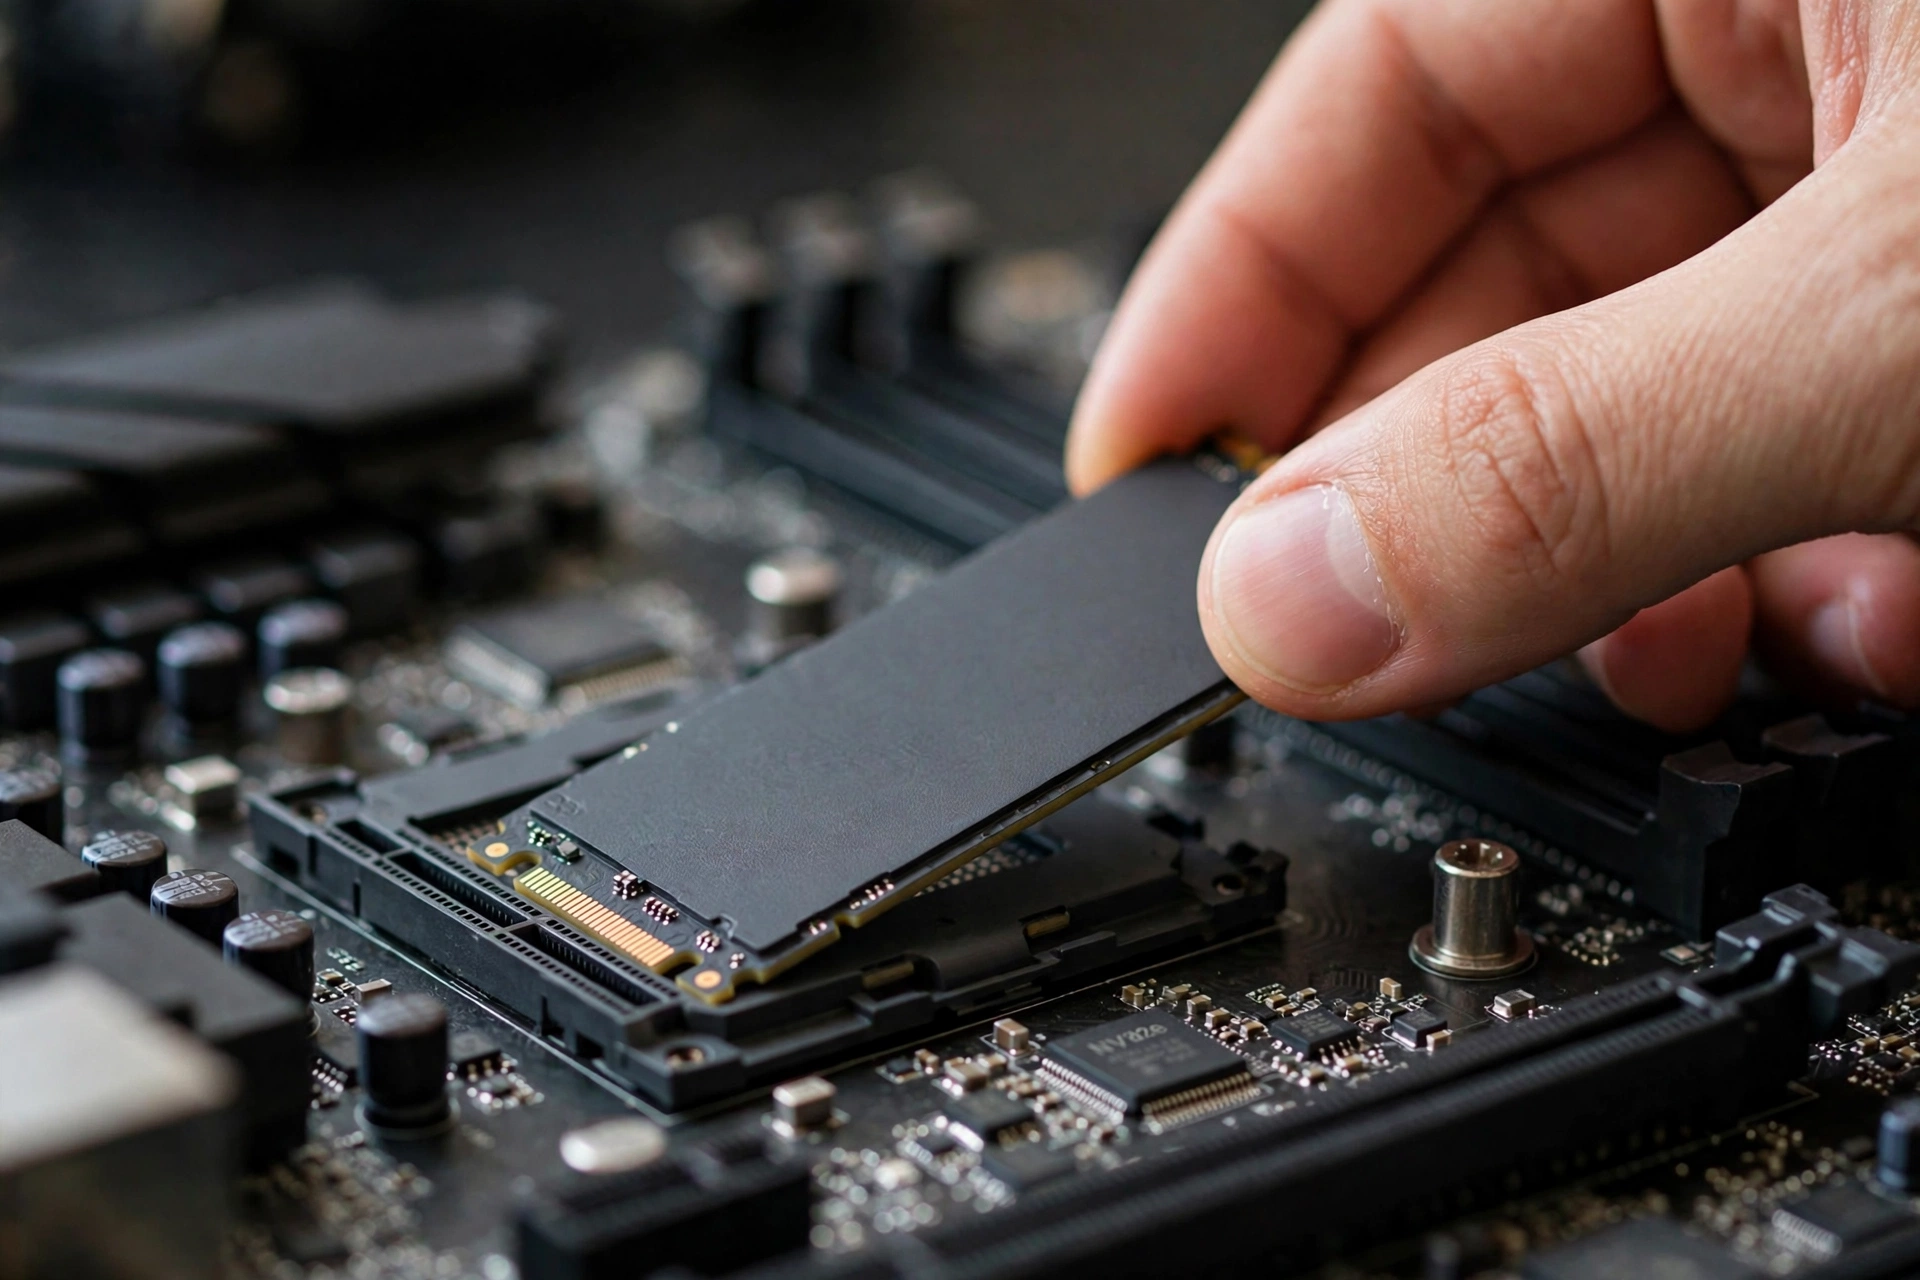
If your NVMe SSD is not already installed, do it now. Shut the PC down completely, switch off the power supply, and unplug the power cable. Open the case and find the M.2 slot on the motherboard. It is a small horizontal slot, often near the CPU socket, and some boards hide it under a heatsink you must unscrew first. Remove the mounting screw, slide the SSD into the slot at a slight angle until the gold connector is fully seated, press it down flat, and secure it with the screw. Do not overtighten. On laptops, the M.2 slot is usually under the bottom panel, so check your manual for the exact location.
Step 3: Configure the BIOS or UEFI Settings
Power on and enter the BIOS or UEFI setup, usually by pressing Delete or F2 during startup. First, set the boot mode to UEFI and disable CSM or Legacy boot, because Windows 11 will not install in legacy mode on an NVMe drive. Second, enable Secure Boot. Third, enable the TPM: on AMD systems it is called fTPM and on Intel systems it is called PTT, found under the security or advanced settings. Fourth, confirm your NVMe drive appears in the storage device list. If it does not, fix that before continuing, using the troubleshooting section below. Finally, where the option exists, set SATA mode to AHCI rather than RAID, since RAID mode can hide NVMe drives from the installer on some boards. Save and exit.
Step 4: Install Windows 11 on the NVMe SSD
With the bootable USB still plugged in, power on and open the boot menu, usually with F12, F8, or Esc. Select the USB entry that begins with UEFI, not the plain USB entry, so the installer boots in the correct mode. Choose your language and keyboard layout, click Install now, and skip the product key prompt if you do not have one handy. Pick the Windows 11 edition that matches your license, accept the license terms, and choose Custom: Install Windows only (advanced).
You will now see a list of drives and partitions. Select your NVMe SSD. If it holds old partitions, delete them until the drive shows as unallocated space. Then select the unallocated space and click Next without creating partitions yourself. Windows will automatically create the EFI, MSR, and main Windows partitions it needs. Setup copies files and restarts several times. Important: remove the USB drive after the first restart so the PC boots from the NVMe SSD instead of looping back into the installer. Then follow the on screen prompts to create your user account and finish setup.

Step 5: Complete the Post Install Setup
Once you reach the desktop, open Settings, go to Windows Update, and install everything it offers, restarting as needed. Next, install your motherboard chipset drivers and graphics drivers from the manufacturer websites. Windows installs generic versions, but the official drivers unlock full performance and stability. A fast NVMe drive makes a real difference for demanding workloads such as local AI models, so if you are building a machine for that kind of work, see this guide on choosing a capable laptop for demanding AI workloads.
Now verify that TRIM is enabled, because TRIM keeps your SSD fast over time by telling the drive which data blocks are no longer in use. Open Command Prompt as administrator and run this command: fsutil behavior query DisableDeleteNotify. A result of 0 means TRIM is enabled, which is what you want. Also glance at Disk Management to confirm the partitions look correct. Windows aligns them properly on a clean install by default. Finish with one last restart after all updates and drivers are in place, a habit the team at DigitalGeekSpot follows on every fresh build.
What to Do If the NVMe Drive Is Not Detected
If the NVMe SSD does not appear in the BIOS or the Windows installer, work through these fixes in order. First, power off and reseat the drive. M.2 connectors need a firm, fully seated connection, and a slightly loose drive is the most common cause. Second, check the BIOS for an M.2 or NVMe slot setting and make sure the slot is enabled, since some boards disable extra M.2 slots by default or share their lanes with SATA ports. Third, update the BIOS firmware to the latest version from the motherboard manufacturer, because newer firmware often adds NVMe compatibility fixes. Fourth, if the drive was previously partitioned under MBR or legacy mode, wipe it during setup. Press Shift and F10 at the installer screen to open Command Prompt, run diskpart, then type list disk, select disk X (your NVMe drive), clean, and convert gpt. This erases everything on the drive, so only do it when the data is backed up or expendable.
Troubleshooting Common Install Problems
- Setup keeps looping back to the installer: remove the USB drive after the first restart, or set the NVMe SSD as the first boot device in the BIOS.
- Windows cannot be installed to this disk: the drive is likely using MBR partitioning. Wipe it with diskpart and convert it to GPT as described above.
- Secure Boot or TPM errors during setup: return to the BIOS and confirm Secure Boot is enabled and TPM (fTPM or PTT) is turned on.
- Installer asks for a storage driver: on boards with RAID mode enabled, load the manufacturer storage driver with the Load driver option, or switch SATA mode to AHCI.
- Activation issues after install: you can skip the key during setup and activate later in Settings under System and Activation.
Frequently Asked Questions
Can I install Windows 11 on an NVMe SSD without a product key?
Yes. The installer lets you skip the product key step by clicking I do not have a product key. Windows installs and runs normally, and you can activate it later in Settings under System and Activation. If your Microsoft account already has a digital license linked to your hardware, Windows may activate automatically once you sign in and connect to the internet.
Does Windows 11 require TPM and Secure Boot for an NVMe install?
Yes. Windows 11 requires TPM 2.0 and a Secure Boot capable system regardless of drive type. On modern motherboards this means enabling fTPM on AMD or PTT on Intel in the BIOS, along with Secure Boot itself. Without these enabled, the installer will block the installation, so handle this in the BIOS step before booting from the USB.
Is cloning better than doing a clean install on the NVMe SSD?
Cloning is faster because you keep your programs and settings, but a clean install is more reliable. Cloning can carry over driver conflicts and MBR partition layouts that cause boot problems on NVMe drives. Unless reinstalling your software would be a major hardship, the clean install is the safer choice and usually produces a faster, more stable system.
Why is my NVMe SSD not showing up in the Windows installer?
The most common causes are a loosely seated drive, a disabled M.2 slot in the BIOS, outdated BIOS firmware, or SATA mode set to RAID instead of AHCI. Reseat the drive, enable the slot, update the firmware, and switch to AHCI. If the drive appears in the BIOS but the installer reports a partition error, use diskpart from the Shift and F10 command prompt to clean the drive and convert it to GPT.
Do I need to install NVMe drivers separately in Windows 11?
In most cases, no. Windows 11 includes a standard NVMe driver that works out of the box, and most drives reach their rated speeds with it. What you should install separately are the motherboard chipset drivers and graphics drivers from the manufacturers, since those improve stability and performance. Only install a vendor specific NVMe driver if the drive maker provides one for your exact model.
Related Articles
- GUIFormat: Format Large USB Drives to FAT32 the Easy Way
- Best Laptops for Running Local AI Models
- LightNiteOne New Version for PC: What Is New
Conclusion
Installing Windows 11 on an NVMe SSD is straightforward once the BIOS is set to UEFI with Secure Boot and TPM enabled. Build the bootable USB, pick the UEFI boot entry, let Windows partition the drive automatically, and finish with updates and drivers. A clean install takes a little more time than cloning, but it rewards you with a faster and more stable system that makes full use of your NVMe drive speed.