Learning how to measure yourself for clothes is the single most useful skill for buying clothes online. Size labels vary wildly between brands: a medium in one store can fit like a small or a large in another, and reviews complaining about inconsistent sizing are everywhere. Your own body measurements cut through that confusion. With a soft tape measure and ten minutes, you can compare your numbers to any brand’s size chart and order with confidence, dramatically reducing returns. This guide covers exactly how to take each key measurement, how to read size charts, and the mistakes that lead to wrong sizes.
What You Need to Measure Yourself
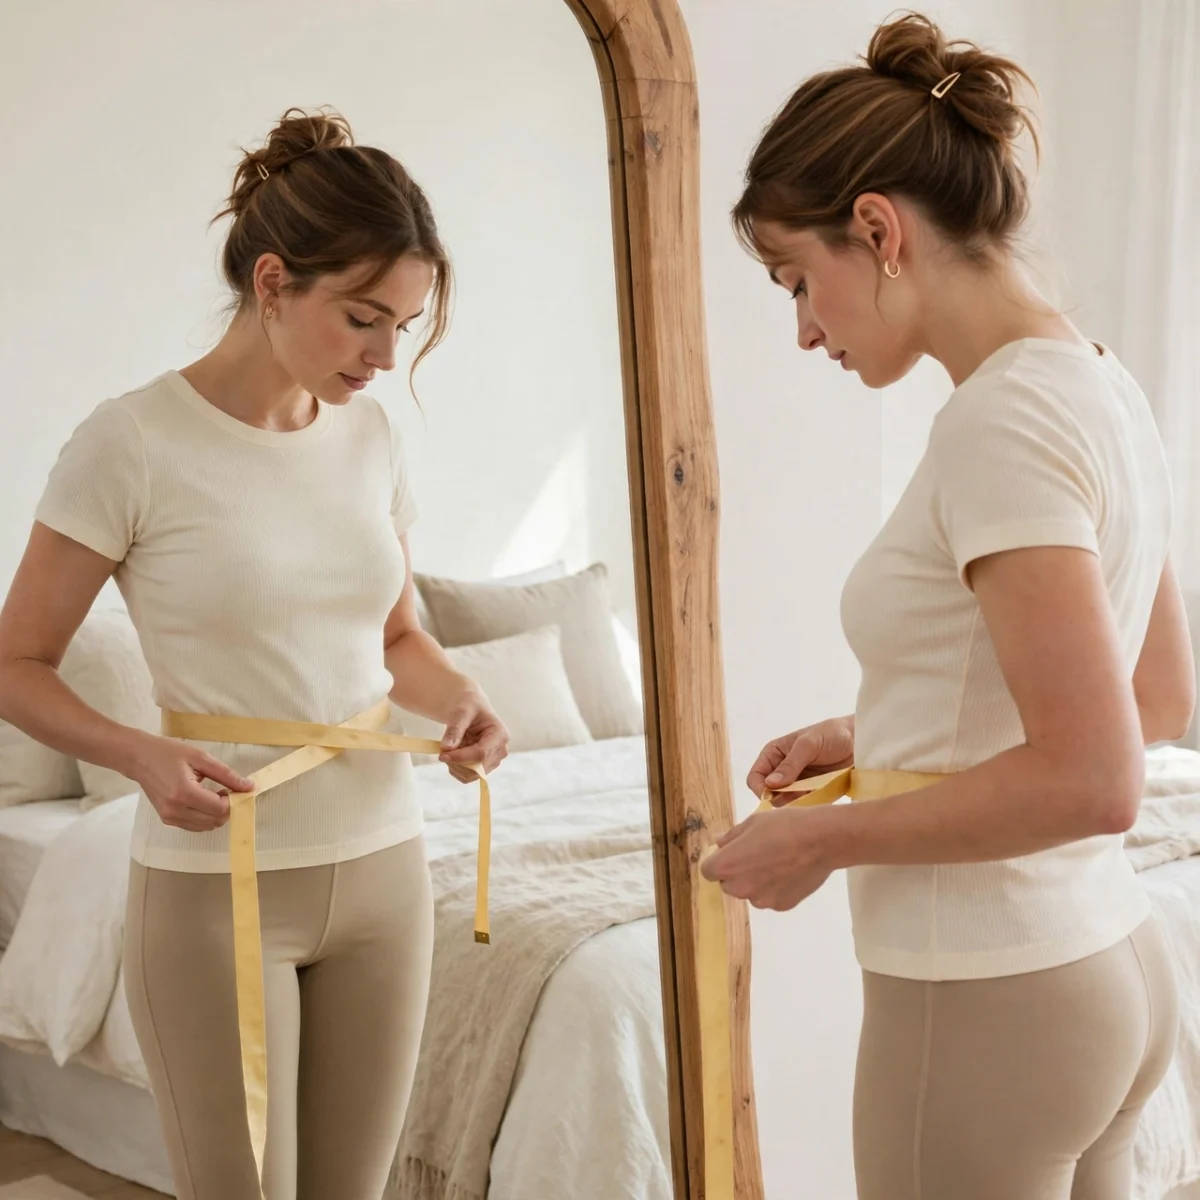
You only need two things: a soft, flexible measuring tape (the kind used for sewing, not a metal construction tape) and a mirror. Wear thin, fitted clothing or underwear while measuring; bulky clothes add inches that do not reflect your body. Stand up straight with relaxed posture, breathing normally. Do not suck in your stomach or puff out your chest; measurements should reflect your natural stance, since that is how the clothes will fit when you wear them.
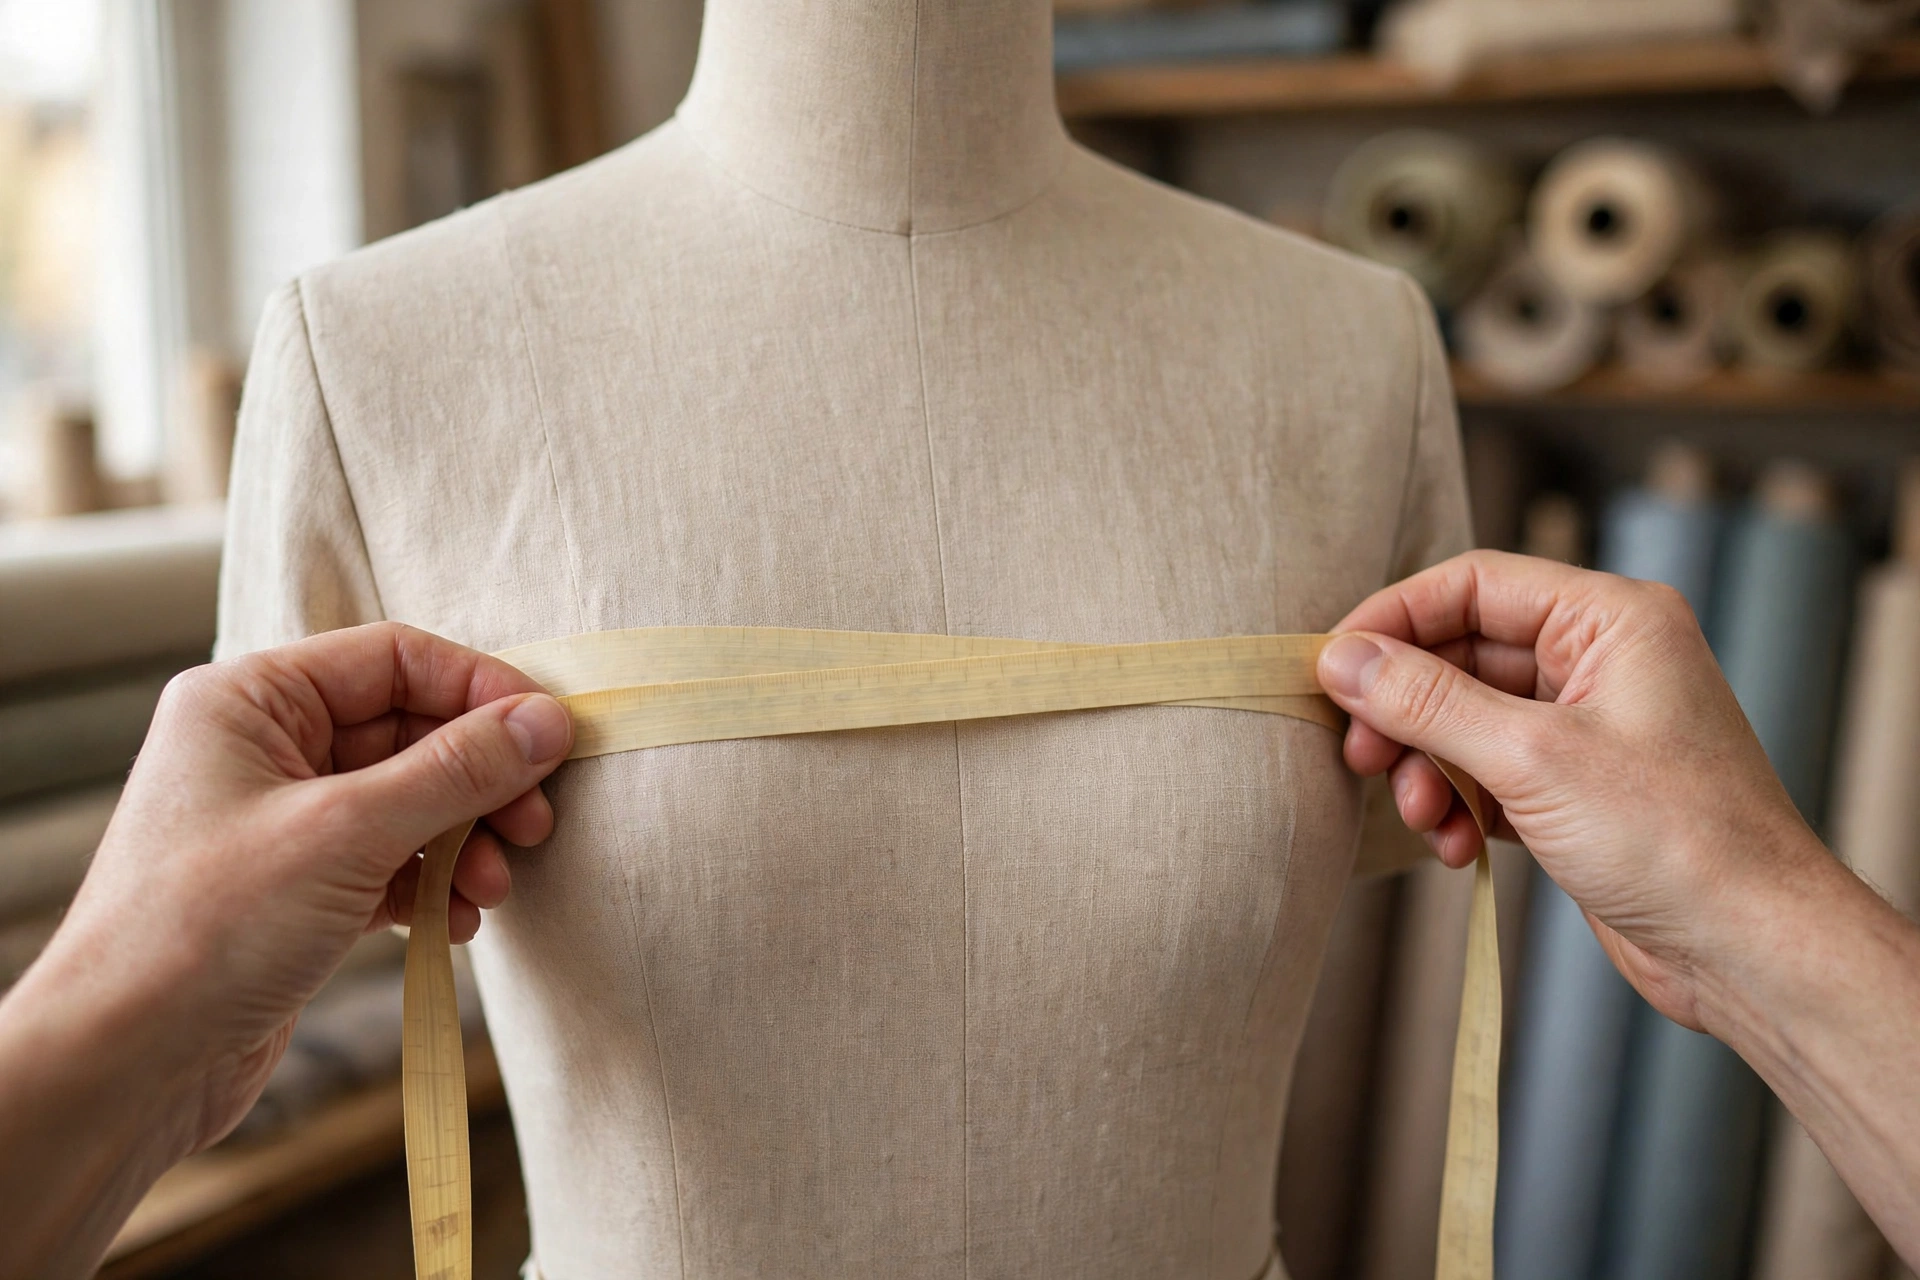
Keep the tape snug but not tight. You should be able to slip one finger between the tape and your body. A tape pulled too tight gives numbers that are too small, while a loose tape gives numbers that are too large. Either error leads to poor-fitting clothes, so aim for firm and comfortable.
Write down every measurement as you take it, along with the date. Bodies change over time, so re-measure every six months or whenever you are shopping after a significant weight change. Keeping a note on your phone means your numbers are always handy when a size chart pops up. Once your measurements are dialed in, building a wardrobe that fits becomes much easier, and these casual outfit ideas for women are a great place to apply your new sizing confidence.
How to Measure Your Chest or Bust
Wrap the tape around the fullest part of your chest or bust, keeping it level all the way around your back. The tape should pass across your shoulder blades at the same height as the front. Breathe normally and keep your arms relaxed at your sides; raising your arms changes the measurement.
For fitted tops, jackets, and dresses, this is the most important number. When you fall between sizes on a chart, consider the garment’s style: for structured blazers and button-down shirts, size up to avoid pulling; for stretchy knit tops, your smaller size usually works fine. Note that men’s dress shirts are often sized by neck and sleeve rather than chest, so check which system the brand uses.
How to Measure Your Waist
Your natural waist is the narrowest part of your torso, usually an inch or two above your belly button. Bend slightly to one side; the crease that forms marks your natural waistline. Wrap the tape around this point, keeping it level and snug.
Do not confuse your natural waist with where you wear your pants. Low-rise, mid-rise, and high-rise trousers sit at different points on the torso, and many size charts list a separate “pant waist” measurement. If a brand’s chart specifies where they measure, match their location as closely as you can. For dresses and high-waisted bottoms, the natural waist measurement is the one that matters most.
How to Measure Your Hips
Stand with your feet together and wrap the tape around the fullest part of your hips and buttocks, usually about 7 to 9 inches below your natural waist. Keep the tape level all around; use a mirror to check the back, since the tape tends to droop there and give a falsely large reading.
Hip measurement is critical for trousers, jeans, skirts, and fitted dresses. If your waist and hips fall into different sizes on a chart, which is very common, generally choose the size that fits your hips for bottoms and have the waist taken in if needed. It is far easier for a tailor to adjust a waistband than to add room to hips.
How to Measure Your Inseam
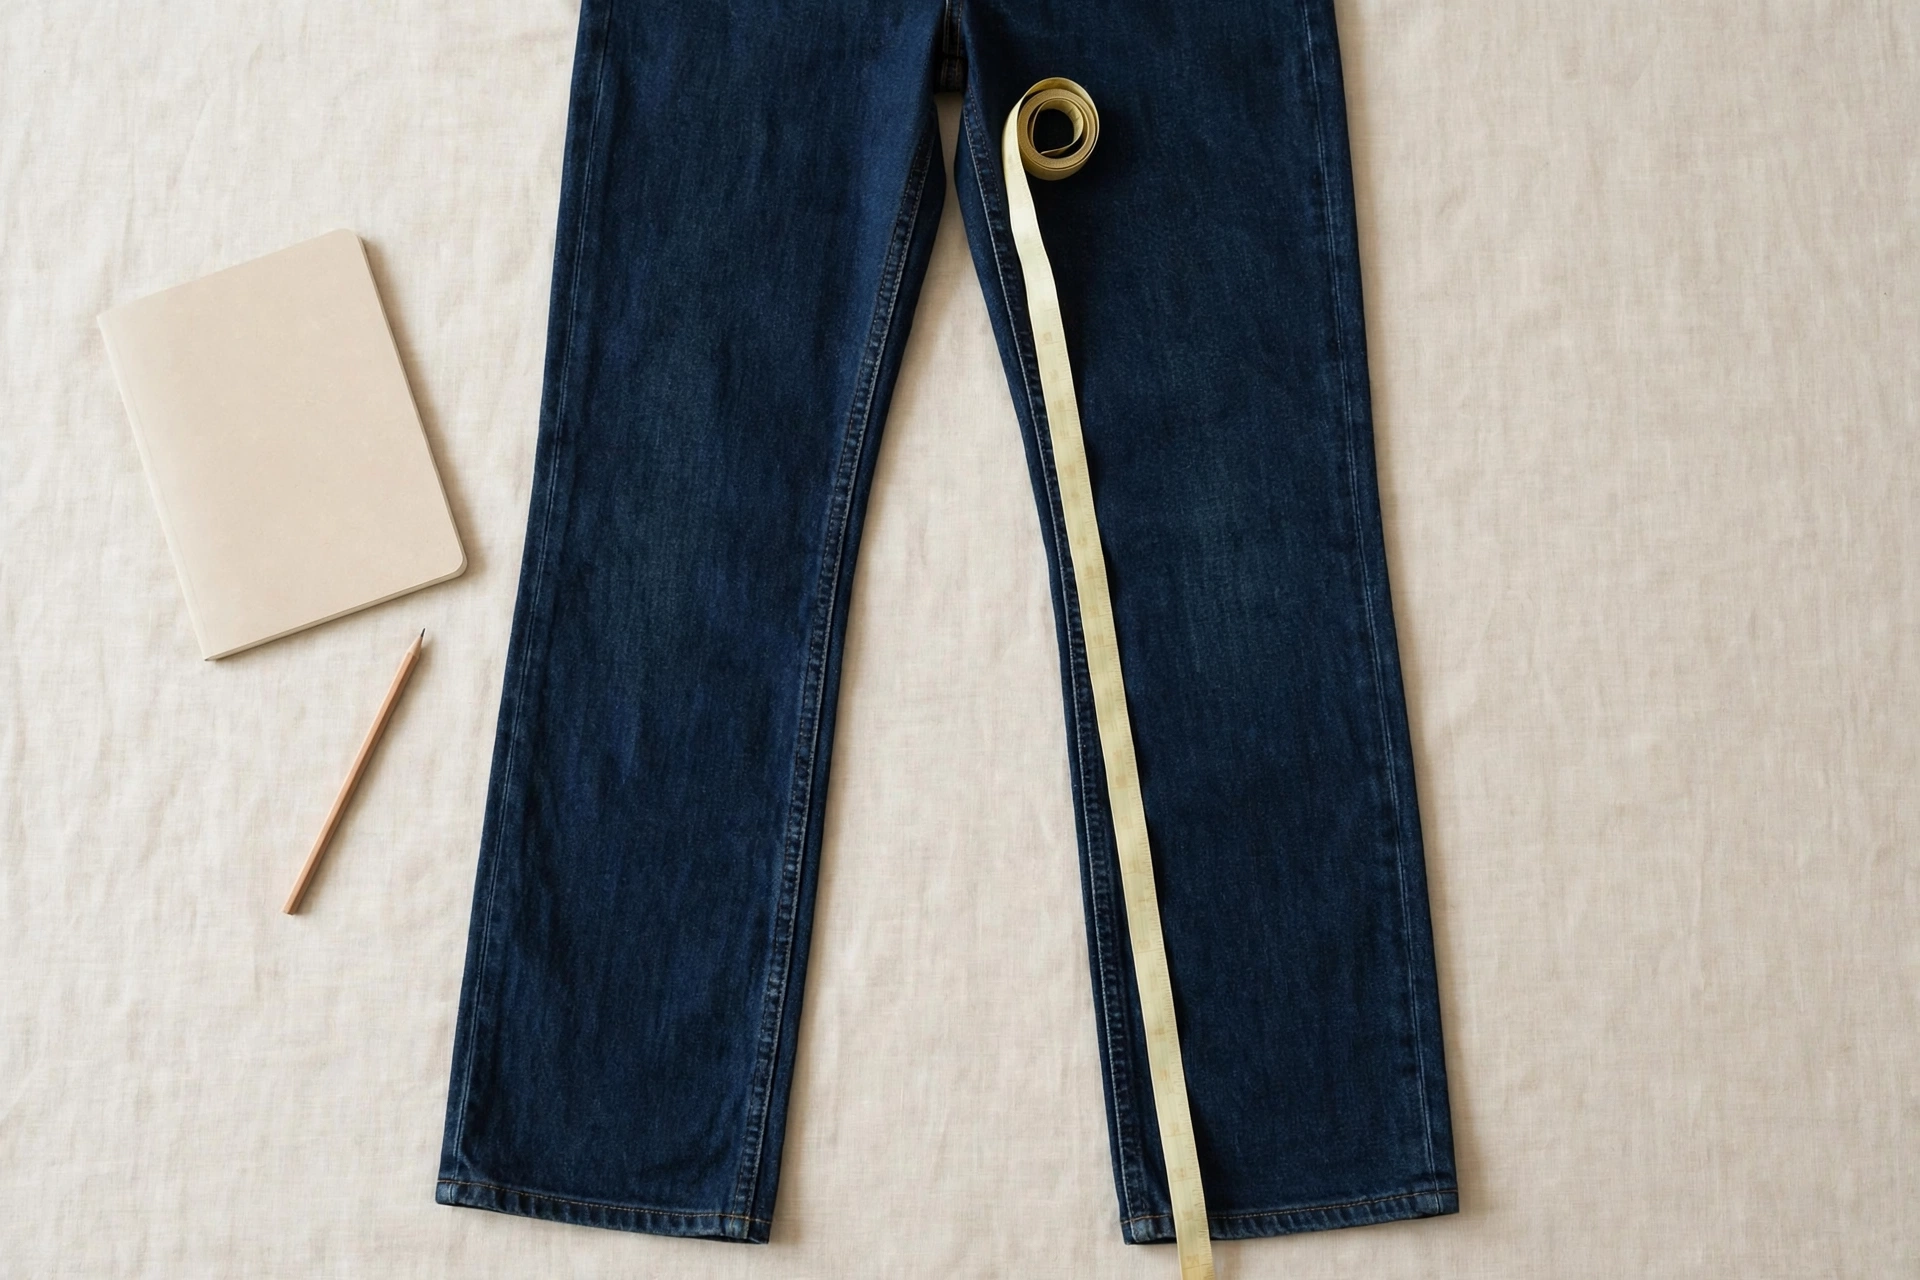
The inseam is the distance from your inner crotch to your ankle, and it determines pant length. The easiest method: take a pair of trousers that fit you perfectly in length, lay them flat, and measure from the crotch seam straight down the inside of the leg to the hem. This gives you your ideal inseam without awkward self-measuring.
To measure on your body, stand straight with feet slightly apart and run the tape from the highest point of your inner thigh down to where you want the hem to fall. This is trickier to do alone, so the flat-pants method is more reliable. Note your preferred inseam for different styles: dress trousers usually break at the shoe, while cropped pants and joggers end higher. When comparing casual bottoms like those in this sweatshirt vs hoodie layering guide, remember that relaxed-fit pieces are more forgiving of small measurement differences than tailored ones.
Other Useful Measurements
- Neck: Wrap the tape around the base of your neck where a collar would sit, leaving room for one finger. Essential for men’s dress shirts.
- Shoulders: Measure from one shoulder bone to the other across your back. Critical for blazers and structured jackets; shoulders are the hardest area to tailor, so get this right.
- Sleeve length: With your arm slightly bent, measure from the center back of your neck, over your shoulder, and down to your wrist bone. Used for dress shirts and jackets.
- Arm length (casual): From shoulder bone to wrist. Enough for most casual tops and sweaters.
- Thigh: Around the fullest part of your thigh, standing with weight evenly distributed. Helpful for slim-fit trousers and jeans.
- Torso length: From the top of your shoulder to your natural waist. Useful for one-piece garments like jumpsuits and dresses.
You do not need all of these for every purchase. Chest, waist, hips, and inseam cover the vast majority of online clothing orders; add the others when buying tailored or fitted specialty items.
How to Read Size Charts
Size charts look intimidating but follow a simple logic: find your measurements in the brand’s table and read across to the size. Here is how to do it well:
- Use the brand’s own chart, every time. Never assume your usual size transfers between brands. Check the chart on each product page, since some brands vary charts by product line.
- Match your largest relevant measurement. If your bust says medium but your waist says large on a dress chart, the large will usually fit better overall, since taking in is easier than letting out.
- Check whether the chart lists body or garment measurements. Body measurements describe you; garment measurements describe the finished clothing, which includes extra room called ease. A chest measurement of 40 inches on a garment chart does not mean it fits a 40-inch chest snugly; it means the garment itself measures 40 inches around.
- Read the fit notes. Descriptions like “relaxed fit,” “slim through the hip,” or “runs small” tell you how to interpret the numbers. Customer reviews often confirm whether a brand runs large or small.
- Note the units. International brands may list centimeters. One inch equals 2.54 centimeters; converting wrong is an easy mistake when switching between US, UK, and EU sizing.
- Check size inclusivity ranges. Some brands grade their patterns differently across size ranges, so the fit logic that works in straight sizes may shift slightly in extended sizes. Reviews from shoppers near your measurements are gold here.
Measuring Tips for Specific Garments
Jeans and trousers: Waist, hips, and inseam are the trio that matters. Also note the rise that suits you; measure from your natural waist to where you like pants to sit to compare against listed front-rise numbers.
Dresses: Bust, waist, and hips all matter, plus torso length for one-piece fits. If you are between sizes, prioritize the area the dress fits most closely; a fit-and-flare dress is forgiving at the hips but not at the bust.
Blazers and jackets: Shoulders and chest are paramount, followed by sleeve length. Shoulder seams should sit at your shoulder bones; everything else can be tailored relatively easily.
Swimwear and activewear: Measure over the undergarments you will wear beneath, and check whether the brand designs for compression or relaxed fit. Stretch fabrics forgive a lot, but too-small activewear restricts movement.
Shoes: Measure your foot length from heel to longest toe while standing, wearing the socks you will pair with the shoes. Compare to the brand’s centimeter or inch chart rather than relying on US/UK/EU conversions, which are notoriously inconsistent.
Common Measuring Mistakes to Avoid
- Measuring over bulky clothing. Thick sweaters and jeans add inches. Measure over thin layers or underwear.
- Pulling the tape too tight. Cinching the tape gives aspirational numbers, not real ones, and leads to clothes that are too small.
- Letting the tape droop or twist. A twisted tape adds width; a drooping tape at the back inflates hip and bust numbers. Keep it flat and level.
- Using a stretched-out tape. Old fabric tapes stretch over time and read long. Replace yours every couple of years, or check it against a ruler.
- Measuring once and never again. Bodies change with seasons, fitness routines, and life stages. Refresh your numbers twice a year.
- Ignoring the brand’s chart. Your measurements are only useful when compared to the specific chart for the item you are buying. “I’m always a medium” is exactly the habit measurements are meant to replace.
- Forgetting ease and fabric. A linen shirt and a stretch blazer with identical chest numbers fit very differently. Factor in fabric behavior and the garment’s intended fit.
Accurate measurements take the gamble out of online shopping. Pair them with thoughtful wardrobe planning, and you will find more style guides on the DigitalGeekSpot homepage to help you build a closet where everything fits and everything works together.
Frequently Asked Questions
How do you measure yourself for clothes without a tape measure?
Use a piece of string, ribbon, or a phone charging cable: wrap it around the area, mark the length with your fingers or a pen, then measure the string against a ruler or a standard sheet of paper (11 inches long). It is less precise than a soft tape, but far better than guessing.
Should you measure over clothes or bare skin?
Measure over thin, fitted undergarments or lightweight clothing. Bare skin works too, but avoid bulky layers. The key is consistency: measure the same way each time so your numbers stay comparable.
What if your measurements fall between two sizes?
Choose based on the garment and fabric. For structured, non-stretch items like blazers and button-downs, size up. For stretchy knits and casual pieces, your smaller size usually works. When in doubt, check reviews to see how the item fits on bodies similar to yours.
Are online size charts accurate?
Reputable brands’ charts are generally accurate for body measurements, but “accuracy” varies because each brand defines its own sizing. The chart is accurate to that brand’s pattern, which is exactly why you should never skip checking it, even for brands you buy often.
How often should you re-measure yourself?
Every six months is a good rhythm for most people, plus any time you notice clothes fitting differently or after significant weight changes. It takes only a few minutes and prevents a cycle of ordering the wrong size.