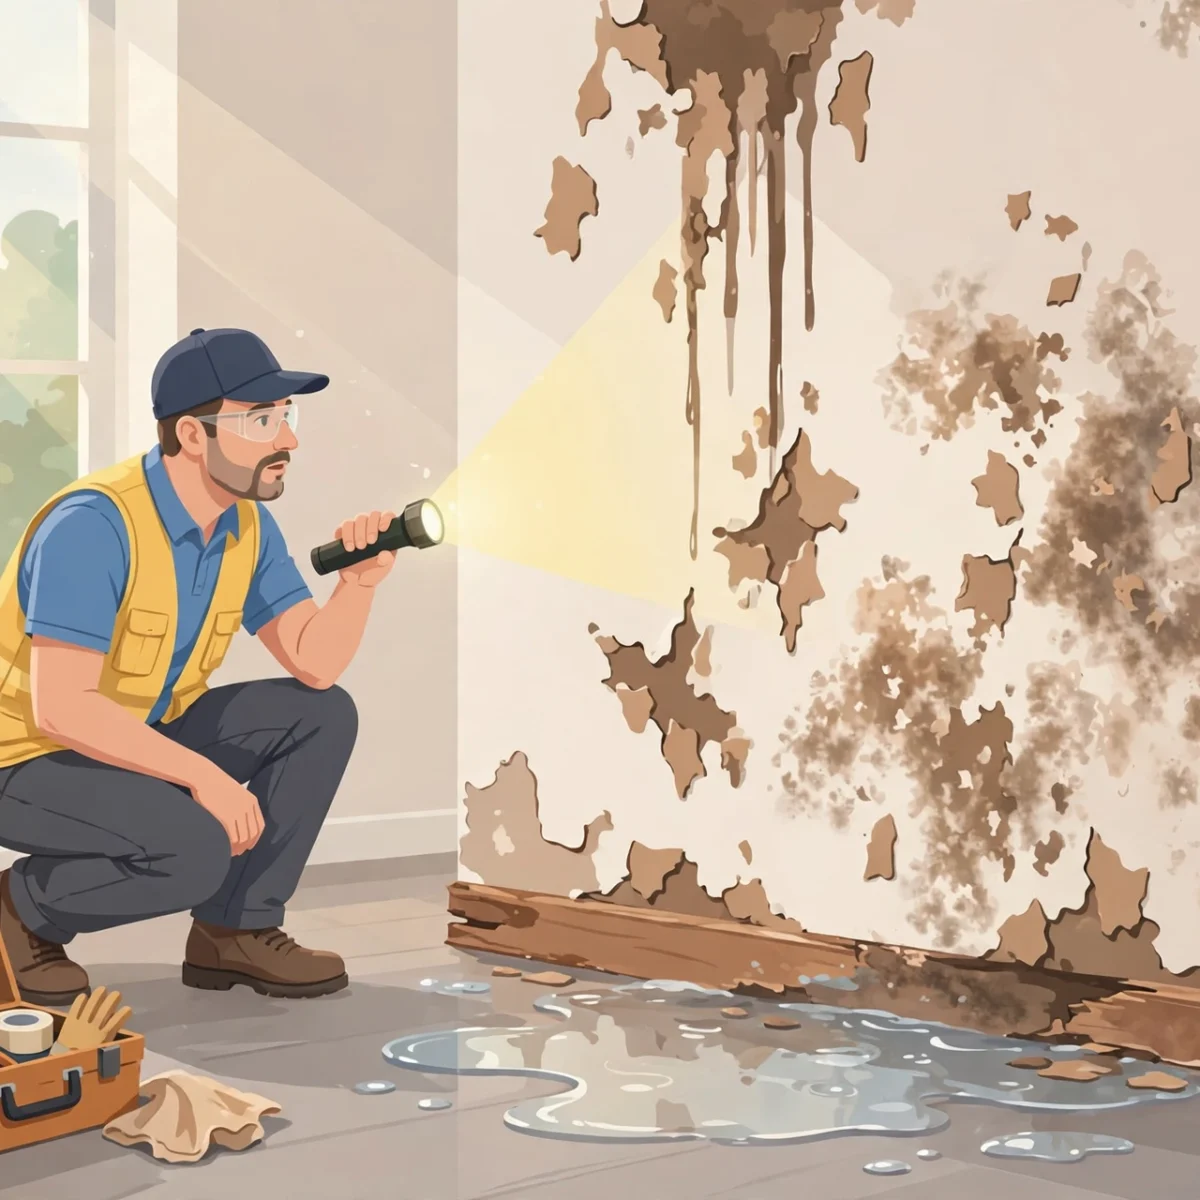
Water damage is one of the costliest home problems, and one of the easiest to miss until it turns serious. If you are assessing water damage and wondering what to look for, the quick answer is this: look for discoloration and stains, warped or buckling materials, peeling paint, soft or spongy surfaces, musty odors, and any visible mold. This guide from DigitalGeekSpot walks you through the signs room by room, what to do in the first 24 to 48 hours, when to call a professional, and how to document everything for your insurance claim.
The Quick Answer: What to Look For
Scan for these warning signs in order of urgency:
- Active water: dripping, pooling, or running water, stop the source first, assess second.
- Stains and discoloration: yellow, brown, or copper-colored rings on ceilings and walls are the classic signature of a leak above or behind the surface.
- Warping and buckling: floors that cup or buckle, baseboards pulling away from walls, doors that suddenly stick.
- Texture changes: bubbling, blistering, or peeling paint; wallpaper lifting at the seams; drywall that feels soft or crumbles when pressed.
- Odors: a persistent musty or earthy smell, especially in basements, bathrooms, or closets, often signals hidden moisture or mold.
- Mold or mildew: black, green, or white fuzzy growth, particularly in damp corners and behind furniture.
- Secondary clues: unexpectedly high water bills, the sound of running water when nothing is on, or efflorescence (white mineral deposits) on masonry.
The Telltale Signs of Water Damage
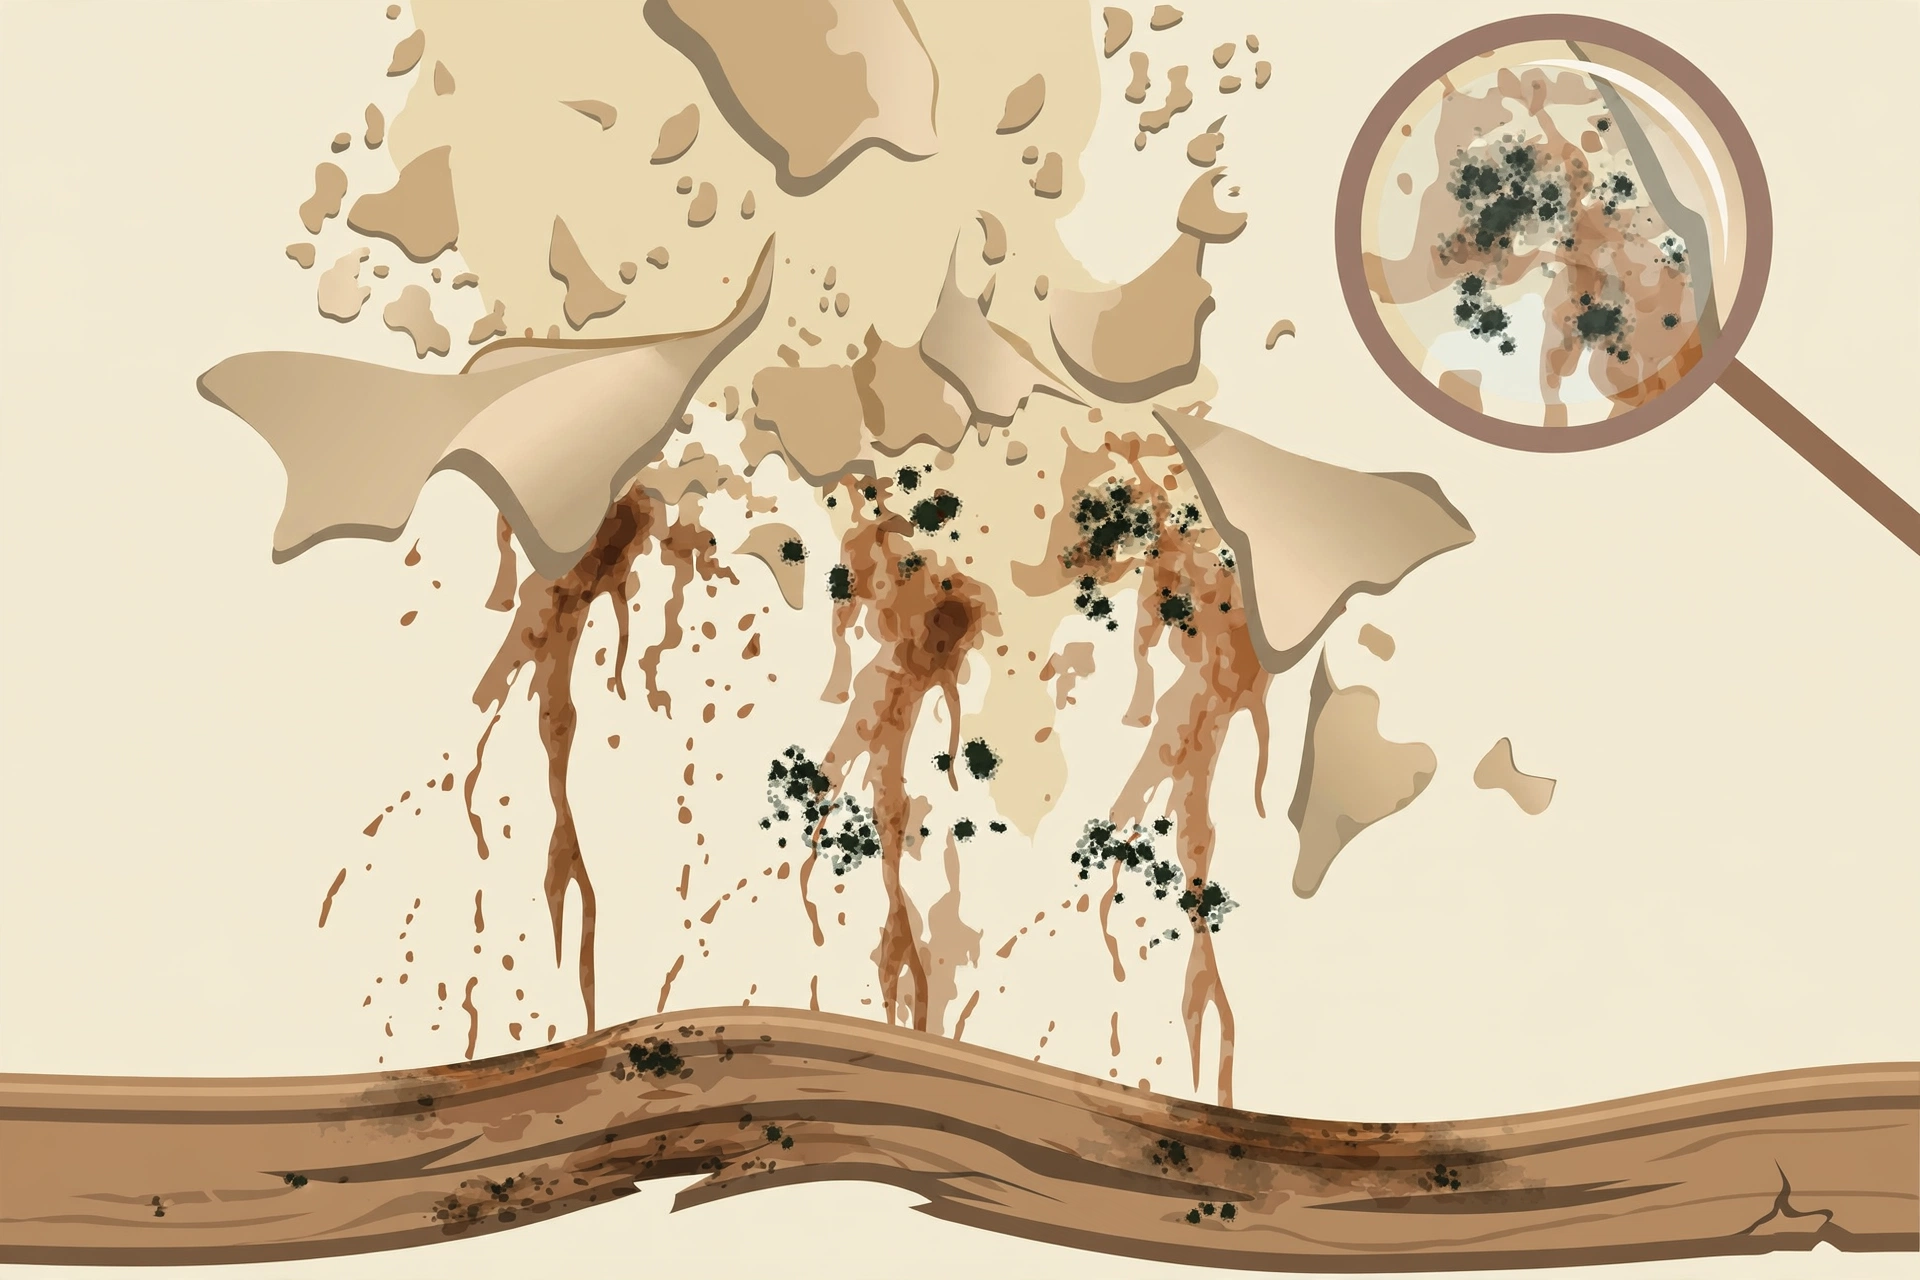
Water rarely damages a home in an obvious, dramatic way. More often it works quietly for weeks or months. Learning the visual and sensory vocabulary of water damage is the core skill of assessment.
On ceilings they appear as yellowish-brown rings with a darker outline, the signature of water spreading and drying repeatedly. On walls, look for discoloration near the base or below windows and plumbing. Fresh or old, any stain deserves investigation.
Warping and swelling happen because wood and wood-based materials expand as they absorb water. Hardwood floors develop cupped edges, laminate bubbles at the seams, and MDF baseboards swell and pull away. If a door or window that once closed smoothly now sticks, moisture may have swollen the frame.
Paint and wallpaper failure is another early indicator. Paint that bubbles, blisters, or peels, especially in a bathroom or on an exterior wall, usually means moisture is pushing through from behind. Wallpaper that lifts at the seams or develops dark spots is saying the same thing.
Soft or spongy surfaces are a red flag. Press gently on suspect drywall or subflooring: healthy drywall is firm and rigid, while water-damaged drywall gives, crumbles, or feels mushy. Floors that feel bouncy or spongy underfoot may have a compromised subfloor.
Musty odors deserve special attention because they often reveal damage you cannot see. Mold and mildew release microbial volatile organic compounds, the “damp basement” smell. If a room smells musty but looks fine, moisture is likely hiding inside a wall cavity, under flooring, or above the ceiling.
Room-by-Room: Where to Inspect
Different rooms fail in different ways. Work through your home systematically, starting where plumbing and weather exposure concentrate risk.
Kitchens and Bathrooms
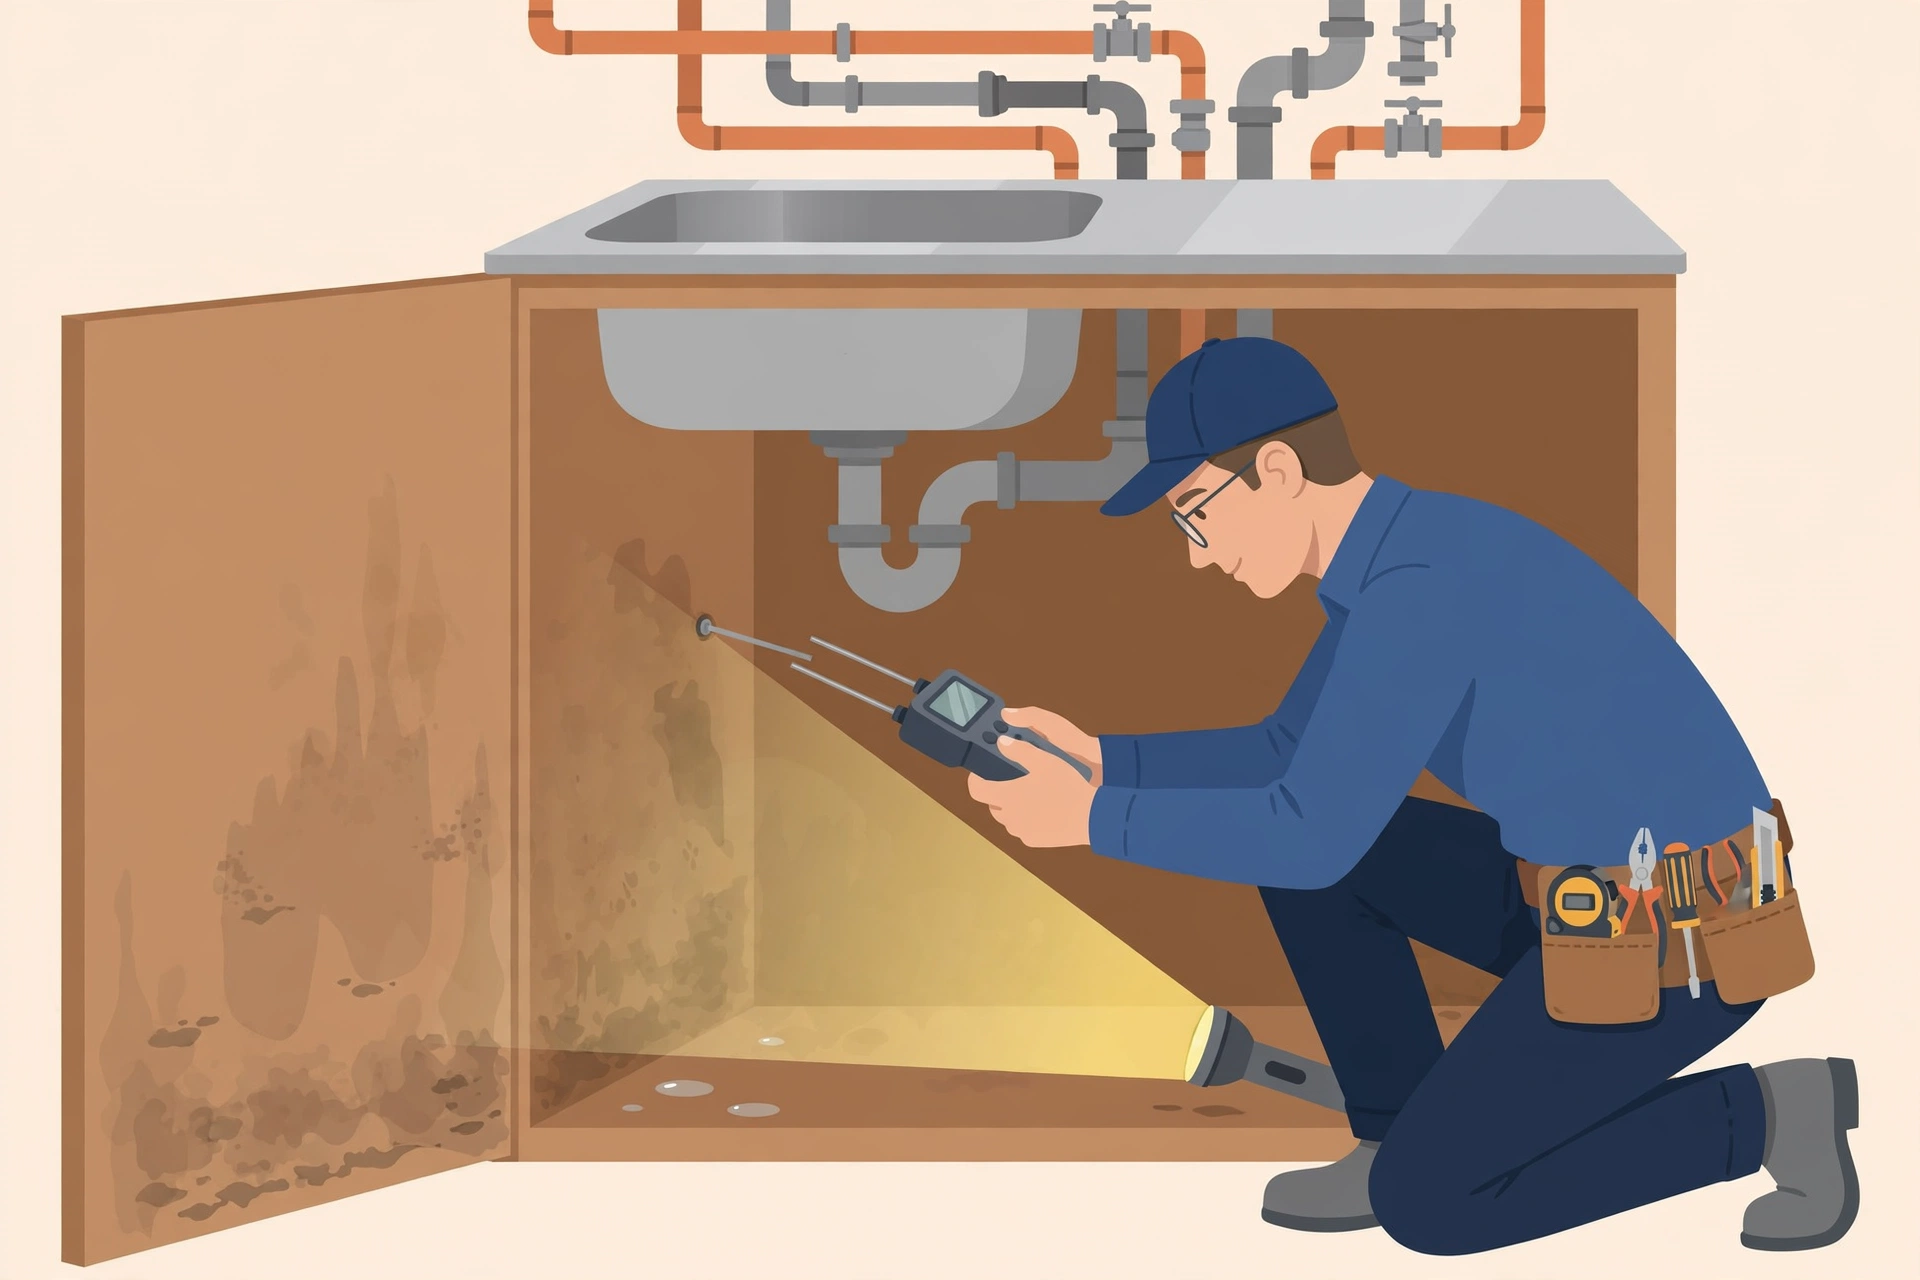
These rooms combine pressurized plumbing, drains, and heavy daily water use, making them the most common origin points for leaks. Inspect under every sink with a flashlight: look for water stains, warped cabinet floors, dripping supply lines, and corroded valves. Around toilets, check the base for discoloration, softness in the surrounding floor, and any rocking motion, which can indicate a failed wax seal. In showers and tubs, probe caulk and grout for cracks and look for loose tiles, water behind tile migrates silently into wall cavities.
Basements and Crawl Spaces
Basements collect every kind of moisture: groundwater seepage, foundation cracks, sump pump failures, and condensation. Walk the perimeter and look for water lines on walls, efflorescence (white chalky mineral deposits that mark where water has evaporated), and rust on metal near the floor. Check the sump pump by pouring a bucket of water into the pit and confirming it activates. In crawl spaces, look for standing water, sagging insulation, and mold on joists.
Attics
Attic inspections catch roof leaks early, before they reach living spaces. Go up during or just after rain if you can do so safely. Look for darkened or stained roof decking, damp insulation, daylight visible through the roof boards, and rust on nails (a classic sign of chronic condensation). Also check around vents, chimneys, and skylights, where flashing failures concentrate.
Living Areas and Bedrooms
Here the signs are subtler: faint ceiling stains, peeling paint on exterior walls, warped window sills, and musty closets. Move furniture away from exterior walls periodically, slow leaks from windows or siding hide behind bookcases and dressers for months. Carpets that feel damp or develop dark patches along the edges may be wicking moisture from below.
Exteriors and the Roof
From outside, look for missing or damaged shingles, clogged or overflowing gutters, downspouts that discharge next to the foundation, cracked caulk around windows, and soil graded toward (rather than away from) the house. Most foundation water problems start with bad drainage, not bad foundations.
What to Do in the First 24–48 Hours
Your response in the first two days largely determines whether you face a quick cleanup or a mold remediation project, mold can colonize damp materials within 24 to 48 hours.
- Stop the source. Shut off the water at the fixture or the main valve for plumbing leaks. For roof leaks, place buckets and, if safe, cover the area with a tarp until repairs happen.
- Stay safe. Do not enter flooded areas where water may have reached outlets or electrical panels. If in doubt, kill power to the affected area at the breaker box and call an electrician.
- Document before you clean. Photograph and video everything, wide shots of each room, close-ups of damage, water lines on walls, and the apparent source. This documentation is the backbone of any insurance claim.
- Remove standing water. Use pumps, wet vacuums, or mops. The faster bulk water is gone, the less absorbs into materials.
- Move and protect belongings. Get furniture, rugs, and valuables out of the wet area. For upholstered pieces that got damp, start with gentle cleaning, our guide to how to clean a fabric couch with baking soda covers safe first steps for fabric furniture.
- Dry aggressively. Open windows if outdoor humidity is lower than indoors, run fans to circulate air, and use a dehumidifier. Pull up wet carpet padding (it rarely dries in place) and remove baseboards to let wall cavities breathe.
- Discard what cannot be saved. Porous materials soaked by contaminated water, sewage backups, floodwater, generally cannot be safely disinfected and should be removed.
- Contact your insurer. Report the damage promptly, ask what your policy covers, and keep a log of every call with names, dates, and reference numbers.
When to Call a Professional
Not every water incident needs a pro, but these situations do:
- Contaminated water: sewage backups or floodwater carry pathogens, this is not a DIY cleanup.
- Widespread damage: multiple rooms, soaked drywall, or sagging ceilings suggest structural involvement.
- Suspected mold: visible mold covering more than a small patch, or strong musty odors with no visible source, warrant a mold assessment.
- Hidden moisture: professionals use moisture meters and thermal imaging to find water inside walls and under floors, tools worth paying for when you suspect damage you cannot see.
- Electrical risk: water near panels, outlets, or wiring needs an electrician before anyone else goes in.
- Insurance complexity: large claims go smoother with a licensed restoration contractor who documents to insurer standards.
Documenting Water Damage for Insurance
Good documentation is often the difference between a smooth claim and a denied one. Treat it like a project:
| What to Capture | Details |
|---|---|
| Photos and video | Wide room shots plus close-ups of every damaged area; photograph the water source and any failed components (burst pipe, broken valve) |
| Timestamps | Keep your phone’s date/time stamps on; note when you discovered the damage and each action you took |
| Inventory of losses | List damaged items with approximate age, purchase price, and replacement cost; photograph model/serial numbers |
| Receipts | Save every receipt: emergency repairs, water extraction, hotel stays, supplies |
| Communication log | Record every call with your insurer: date, representative name, claim number, and what was agreed |
| Professional reports | Keep copies of plumber, roofer, or restoration assessments, they validate cause and scope |
Do not discard damaged items before the adjuster has seen them, and do not sign any settlement until the full scope of damage, including hidden moisture, is understood.
How to Prevent Water Damage
Assessment is reactive; prevention is where the real savings are. A short seasonal routine covers most risks:
- Inspect supply hoses on washing machines, dishwashers, and ice makers yearly, replace rubber hoses with braided stainless steel.
- Clean gutters and downspouts twice a year; extend downspouts at least several feet from the foundation.
- Test the sump pump before rainy seasons and consider a battery backup.
- Know where your main water shutoff valve is, and make sure every adult in the home can operate it.
- Re-caulk tubs, showers, and exterior windows when sealant cracks.
- Keep indoor humidity between 30 and 50 percent with ventilation or a dehumidifier to discourage mold.
- After heavy storms, do a quick walkthrough of the attic, basement, and ceilings, ten minutes that can save thousands.
Related Articles
- How to Clean a Fabric Couch with Baking Soda
- How Is Liability Established in a Dog Bite Case?
- Sweatshirt vs Hoodie: What’s the Difference?
Frequently Asked Questions
What are the first signs of water damage in a house?
The earliest signs are usually subtle: faint yellow or brown stains on ceilings and walls, paint that bubbles or peels, a musty smell in a particular room, and doors or windows that start sticking. Any one of these warrants a closer look with a flashlight behind furniture and inside cabinets.
How can I tell if water damage is old or new?
Fresh damage usually feels damp with sharper stain edges; old damage feels dry, with flaking or layered stains. A moisture meter from a hardware store gives a definitive answer about wetness behind the surface.
Can water damage be hidden behind walls?
Yes, and it often is. Leaks from supply lines, shower valves, and roof flashing can soak wall cavities for months with no visible sign except a musty odor or a slightly elevated water bill. If you suspect hidden damage, a professional with a moisture meter or thermal imaging camera can confirm it without tearing walls open first.
How long does it take for mold to grow after water damage?
Mold can begin colonizing damp materials within 24 to 48 hours under the right conditions, which is why fast drying is the single most important response step. Porous materials like drywall, carpet padding, and insulation that stay wet beyond that window often need to be removed rather than dried.
Does homeowners insurance cover water damage?
It depends on the source. Standard homeowners policies typically cover sudden and accidental water damage, burst pipes, appliance failures, but generally exclude gradual damage from neglected maintenance and flooding from outside the home (which requires separate flood insurance). Review your policy’s exclusions and document the cause carefully, since the source determines coverage.
Conclusion
Assessing water damage comes down to knowing what to look for, stains, warping, peeling finishes, soft surfaces, odors, and mold, and checking the high-risk zones room by room before small problems become big ones. When damage happens, act within the first 24 to 48 hours: stop the source, document everything, dry aggressively, and call professionals for contamination, structural, or hidden-moisture situations. A few minutes of seasonal prevention and a habit of looking closely will protect your home far better than any emergency response ever could.