Learning how to take a screenshot on Windows is one of those small skills that pays off every day. You might need to capture an error message for tech support, save a receipt, grab a frame from a video call, or share a funny chat with a friend. Screenshots are also useful for students who want to save study notes, diagrams, or assignment instructions quickly. This guide covers every built-in way to take a screenshot on Windows, including keyboard shortcuts, the Snipping Tool, and the Game Bar, plus the equivalent methods on a Mac so you are covered on both platforms.
No extra software is needed. Everything described here comes with your operating system, which means it is free, safe, and always available when you need it.
How to Take a Screenshot on Windows: Quick Methods
Windows offers several screenshot methods, and the best one depends on what you want to capture. Here are the fastest keyboard shortcuts to memorize.
1. Print Screen: capture the whole screen
Press the PrtScn (Print Screen) key. On some keyboards it is labeled PrtSc, PrtScn, or PrtScr. This copies an image of your entire screen to the clipboard. Nothing appears to happen, which confuses many people at first. The image is simply stored in memory, and you need to paste it somewhere, such as into Paint, Word, an email, or a chat window, by pressing Ctrl + V.
If your keyboard is small or a laptop, you may need to hold the Fn key while pressing PrtScn for it to work.
2. Windows key + Print Screen: save a full screenshot automatically
Press Win + PrtScn. Your screen will dim briefly to confirm the capture. Unlike the plain Print Screen key, this shortcut saves the screenshot as a PNG file automatically. You can find it in Pictures > Screenshots in File Explorer. This is the easiest method if you want to keep the image as a file without opening another program.
3. Alt + Print Screen: capture only the active window
Press Alt + PrtScn to capture only the window you are currently using, instead of the whole screen. The image goes to the clipboard, so paste it with Ctrl + V into Paint or another app and save it. This is handy when you have many windows open and only want one of them.

4. Windows key + Shift + S: the Snipping Tool overlay
Press Win + Shift + S. Your screen dims and a small toolbar appears at the top with capture options: rectangle, freeform, window, or full-screen snip. Drag to select the area you want, and the screenshot is copied to the clipboard. A notification appears in the corner; click it to open the image in the Snipping Tool, where you can annotate, crop, and save it.
This is the most flexible shortcut on modern Windows and works on both Windows 10 and Windows 11. If you find your PC running slowly while multitasking with screenshots and other apps, you may enjoy our guide on how to speed up a slow laptop.
Using the Snipping Tool App on Windows
The Snipping Tool is the dedicated screenshot app built into Windows 10 and Windows 11. You can open it by searching for “Snipping Tool” in the Start menu.
Here is how to use it:
- New: start a new capture. Click the Mode dropdown first to choose Rectangle, Window, Full-screen, or Free-form.
- Delay: set a timer of 3, 5, or 10 seconds before the capture starts. This is useful for menus that disappear when you click away, or for capturing tooltips.
- Annotate: after capturing, use the pen, highlighter, eraser, and crop tools to mark up the image.
- Save: click the save icon to store the screenshot as PNG, JPG, or GIF wherever you like.
The Snipping Tool also keeps a small history of your recent captures within the app, which makes it easy to go back to something you grabbed earlier in the day.
Capture Gameplay and Apps with the Xbox Game Bar
Press Win + G to open the Xbox Game Bar. Although it is designed for gamers, its capture widget works for screenshots of almost any app or game. Click the camera icon in the Capture widget, or press Win + Alt + PrtScn directly to take a screenshot without opening the bar.
Game Bar screenshots are saved automatically to Videos > Captures. This method is a good pick for capturing games, since some games block or interfere with the regular Print Screen key.
Where Do Screenshots Go on Windows?
This is one of the most common follow-up questions, and the answer depends on the method you used:
- PrtScn or Alt + PrtScn: clipboard only. Paste with Ctrl + V into Paint, Word, or an image editor, then save.
- Win + PrtScn: saved automatically to Pictures > Screenshots as a PNG file.
- Win + Shift + S: clipboard only, with a notification that opens the Snipping Tool for saving.
- Win + Alt + PrtScn (Game Bar): saved automatically to Videos > Captures.
If screenshots are piling up and eating your storage, check out our guide on how to free up disk space on Windows 11 for safe ways to reclaim room.
How to Take a Screenshot on a Mac
Macs have their own set of built-in screenshot shortcuts, and they are consistent across macOS versions. Here are the main ones.
Shift + Command + 3: capture the entire screen
Press Shift + Cmd + 3 to capture your whole screen. A small thumbnail appears in the bottom-right corner for a few seconds. Click it to edit the screenshot, or let it disappear: the file is saved to your Desktop by default as a PNG.
Shift + Command + 4: capture a selected area
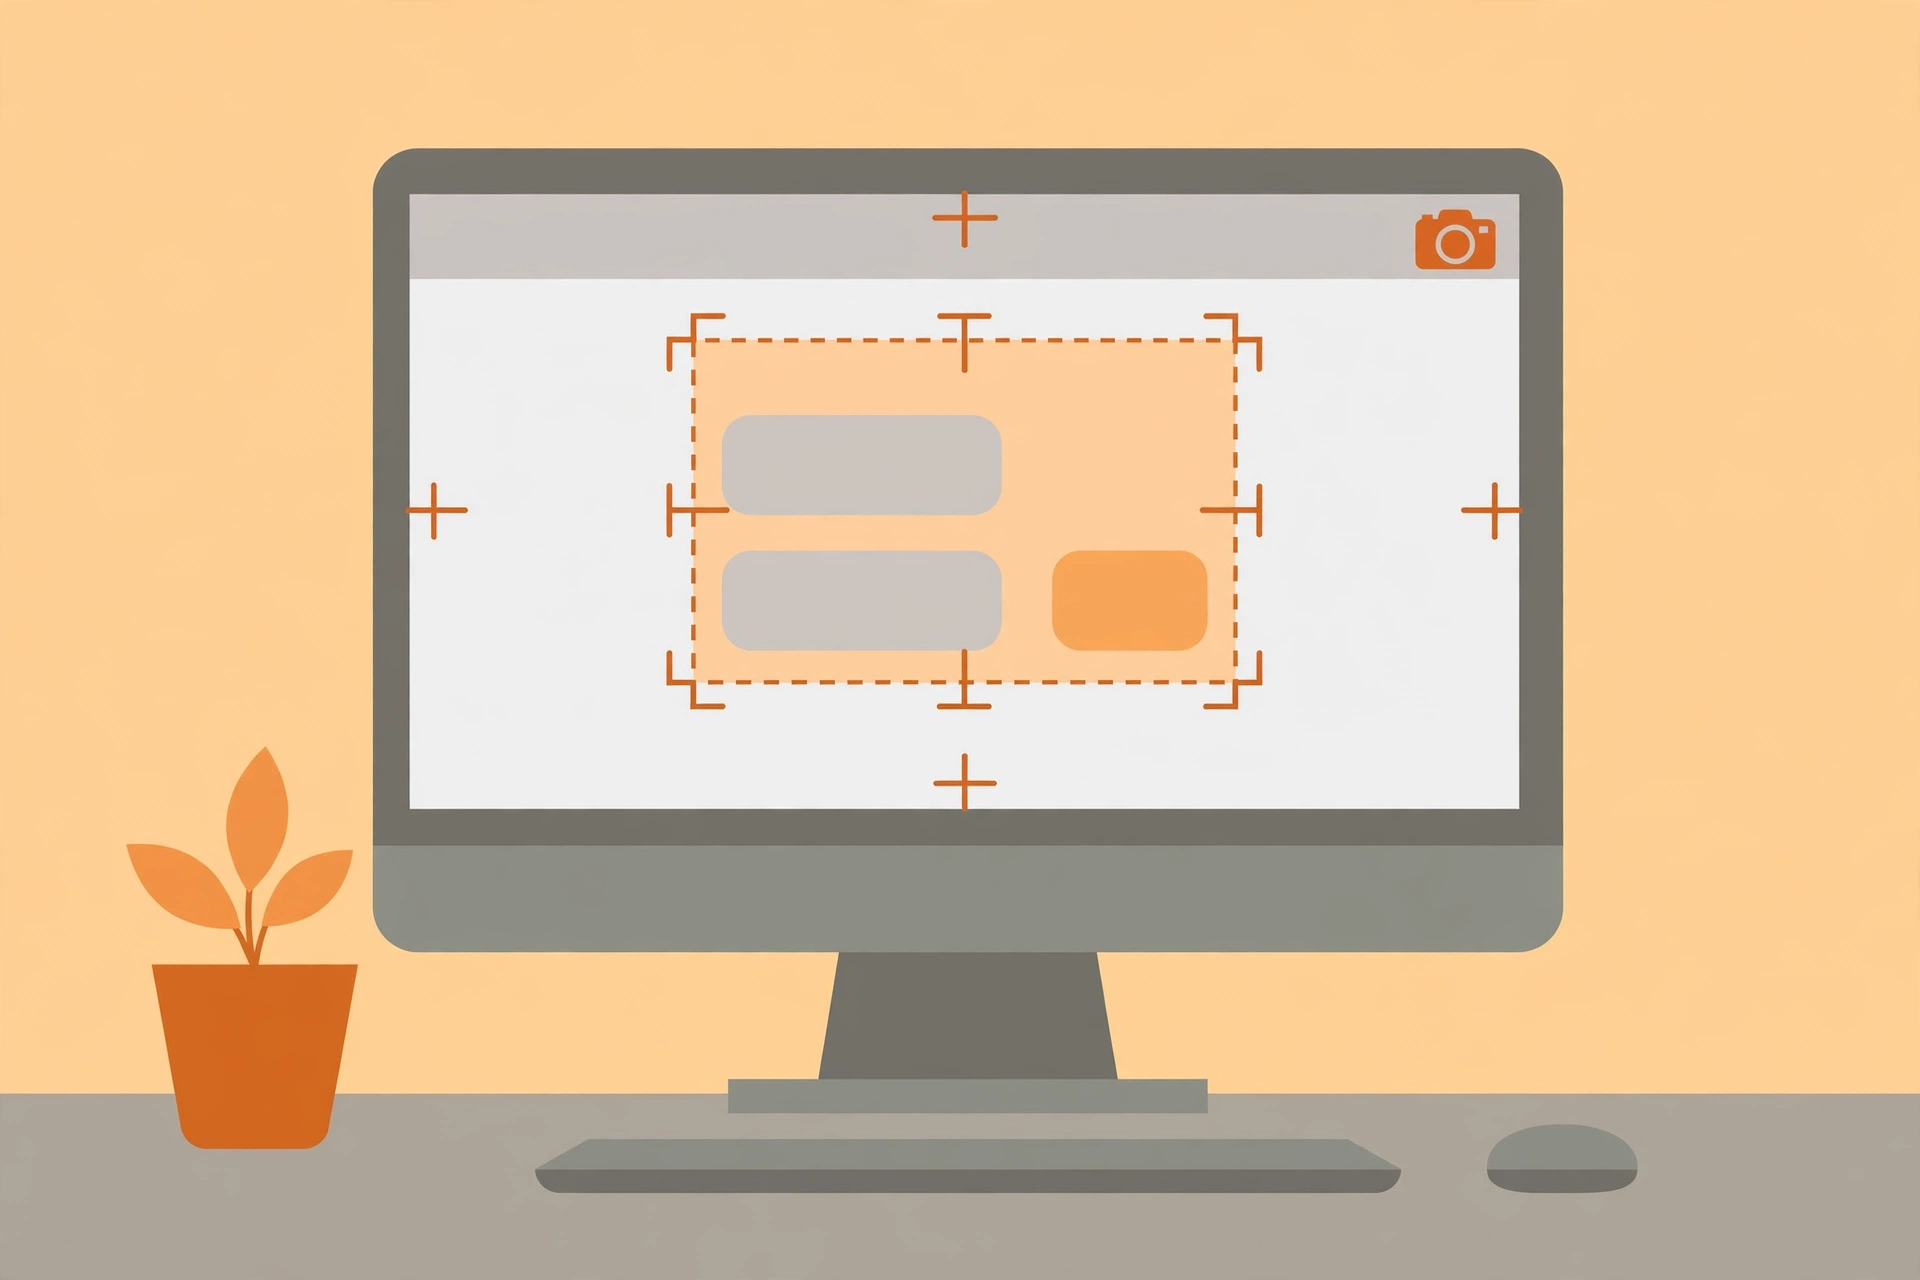
Press Shift + Cmd + 4. Your cursor turns into crosshairs. Drag to select the exact area you want to capture, then release. To move the selection while dragging, hold the Space bar. Press Escape to cancel without taking the shot.
Shift + Command + 4, then Space: capture a window
Press Shift + Cmd + 4, then press the Space bar. The cursor becomes a camera icon. Hover over any window and click to capture just that window, complete with a nice drop shadow. Hold Option while clicking to remove the shadow.
Shift + Command + 5: the screenshot toolbar
Press Shift + Cmd + 5 to open the Screenshot app toolbar. This is the Mac equivalent of the Snipping Tool. It offers buttons for capturing the entire screen, a selected window, or a selected portion, plus options to record your screen as a video. The Options menu lets you set a 5 or 10 second timer, choose where files are saved, and decide whether the floating thumbnail appears.
If you are deciding between platforms for school or work, our Chromebook vs laptop comparison may help, and students can find more study tools in our roundup of the best AI tools for students.
Editing and Annotating Your Screenshots
Capturing is only half the job. Most of the time you will want to highlight something, crop out clutter, or blur sensitive details before sharing.
- On Windows: the Snipping Tool has a pen, highlighter, eraser, ruler, protractor, and crop tool. For heavier editing, paste the capture into Paint, which is free and preinstalled.
- On Mac: click the thumbnail that appears after capture, or open the file in Preview. The Markup toolbar gives you shapes, arrows, text boxes, a signature tool, and adjustable colors.
- Blurring private info: before sharing screenshots publicly, cover passwords, addresses, account numbers, and other personal details. Both Paint (using the rectangle fill) and Mac Preview (using the redact or shape tools) can do this.
Copying, Pasting, and Sharing Screenshots
Screenshots copied to the clipboard can be pasted directly into most modern apps: messaging apps, email clients, documents, and social media post composers. Press Ctrl + V on Windows or Cmd + V on Mac.
On Windows 10 and 11, you can also press Win + V to open clipboard history, which keeps a list of recently copied items including screenshots, so you can paste an earlier capture without taking it again. Clipboard history must be enabled once in Settings, and it is worth turning on if you take screenshots often.
For more useful guides like this one, visit the DigitalGeekSpot homepage.
FAQs: Screenshots on Windows and Mac
Why is my Print Screen key not working?
On many laptops, the Print Screen key shares space with another function, so you may need to hold the Fn key at the same time. Also check Settings > Accessibility > Keyboard: Windows has an option that lets the Print Screen key open the Snipping Tool instead of copying to the clipboard, which changes its behavior.
How do I take a screenshot of just one monitor with two monitors?
Use Alt + PrtScn to capture only the active window, or use Win + Shift + S to drag a selection over the monitor you want. Win + PrtScn captures all connected monitors at once, which is rarely what you want in a multi-monitor setup.
How do I screenshot a dropdown menu that disappears?
On Windows, open the Snipping Tool and set a delay of 3 to 10 seconds, then open the menu before the timer ends. On Mac, open the Screenshot app with Shift + Cmd + 5, set a 5 or 10 second timer in Options, then open the menu.
Where are Mac screenshots saved?
By default, Mac screenshots save to the Desktop as PNG files with names like “Screenshot 2026-09-30 at 12.00.00 PM”. You can change the save location in the Screenshot app (Shift + Cmd + 5 > Options > Save to).
Can I change the screenshot file format?
On Windows, the format depends on the method: Win + PrtScn always saves PNG, while the Snipping Tool lets you choose PNG, JPG, or GIF when saving. On Mac, screenshots default to PNG, and you can convert them in Preview via File > Export if you need JPG or another format.
Do screenshots capture everything on screen?
Almost. Standard screenshots capture what is displayed, but some protected content, such as certain streaming video apps with copy protection, may appear black in screenshots. This is intentional DRM behavior, not a bug in your screenshot tool.