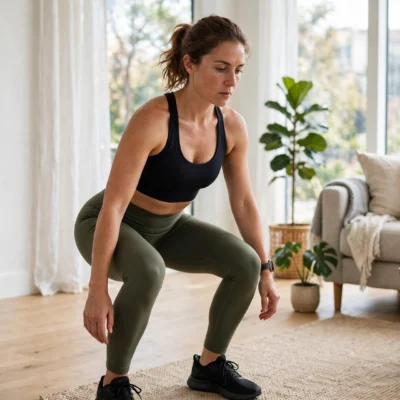
The push-up is one of the simplest and most effective exercises you can learn, and knowing how to do a proper push up is a skill that will serve you for years. It trains the chest, shoulders, triceps, and core in a single movement, needs zero equipment, and works just as well in a living room as in a gym. Yet most people rush through push-ups with sloppy form: sagging hips, flared elbows, and half reps that cheat the very muscles they are trying to build.
This guide breaks the movement into simple cues you can remember, shows you how to fix the most common mistakes, and walks you through easier-to-harder progressions so you can build up to full push-ups safely, even if you cannot do one strict rep today. Push-ups also pair perfectly with other bodyweight moves, so if you want a full routine, see our guide to home workouts without equipment, and browse more guides on the DigitalGeekSpot homepage.
Why the Push-Up Is Worth Mastering
Before diving into technique, it helps to understand why this one exercise deserves your attention. The push-up is a compound movement, which means it trains several muscle groups at once. The primary movers are the chest (pectorals), the front of the shoulders (anterior deltoids), and the back of the upper arms (triceps). But a well-executed push-up also demands serious work from your core, glutes, and even the muscles between your shoulder blades that stabilize the upper back.
That full-body demand is what makes the push-up so efficient. In the time it takes to do three sets, you have trained your pressing muscles and your midsection together. It also builds practical, real-world strength: the ability to push yourself up, stabilize your torso under load, and control your bodyweight through space. These qualities carry over to sports, manual work, and everyday tasks like getting up from the floor.
Another advantage is scalability. Almost every strength exercise can be made easier or harder, but few scale as smoothly as the push-up. By changing the angle of your body or your hand position, you can go from a gentle wall push-up to an advanced single-arm variation, all without buying a single piece of equipment. That makes the push-up a lifetime exercise: it grows with you from your first workout to your fittest years.
Setting Up for a Perfect Push-Up
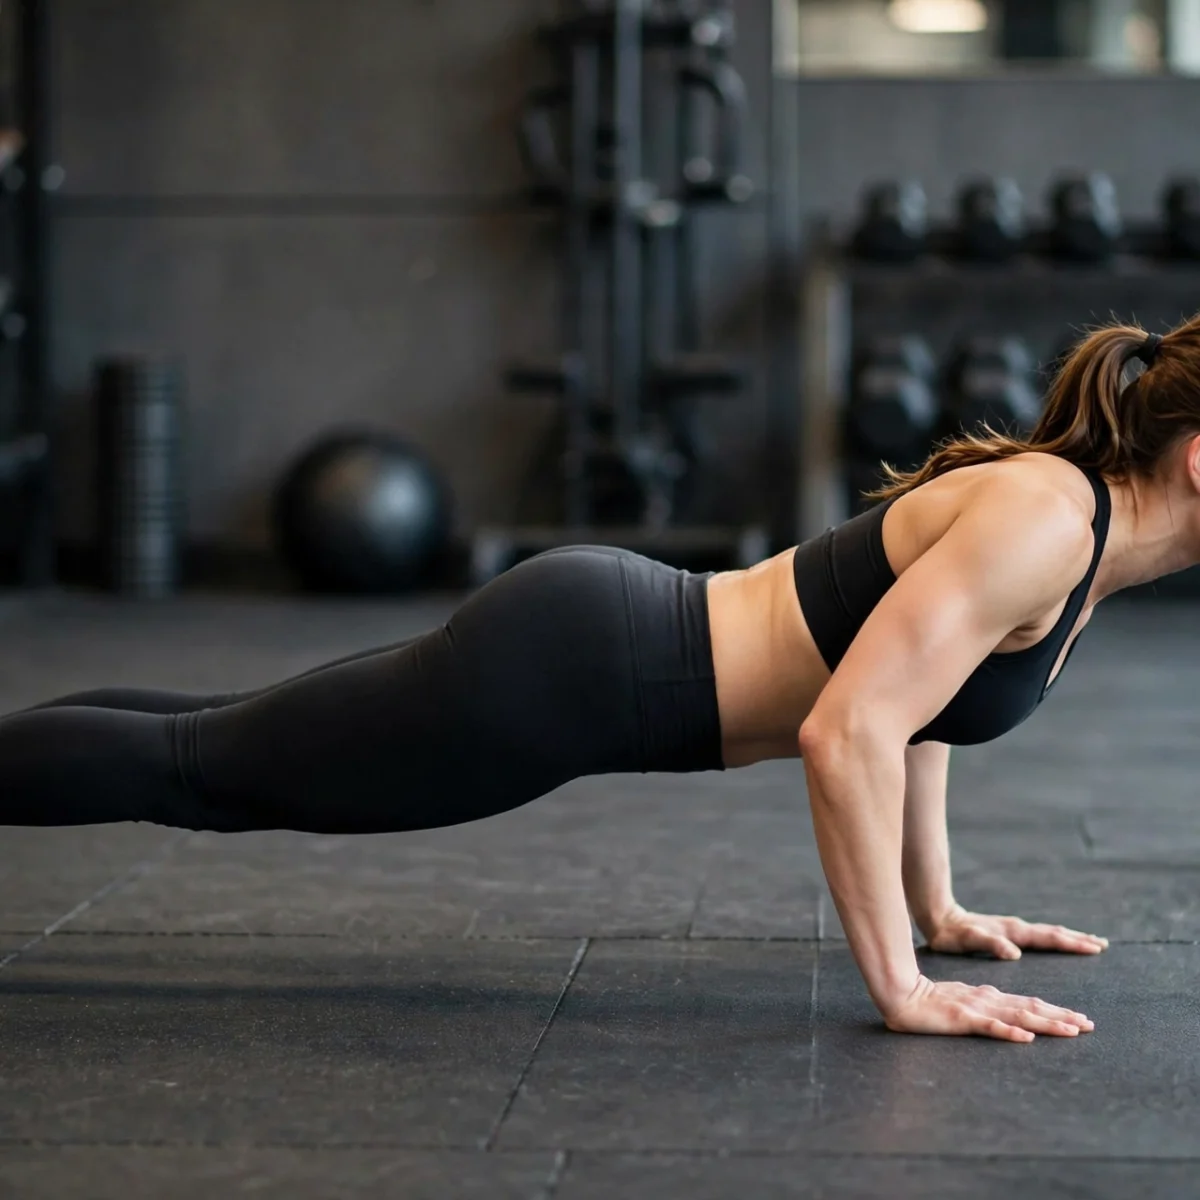
Good push-ups start before the first rep. Your setup determines whether the movement feels strong and stable or wobbly and awkward. Think of the starting position as a moving plank: everything you know about holding a solid plank applies here.
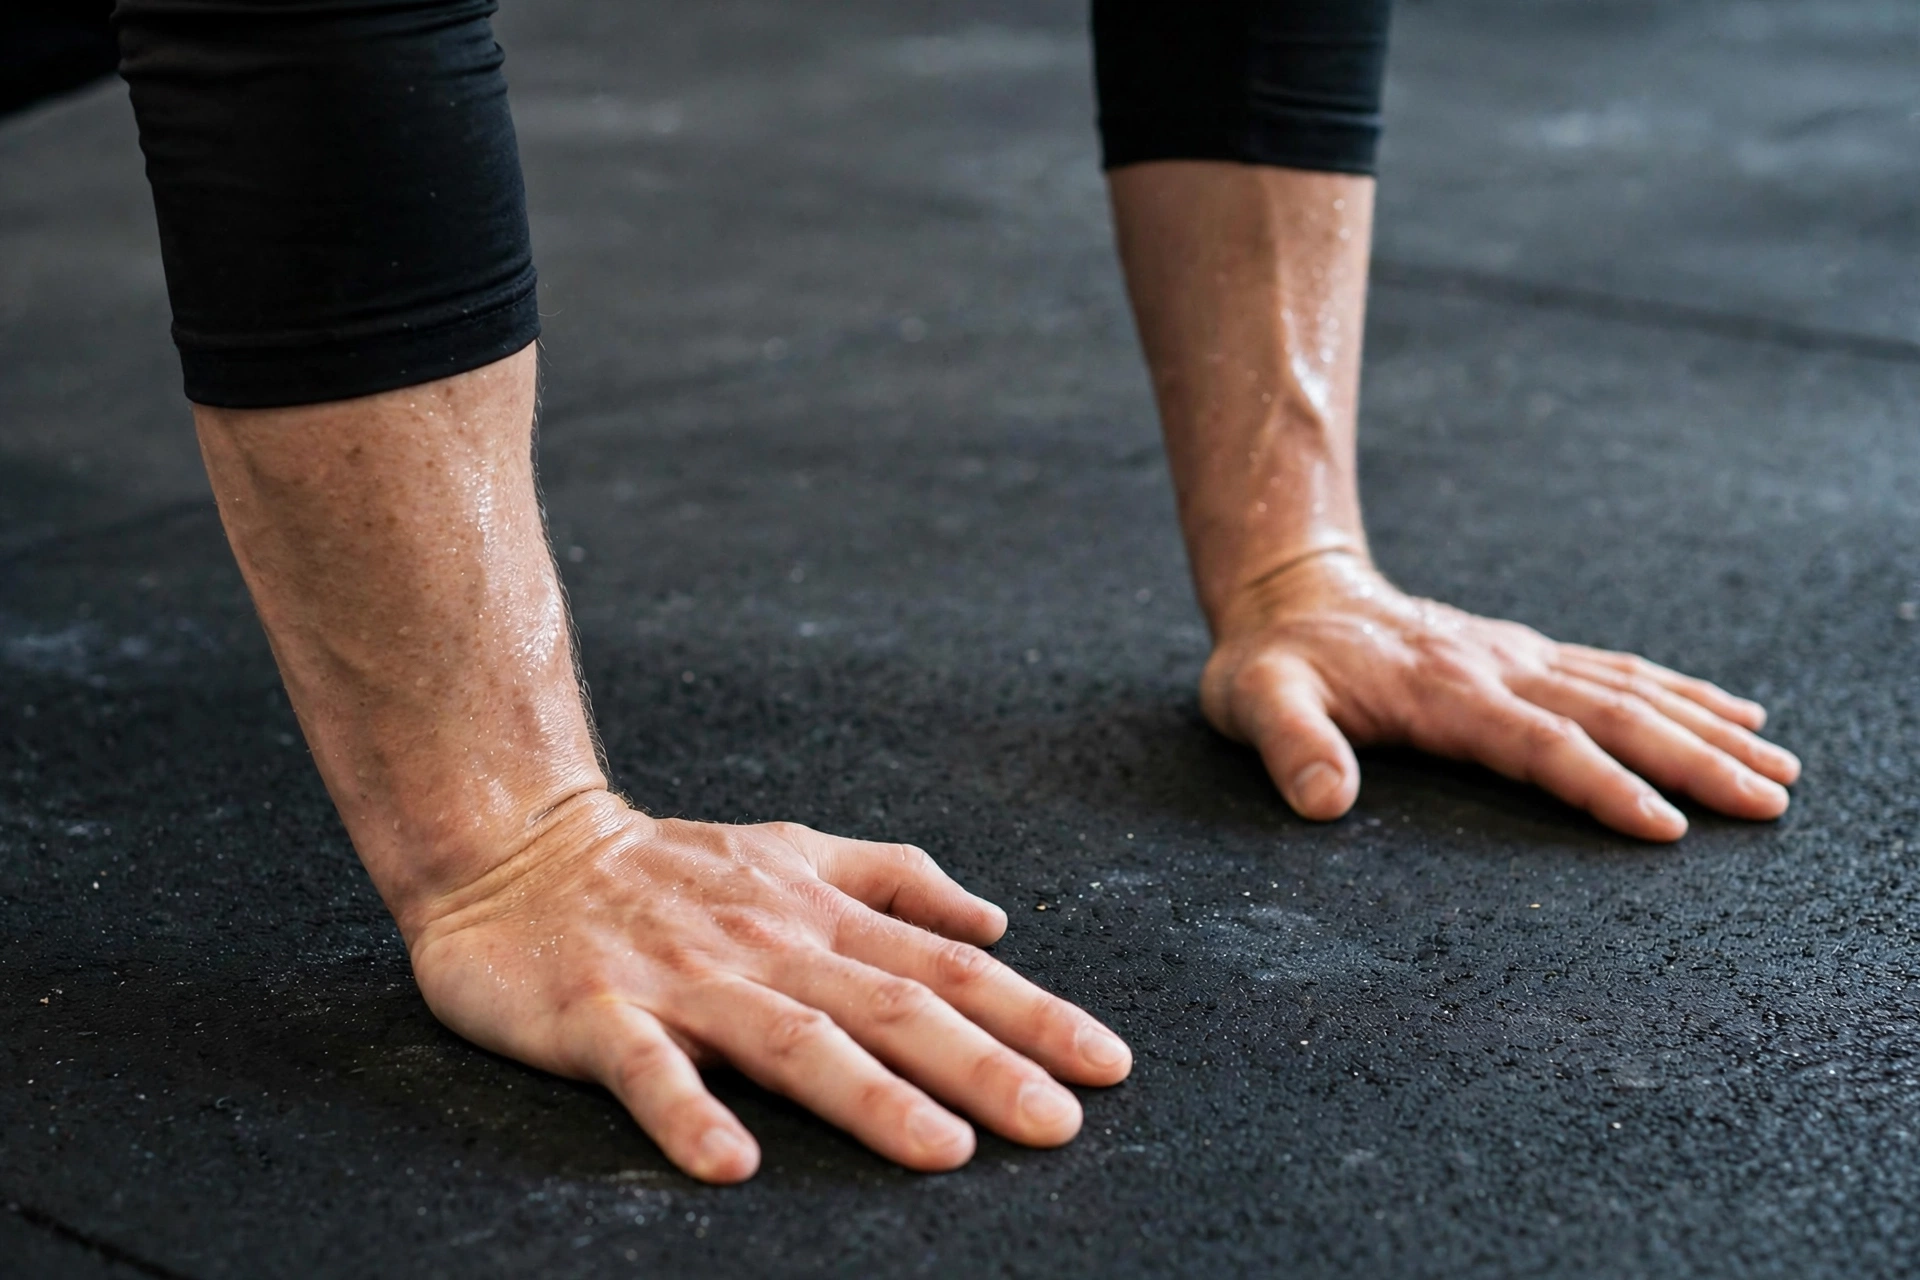
Start on all fours, then walk your hands out until your body forms a straight line from head to heels. Place your hands slightly wider than shoulder-width apart, with your fingers spread comfortably and your middle fingers pointing forward or angled slightly outward. Your wrists should be stacked more or less directly under your shoulders. If your hands are too far forward, your shoulders take on extra stress; too far back, and the movement turns into an awkward dip.
Now build tension from head to toe. Squeeze your glutes as if you were holding a coin between them, brace your abs like someone is about to tap your stomach, and press the floor away so your upper back rounds very slightly between your shoulder blades. Tuck your chin a touch so your neck stays in line with your spine, and fix your gaze on a spot on the floor a few inches in front of your fingertips. Your body should look like a rigid board: head, hips, and heels in one line.
Your feet can be together for a greater balance challenge or hip-width apart for more stability. Take a moment in this top position to check your alignment before you bend your elbows.
How to Do a Proper Push Up, Step by Step
Read through the cues once, then practice them slowly. Quality matters far more than speed or rep count.
Step 1: Brace and set your line. From the top position, take a breath in, tighten your abs and glutes, and confirm your body is straight from head to heels. You should feel solid, like a single unit, not a collection of loose parts.
Step 2: Lower with control. Bend your elbows and lower your chest toward the floor over about two to three seconds. Keep your elbows at roughly a 45-degree angle to your torso, not flared straight out to the sides and not pinned tightly to your ribs.
Step 3: Touch down lightly. Continue until your chest hovers just above the floor, or lightly touches it. Your hips should stay in line with your shoulders the entire way down. If your lower back starts to arch or your hips drop first, you have gone as low as your current strength allows, and that is your honest stopping point for now.
Step 4: Push the floor away. Press through your full palm, especially the base of your thumb and fingers, and drive your body back up in one strong, smooth motion. Think about pushing the floor away from you rather than lifting your body up; this cue helps you keep your shoulders down and your core tight. Exhale as you press.
Step 5: Lock out without shrugging. Finish with your arms straight but not hyperextended, shoulders sitting naturally rather than hunched toward your ears. Pause briefly at the top, reset your brace, and begin the next rep. Each rep should look like the one before it: same line, same depth, same control.
A good rule of thumb is to stop a set when your form starts to break down, not when your muscles give out completely. Five perfect reps build more useful strength than fifteen sloppy ones, and they keep your shoulders and lower back safe while you get stronger.
Breathing and Tempo: The Details That Matter
Breathing during push-ups is simple once you make it a habit: inhale as you lower yourself, exhale as you push back up. This pattern keeps your core braced when you need stability most and helps you generate force on the way up. Avoid holding your breath through multiple reps, which can spike blood pressure and leave you dizzy.
Tempo matters just as much. A controlled pace of about two to three seconds down, a brief pause at the bottom, and one to two seconds up keeps the muscles under tension and prevents you from bouncing off the floor. Bouncing, where you drop fast and rebound off your chest, robs the muscles of work and jars the shoulders. If you catch yourself speeding up as a set gets hard, that is a sign to end the set, rest, and start fresh.
For beginners, slowing down further for a few sessions builds the control and body awareness that make every future rep cleaner.
7 Common Push-Up Mistakes and How to Fix Them
Almost every push-up problem falls into one of these patterns. Check yourself with a mirror, a phone video, or a training partner watching from the side.
1. Sagging hips. The lower back arches and the belly drops toward the floor. This usually means the core and glutes are not engaged. Fix it by squeezing your glutes hard and bracing your abs before every rep, and consider dropping to an easier progression until you can hold the line.
2. Elbows flared to 90 degrees. Arms stick straight out in a T shape, which stresses the shoulders. Fix it by tucking your elbows to about 45 degrees and thinking about screwing your hands outward into the floor, which naturally rotates the elbows into a safer position.
3. Half reps. The chest stops several inches above the floor, cutting the range of motion short. Fix it by lowering until your chest nearly touches the floor on every rep. If you cannot reach full depth, switch to an easier progression rather than shortening the movement.
4. Head dropping or craning. The chin juts toward the floor or the head tips back to look forward. Fix it by tucking your chin slightly and gazing at a spot just ahead of your hands, keeping your neck long and neutral.
5. Shoulders shrugging at the top. The shoulders creep toward the ears at lockout. Fix it by thinking about pushing your upper back toward the ceiling at the top of each rep and keeping your neck relaxed.
6. Hands placed too wide or too far forward. This shifts stress onto the shoulders and makes the bottom position unstable. Fix it by resetting with hands under or just outside the shoulders, wrists stacked vertically.
7. Rushing through reps. Fast, bouncy reps with no control at the bottom. Fix it by counting your tempo out loud for a few sets: two or three seconds down, one second up. Slow is strong.
If you spot more than one of these in your own form, fix them one at a time. Master the hip position first, then the elbows, then the depth.
Easier-to-Harder Push-Up Progressions
You do not need to start with full push-ups, and you should not. The smartest path is to master an easier variation with perfect form, then step up when it feels solid. A reliable rule: when you can do three sets of 12 to 15 clean reps of a variation, you are ready for the next one.
Level 1: Wall push-ups. Stand arm’s length from a wall, place your hands on it at shoulder height, and perform the same bending and pressing motion. This is the best starting point if you are new to training or returning after a long break, because it teaches the movement pattern with minimal load.
Level 2: Incline push-ups. Place your hands on a sturdy elevated surface, such as a countertop, a bench, or the edge of a couch, and perform push-ups at an angle. The higher the surface, the easier the rep. As you get stronger, move to lower surfaces until you are nearly at floor level.
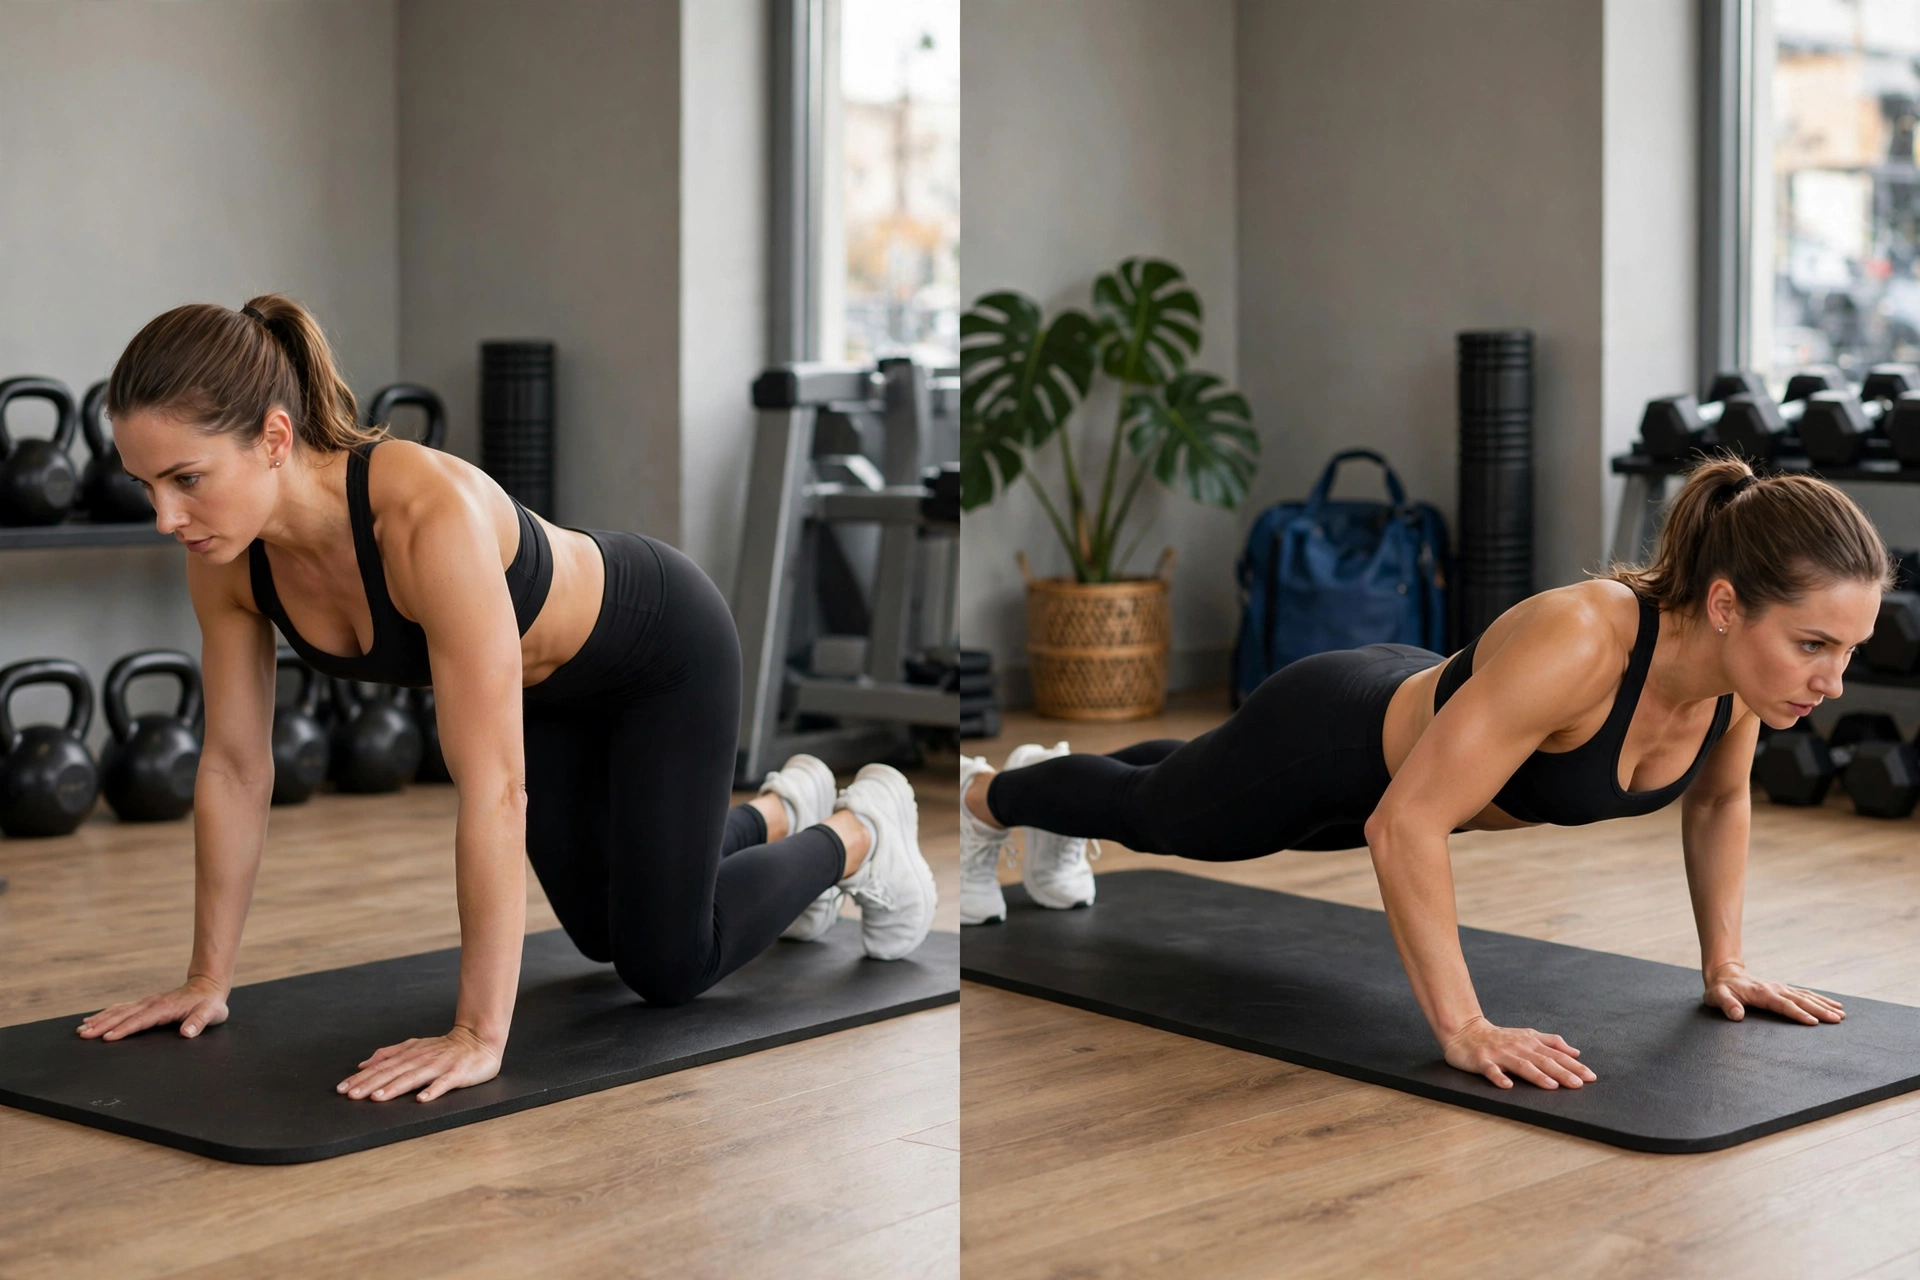
Level 3: Knee push-ups. Perform push-ups from your knees instead of your toes, keeping the same straight line from head to knees. Keep your glutes and abs tight; the most common error here is letting the hips sag because the shorter lever feels easy. Done correctly, knee push-ups build genuine pressing strength.
Level 4: Full push-ups. The standard version described above, from the toes with a straight body line. This is the goal for most beginners, and reaching it with clean form is a real achievement worth celebrating.
Level 5 and beyond: Harder variations. Once full push-ups feel comfortable, you can keep progressing. Slow-tempo push-ups (five seconds down) increase time under tension. Diamond push-ups, with hands close together under the chest, emphasize the triceps. Decline push-ups, with feet elevated, shift more load to the upper chest and shoulders. Archer push-ups, where one arm stays straighter while the other does most of the work, build toward single-arm strength.
Work through these levels patiently. Spending a few weeks at each stage is normal, and refusing to skip steps early on is what builds lasting strength.
How Often Should You Do Push-Ups?
For most beginners, two to three push-up sessions per week is plenty. Your muscles need recovery time to adapt and grow stronger, and training the same movement daily can lead to achy shoulders and stalled progress. A simple weekly structure looks like this: train push-ups on Monday, Wednesday, and Friday, doing three to four sets per session and stopping one or two reps before your form breaks down. Rest at least one day between sessions.
As you get stronger, you can add a fourth session or increase your sets, but keep the same principle: quality first. If your shoulders or wrists feel sore rather than pleasantly worked, take an extra rest day. Mild muscle soreness a day after training is normal; sharp or joint pain is a signal to back off and check your form.
Fueling matters too. A light, balanced meal or snack with some carbohydrates and protein an hour or two before training can make your sessions feel noticeably better. Our guide on what to eat before a workout covers simple options that work for bodyweight sessions. And if music keeps you moving, a good playlist helps: check out these songs to listen to when alone for your next training session.
Track your progress in a notebook or phone note: date, variation, sets, and reps. Watching those numbers climb tells you exactly when you are ready for the next progression level.
Frequently Asked Questions
How many push-ups should a beginner be able to do?
There is no universal number, and it is more useful to think in terms of clean reps. Many beginners start with 5 to 10 good knee push-ups or incline push-ups per set. If you can do multiple sets of 10 to 15 full push-ups with perfect form, you are solidly past the beginner stage. Chase form first and let the numbers follow.
Are knee push-ups effective?
Yes. Knee push-ups train the same muscles as full push-ups, just with less load. They are one of the best stepping stones to the full version, and they remain a useful warm-up or burnout variation even for advanced trainees. The key is to do them with the same strict form: straight line from head to knees, full range of motion, controlled tempo.
Should push-ups hurt my wrists?
Push-ups should not cause wrist pain. Mild discomfort can come from stiff wrists or from dumping your weight into the heel of your hand. Try spreading your fingers, gripping the floor lightly, and keeping your wrists stacked under your shoulders. If pain persists, try push-ups on your knuckles on a mat, use push-up handles, or check with a qualified trainer or physical therapist.
How long does it take to learn a proper push-up?
It depends on your starting point. Someone who can already hold a solid plank might learn clean full push-ups within a few weeks of consistent practice. If you are starting from wall or incline push-ups, expect a couple of months of steady progress. Consistency beats intensity: three short sessions a week will get you there faster than one exhausting session.
Can I do push-ups every day?
You can, but it is usually not the best approach for building strength. Muscles grow during recovery, so most people progress faster with rest days between sessions. If you enjoy a daily habit, keep daily sets easy and submaximal, and save your harder efforts for two or three focused sessions per week.
Related Articles
- Home Workouts Without Equipment: build a full bodyweight routine around your new push-up skills.
- What to Eat Before a Workout: simple fueling ideas for stronger training sessions.
- How to Start Running for Beginners: pair your upper-body strength with a beginner-friendly cardio plan.
- What Is Zone 2 Training?: understand the easy cardio zone that complements strength work.