

A laptop that once felt fast can gradually turn sluggish, taking forever to boot, freezing when you open a browser, or lagging during simple tasks. If you want to know how to speed up slow laptop performance on Windows 11, the good news is that most slowdowns are caused by software clutter, too many background apps, or an aging hard drive, and all of these can be fixed. This step-by-step checklist walks you through the proven fixes, from quick settings changes to the hardware upgrades that make the biggest difference.
Before you spend money on a new machine, work through this guide in order. Many users find that just the first three steps restore their laptop to near-new responsiveness. For more computer tips, you can always find more guides on the DigitalGeekSpot homepage.
Why Laptops Slow Down Over Time
A slow laptop is rarely the result of a single problem. More often, several small issues stack up. Every app you install may add a background process. Every startup program competes for attention when you power on. Temporary files, update leftovers, and browser data quietly eat disk space. And on older machines, the original mechanical hard drive simply cannot keep up with modern Windows 11.
Understanding the cause matters because it decides the fix. Software bloat is free to fix. A failing hard drive is a hardware problem that no amount of settings tweaking will solve. Start with the free software fixes, measure the improvement, and only then consider spending money on hardware.
Step 1: Trim Your Startup Programs
The single biggest cause of slow boot times is the pile of apps that launch automatically when Windows starts. Chat clients, cloud storage sync tools, updaters, and helper utilities all fight for your CPU and disk during startup.
To see what launches at boot, press Ctrl + Shift + Esc to open Task Manager, then click the Startup apps tab. Windows 11 shows each app along with a startup impact rating of Low, Medium, or High. Right-click any app you do not need immediately at login and choose Disable. This does not uninstall the app, it simply stops it from launching on its own.
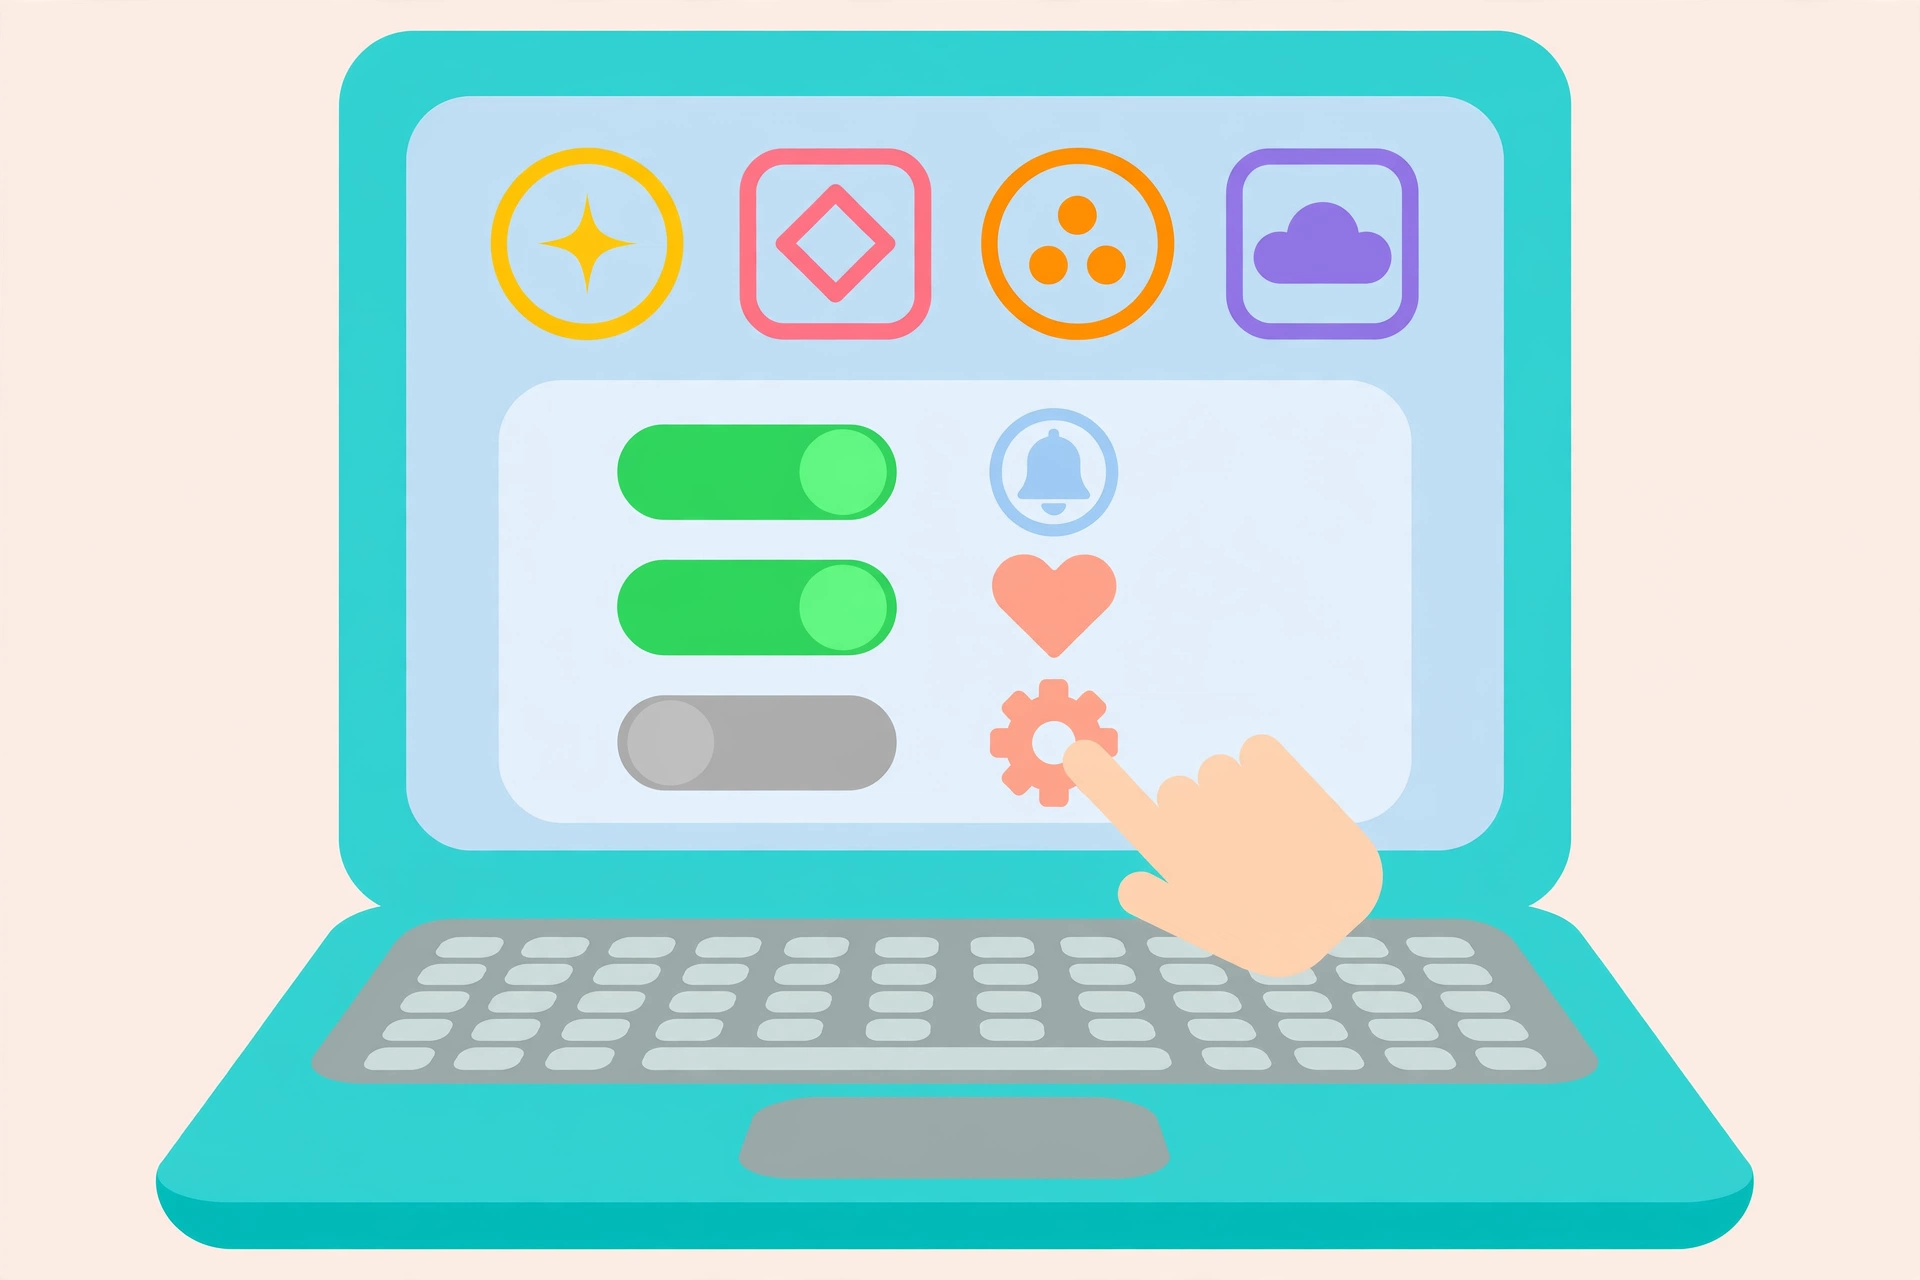
Be conservative here. Keep your antivirus and any accessibility tools enabled, but disable game launchers, media players, printer utilities, and messaging apps you only use occasionally. Many users report boot times dropping by a minute or more after a thorough startup cleanup.
Step 2: Uninstall Apps You Never Use
New laptops often ship with preinstalled trial software, and over the years we all collect programs we opened once and never touched again. Each one takes disk space and some run background services you never asked for.
Open Settings > Apps > Installed apps and sort by size. Click the three dots next to anything you do not recognize or no longer use and choose Uninstall. Pay special attention to duplicate tools (two PDF readers, three media players), expired antivirus trials, and manufacturer utilities that duplicate what Windows already does.
A leaner app list means fewer background processes, fewer scheduled tasks, and more free disk space, which Windows 11 needs to run smoothly.
Step 3: Free Up Disk Space
Windows 11 performs best when your system drive has comfortable breathing room. When the drive is nearly full, updates stall, virtual memory struggles, and everything feels slower. A widely repeated guideline is to keep at least 10 to 15 percent of your drive free.
Start with the built-in tools. Open Settings > System > Storage to see exactly what is eating your space, then turn on Storage Sense so Windows automatically clears temporary files and empties the Recycle Bin on a schedule. You can also run the classic Disk Cleanup tool to remove update leftovers, delivery optimization files, and old system restore points.
For a deeper cleanup, including hunting down oversized video files and forgotten downloads, follow our dedicated guide on how to free up disk space on Windows 11, which walks through Storage Sense, temp files, and large-file hunting in detail.
Step 4: Install Windows and Driver Updates
It sounds counterintuitive, but pending updates can slow a laptop down. Windows 11 sometimes runs update processes in the background for weeks when an update is stuck or postponed. Installing updates gets those background tasks finished and often brings performance improvements and bug fixes.
Go to Settings > Windows Update and install everything pending, then restart. After that, update your key drivers, especially the graphics driver and the storage controller driver. Outdated graphics drivers are a common cause of stuttering video and sluggish window animations. You can usually get the latest drivers from your laptop manufacturer’s support page or through Windows Update’s optional updates section.
Step 5: Scan for Malware and Unwanted Software
Malware, adware, and cryptominers steal CPU cycles and can make even a powerful laptop crawl. If your laptop slowed down suddenly, or the fan runs constantly with no apps open, a scan is worthwhile.
Windows Security, built into Windows 11, is a capable scanner for most users. Open Settings > Privacy & security > Windows Security > Virus & threat protection and run a Quick scan, followed by a Full scan if anything looks off. Keep real-time protection turned on. Avoid installing multiple antivirus programs at once, because they fight each other and slow everything down far more than one good scanner does.
Step 6: Reduce Visual Effects and Animations
Windows 11’s animations, transparency, and shadows look nice but cost GPU and CPU resources, especially on laptops with basic integrated graphics. Trimming them can make the interface feel noticeably snappier.
Search for “Adjust the appearance and performance of Windows” in the Start menu. In the Performance Options window, choose Adjust for best performance to disable everything, or select Custom and keep only the effects you like, such as smooth screen fonts. Many users find that turning off animations alone makes window switching and the Start menu feel much faster.
You can also go to Settings > Accessibility > Visual effects and toggle off transparency effects and animation effects for a quick win.
Step 7: Check What Is Hogging Resources
Open Task Manager with Ctrl + Shift + Esc and click the Processes tab, then sort by CPU, Memory, or Disk. If a single process is constantly using a large share of resources, you have found a likely culprit. Common offenders include runaway browser tabs, cloud sync tools stuck in a loop, and the Windows Search indexer rebuilding its database.
A browser with dozens of open tabs can easily consume several gigabytes of RAM. Consider using your browser’s built-in task manager or a tab suspender extension, and close tabs you are not actively using. If you are shopping for a laptop that can handle heavy multitasking and local AI workloads, our guide to the best local AI models for laptops explains what kind of hardware those demanding apps really need.
Step 8: Keep Your Laptop Cool
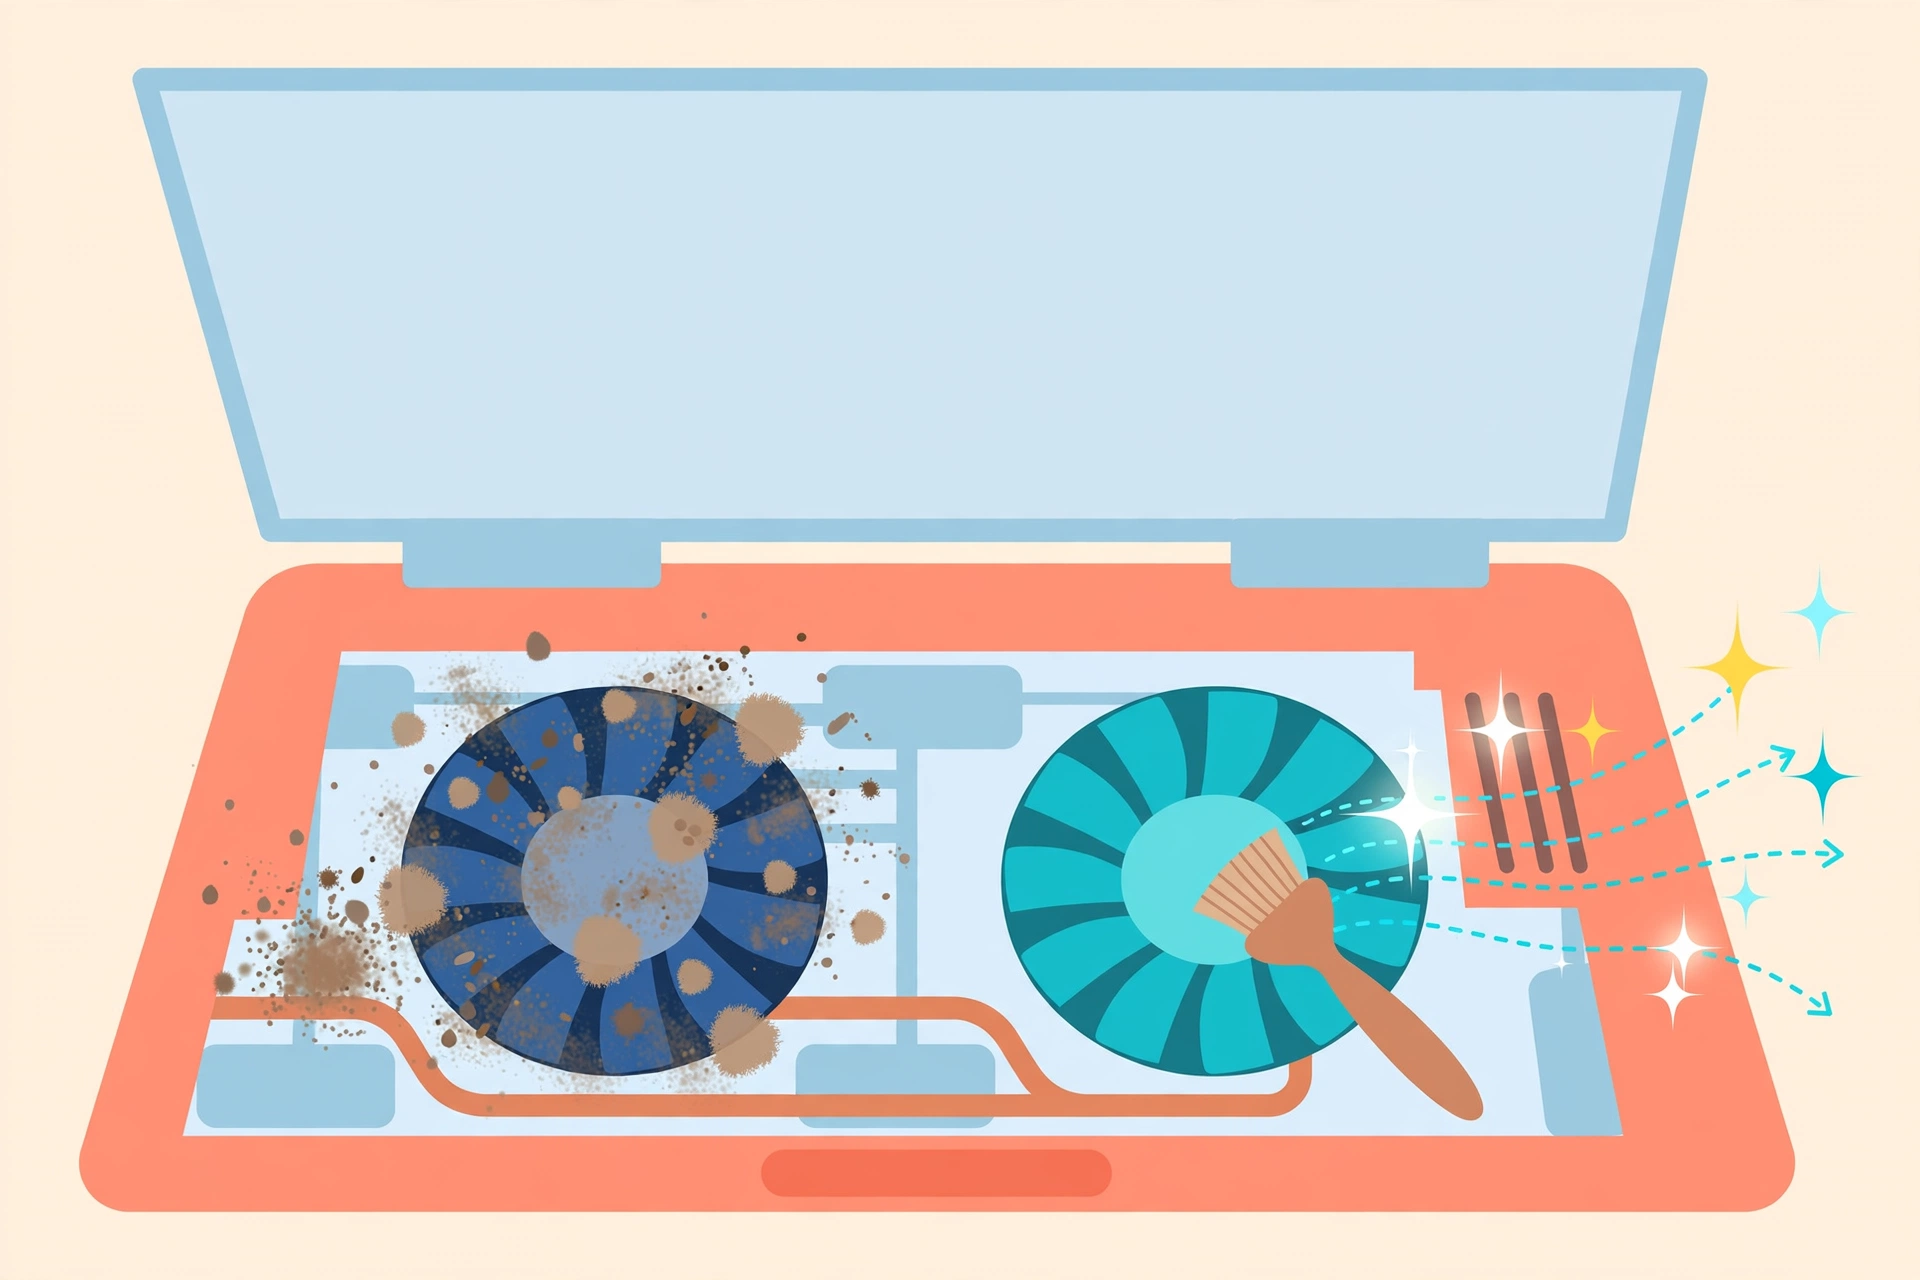
Heat is a silent performance killer. When a laptop’s cooling system is clogged with dust, the CPU overheats and automatically slows itself down to avoid damage, a process called thermal throttling. The result is a laptop that feels fast for a few minutes and then becomes sluggish.
Make sure the vents are not blocked, use the laptop on a hard flat surface rather than a bed or couch, and consider a cooling stand if you do heavy work. If your machine is a few years old and runs hot even at idle, the internal fan and heatsink may need cleaning. Our companion guide on how to fix laptop overheating covers safe cleaning steps and warning signs in detail.
Step 9: Upgrade to an SSD
If your laptop still has a traditional mechanical hard drive (HDD), upgrading to a solid-state drive (SSD) is the single most dramatic speed upgrade you can make. Boot times, app launches, and file searches all improve because an SSD has no spinning platters or moving read heads.
Many users describe an SSD upgrade as making an old laptop feel brand new. Before buying, check whether your laptop has a replaceable drive and which type it accepts (2.5-inch SATA or M.2 NVMe). If you are unsure which drive type fits your needs and budget, read our full comparison of SSD vs HDD and which you should buy.
Cloning your existing drive to the new SSD lets you keep all your files and settings, and many SSDs include free cloning software. Remember to back up your data first. If you do not have a backup routine yet, see our guide on how to back up your computer before you start.
Step 10: Add More RAM If You Are Maxed Out
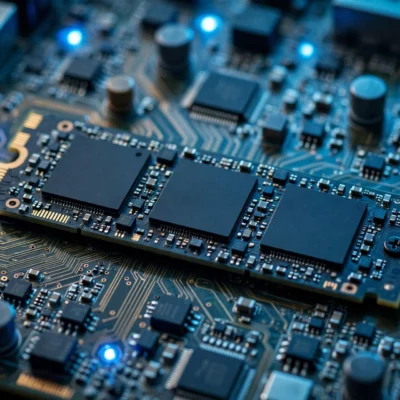
RAM is your laptop’s short-term workspace. With too little of it, Windows constantly shuffles data to the much slower drive, and everything stutters. If Task Manager shows memory usage pinned near 100 percent during normal use, you need more RAM.
For basic browsing and office work, 8 GB is workable in 2026, but 16 GB is the comfortable sweet spot for multitasking. Check your laptop’s manual to see whether the RAM is upgradeable and what type it takes. Note that many thin ultrabooks have soldered RAM that cannot be upgraded, so verify before buying.
Step 11: Reset or Reinstall Windows 11
If you have tried the software fixes and the laptop is still slow, years of accumulated clutter may simply be too tangled to unwind by hand. Windows 11 includes a built-in reset option at Settings > System > Recovery > Reset this PC. Choose Keep my files to reinstall Windows while preserving your personal data, or Remove everything for a completely fresh start.
A reset removes all installed apps and settings, so back up anything important first and make a list of the programs you actually want to reinstall. A fresh install often restores performance to day-one levels because it wipes out every background process, driver conflict, and registry leftover at once.
Step 12: Know When Hardware Is the Culprit
Sometimes the slowdown is not software at all. Warning signs of hardware trouble include grinding or clicking noises from the drive, frequent blue screens, crashes that persist after a Windows reset, and a battery that dies in minutes. A failing hard drive in particular can cause extreme slowdowns as Windows retries failed reads over and over.
Check your drive’s health with your manufacturer’s diagnostic tool or a free utility that reads SMART data. If the drive shows warnings, replace it immediately and restore from backup rather than continuing to use it. Likewise, if your laptop is more than six or seven years old and has an outdated processor, even a fresh Windows install may only buy you modest gains, and putting that upgrade money toward a newer machine may be the smarter choice.
Frequently Asked Questions
Why is my laptop so slow all of a sudden?
A sudden slowdown usually points to a specific cause: a stuck Windows update, a new app running in the background, malware, or a drive that is nearly full. Check Task Manager for resource hogs, install pending updates, and run a malware scan before assuming the hardware is failing.
Will more RAM speed up my laptop?
More RAM helps only if you are currently running out of it. Check Task Manager’s Performance tab during your normal workload. If memory usage is consistently above 85 to 90 percent, an upgrade to 16 GB will smooth things out. If you have plenty of free RAM, adding more will not make anything faster.
Is it better to upgrade to an SSD or buy a new laptop?
If the laptop is less than five or six years old and otherwise meets your needs, an SSD upgrade is far cheaper than a new machine and delivers the biggest single performance jump. If the processor is very old, the screen is failing, or the battery is dead too, a new laptop may be the better investment.
Do registry cleaners speed up Windows 11?
No. Registry cleaners provide no meaningful speed benefit on modern Windows and can cause serious problems if they remove the wrong entries. Stick to the built-in tools like Storage Sense and Disk Cleanup, which are safe and effective.
How often should I restart my laptop?
Restarting at least once a week is good practice. It clears temporary memory, finishes pending updates, and stops runaway background processes. Leaving a laptop in sleep mode for weeks lets small issues accumulate, so a regular restart is one of the simplest maintenance habits.


2 Comments